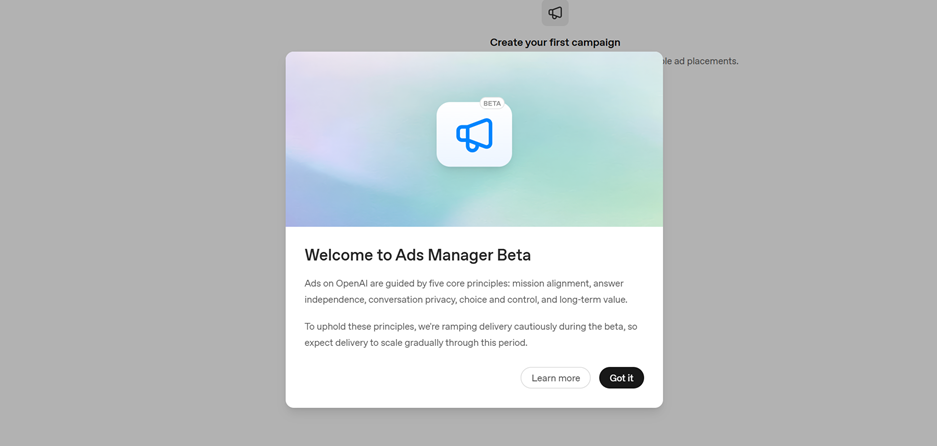
In case you missed it, last week OpenAI announced that their ad network is now open for a public beta.
If you’re a “bleeding edge” type, you probably already signed up for an Ads Manager Beta account. If you’re more of “an early middle” type, perhaps you’re taking a wait-and-see approach.
I would strongly advocate for early experimentation with this – it is most certainly going to become a core part of the B2B marketing mix over the next 12 months. Early learnings can help you determine quickly if/how you pivot your marketing spend and focus for the balance of 2026.
What’s on offer from OpenAI
Back in February, OpenAI announced it was trialing ads with a few select partners. On May 5, 2026, OpenAI announced it was making a self-serve advertising platform available for public beta, with no minimum spend requirement.
This is welcome news to any B2B marketers who have seen traffic dip as a result of LLMs cannibalizing click-through traffic from Google.
Capabilities of ChatGPT Ads
This ad platform is early, and we should expect that it will evolve rapidly. Think early days of Google and Facebook.
The rules will change, and the best practices will change, it is the definition of a moving target. But for now, here’s what we’re working with:
Audience
Through the news Ads Manager Beta, advertisers can reach logged-in users over the age of 18 in the US, Canada, Australia, and New Zealand. Ads will be shown to Free users and “Go” tier users (lowest tier of paid accounts). All other paid accounts will not be shown ads.
Targeting
You can target based on “context hints” or descriptive phrases of the type of conversations you’d like to be placed in. OpenAI will use these hints as matching signals alongside the content of your landing page and ad copy.
Certain sensitive topics (health, mental health, politics) are excluded from targeting.
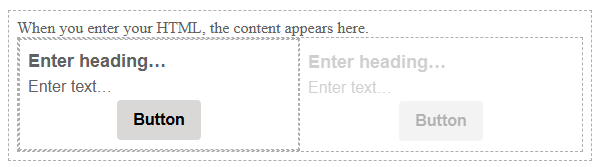
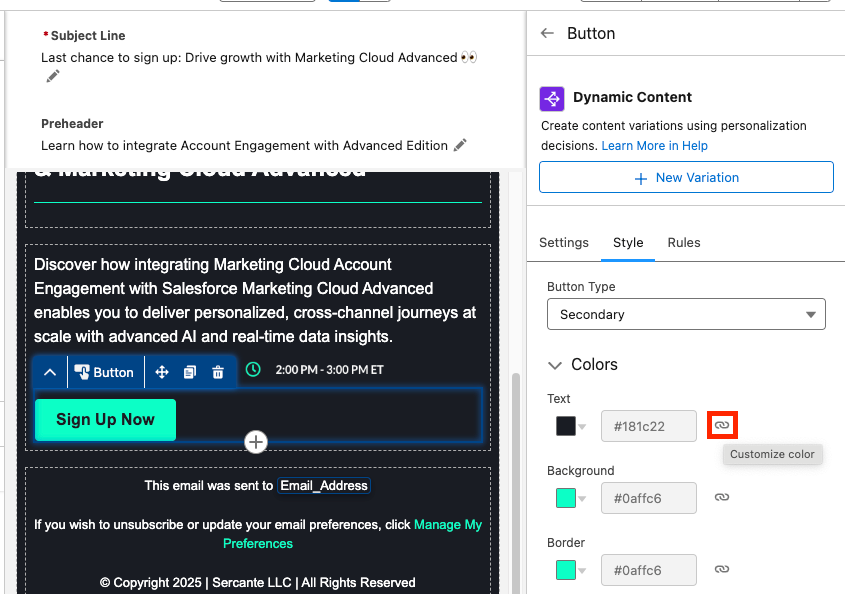
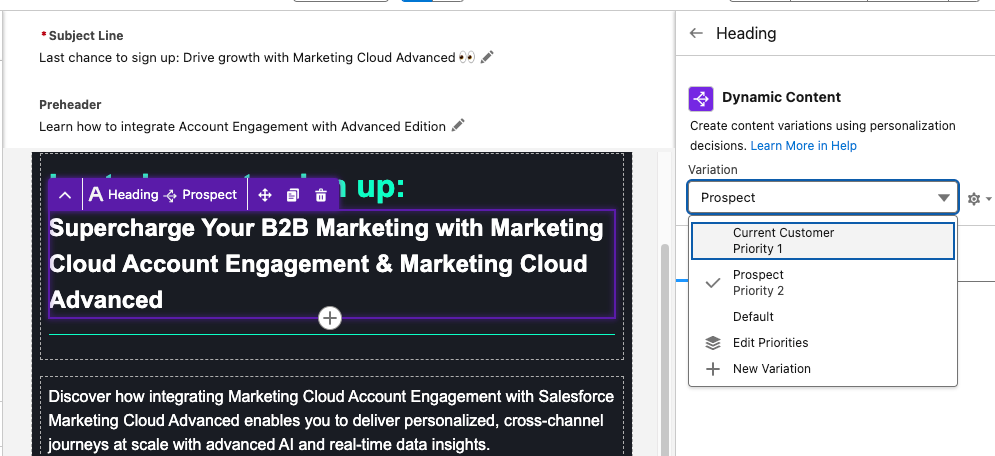
Ad Format
Ads can contain:
- Your brand name
- Favicon
- Headline
- Description
- Image
- Link
Here’s a rough mockup of what that would look like for a user:

Pricing
| Parameter | Detail |
| CPC (Cost Per Click) | Clicks objective. Recommended starting max bid: $3-5 USD. Custom max bids available. B2B campaigns may see higher CPCs ($8-15) due to audience depth. |
| CPM (Cost Per Thousand) | Reach objective. Default max bid: $60 CPM. Suitable for brand awareness and early-funnel exposure. |
| Auction type | Relevance-weighted second-price auction. Winning ad pays just above the second-highest relevant bid. |
| Minimum budget | No published minimum as of self-serve launch. Recommended test budget: $2,000-5,000 per month for meaningful data collection. |
Measurement
In-platform metrics include:
- Impressions
- Clicks
- Spend
- CTR
- Average CPC/CPM, conversions
UTM parameters persist through ad clicks. Remember to set utm_source=chatgpt before launching ads—retroactive attribution is impossible!
What’s NOT Possible with ChatGPT Ads
Demographic Targeting
You cannot target ads based on demographics. This is a tough pill to swallow in B2B when potential buyers often fit a defined set of criteria, or when you are focused on an ABM strategy.
A lot of B2B marketing starts with asking: “Who is our buyer?”
With ChatGPT Ads, we need to ask: “What question does our best buyer ask right before they need us?”
Agency Managed Accounts
Every business that wants to run ads on ChatGPT needs to sign up for its’ own account at: https://ads.openai.com/. You can add users from your agency after the account is approved and provisioned.
Integration
As of this publish date, ChatGPT Ads does not have connectors with any CRM or marketing analytics platforms.
Advanced Measurement
I can’t stress this enough: the platform is early. It’s basic. There is data you can get from other platforms that you will not get yet with ChatGPT Ads. But OpenAI has a vested interest in getting this feature stood up – the more you can measure the path to revenue, the more advertisers are going to be willing to pour money into a channel.
Predictability
“Inventory ceilings” are likely going to be an issue for early movers. I would estimate about 20-25% of all ChatGPT users meet the criteria to be shown ads through this beta. What percentage of those users are B2B decision makers with intent for your particular product? It’s impossible to get a precise estimate of that with the tools OpenAI has made available today.
You may find yourself allocating $20K to a pilot and only spending $12K based on how often users are looking for what you’re promoting – but that in and of itself is a valuable insight that can tell you how to prioritize this in your marketing mix.
What are the other LLMs & AI Platforms doing?
Google / Gemini
Not really in the AI ad game yet. Traditional Google Ads placements are sometimes surfaced in Google Search AI overviews. No native conversational ads in Gemini – yet.
Microsoft Copilot
Already selling ads. Ads appear within Copilot responses and other AI surfaces (Bing, Edge) through existing Microsoft Advertising inventory, including Performance Max, Multimedia, and Search campaigns.
Claude
Staunchly anti-ad. So much so that they made a Super Bowl commercial about it.
Meta AI (Consumer Chat)
No built-in ad slots in chatbot outputs, though Meta uses AI signals to inform ads across its properties.
Perplexity AI
Focused on subscriptions and business features. No current in-chat ads.
What should you do next with ChatGPT Ads?
I would recommend leaning in and experimenting with this early. Costs at this stage will be lower (with less competition for clicks and impressions), and the early learnings are extremely valuable.
To do a meaningful test, I would suggest a budget of $2K+ per month over a 60-90 day window.
Because this is brand new, you’re not going to find team members or agencies with “years of experience” implementing this strategy…. so you should pick someone to manage it that has a data-driven mindset, is agile/iterative, and has the bandwidth to actively manage this and ensure it is successful.
I suspect that the biggest learning curve is going to be how to write “context hints.” There’s going to be a little bit of art here since it’s different from how other platforms operate. Context hints should be written in the user’s language, with the right specificity, mapped to the decision stage you want to capture your audience in – it’s going to take a high degree of user empathy to get this right.
Just Global is actively sharing their early learnings on ChatGPT Ads. If you’re ready to dive into the “how” and initial best practices, check out their e-book!