Marketing Cloud Engagement is a great tool and it offers a wide range of functionality and various capabilities. But, as with all software, there are always limitations that leave you wanting more. That’s where Marketing Cloud extensions become essential.
Thanks to the strong Salesforce ecosystem, the openness of the platform, and the love it receives from its customers, users, and enthusiasts, there are so many extensions, apps, and add-ons that can help enhance your Marketing Cloud experience.
Listed below are some of my favorites from my seven years of working with Salesforce Marketing Cloud (SFMC).
Top Marketing Cloud Extensions
SFMC Companion
This Chrome Extension is a fond favorite of mine and it is particularly useful for those “busy” Marketing Cloud accounts and for anyone who spends hours down rabbit holes trying to understand whether a particular Data Extension is still being used, or is even still relevant.
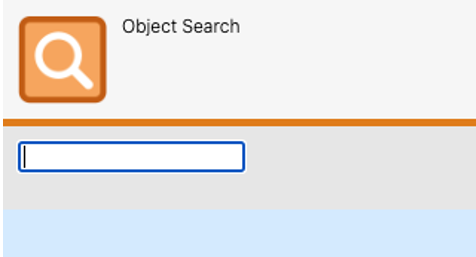
SFMC Companion offers a useful search functionality that allows you to look for any asset or object using a free-text search field. Furthermore, whilst on any SFMC asset or object, the ‘Inspect’ tool will show all components referencing or using that particular asset or object.
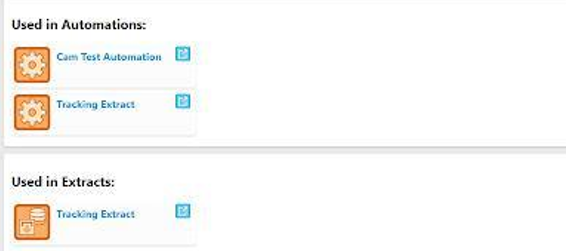
Thanks to SFMC Companion there is no longer a need to have several tabs open simultaneously just to understand whether a Data Extension can be deleted.
Evergage Launcher
This might technically be cheating as it’s practically a necessity for implementing Marketing Cloud Personalization but I’ve always enjoyed using it.
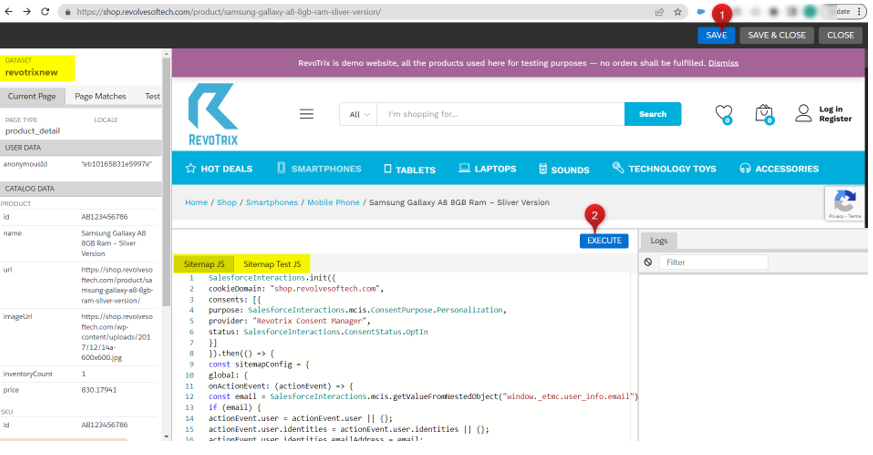
This extension helps identify whether the Marketing Cloud Personalization (MCP) SDK has been added to the website, so you no longer need to pester your IT team, and it is also where you can launch the Visual Editor.
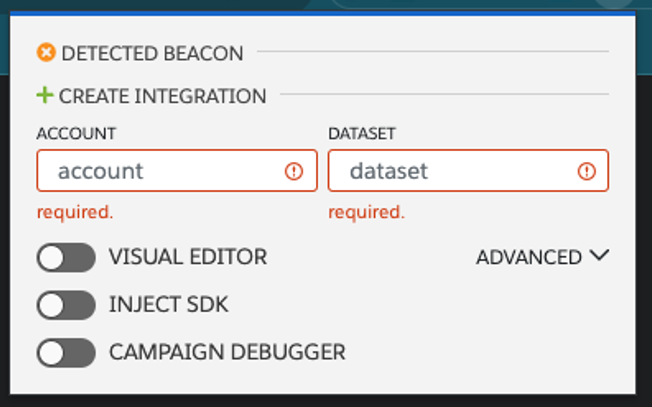
The Visual Editor is by far the easiest way to build your JS Sitemap, which is a huge part of any MCP implementation. Users also have the ability to see their work whilst on the page – this comes in handy when creating personalization campaigns, another feature accessible via the Evergage Launcher.
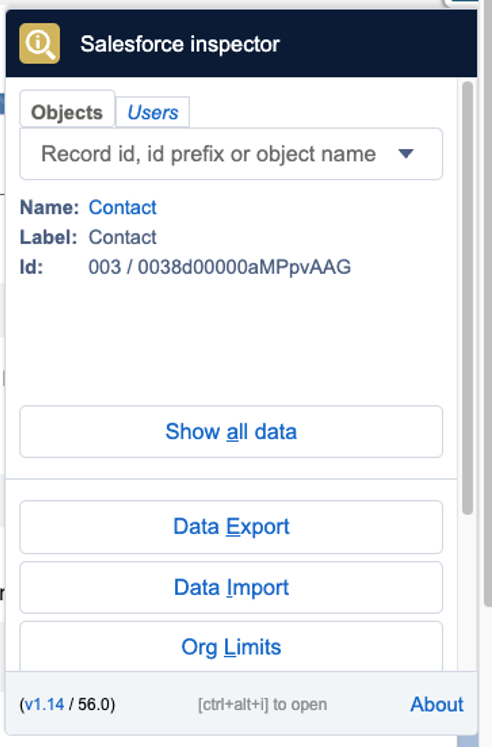
Salesforce Inspector
Whilst this is not specifically related to SFMC, it is worth installing. Most SFMC accounts use Salesforce CRM data (it’s very rare not to have Marketing Cloud Connect).
Therefore, with such a reliance on Core Salesforce data, this extension can save you a lot of time. If you quickly need to check the API field names or the field type, or even example values, Salesforce Inspector is your tool.

Furthermore, Salesforce Inspector lets you easily import and export data which is incredibly useful if you need to prepare test data for UAT.
Top Marketing Cloud Apps
It’s worth mentioning that for the following section, I’ve loosely used the term “Apps” as it covers everything from App Exchange products to Mobile Apps.
Query Studio
Perhaps one of Marketing Cloud’s best-kept secrets, but Query Studio is an incredibly useful app to add to your SFMC instance. If you’ve ever wanted to test your SQL skills without having to create an automation, then this might be for you.
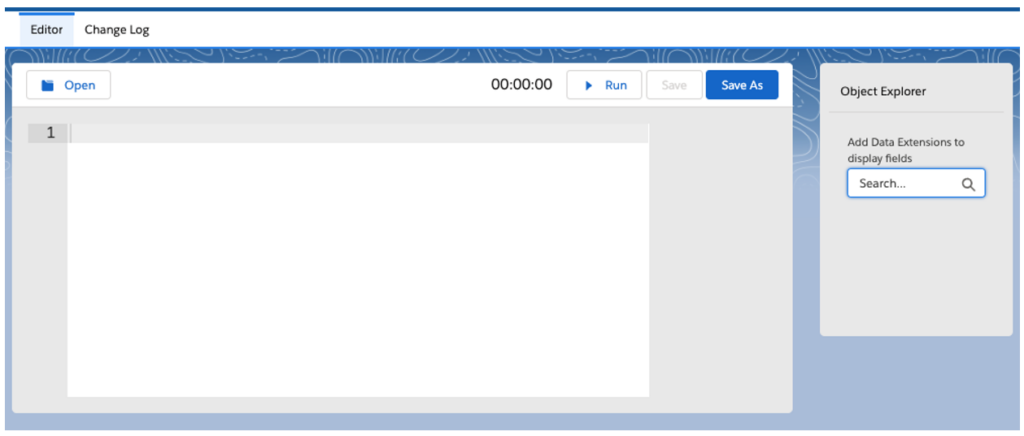
Query Studio allows you to quickly build queries in the Marketing Cloud without needing to create and configure an automation. Once you’re happy with your selection, Query Studio can use your query to create Data Extensions automatically.
Marketing Cloud Mobile App
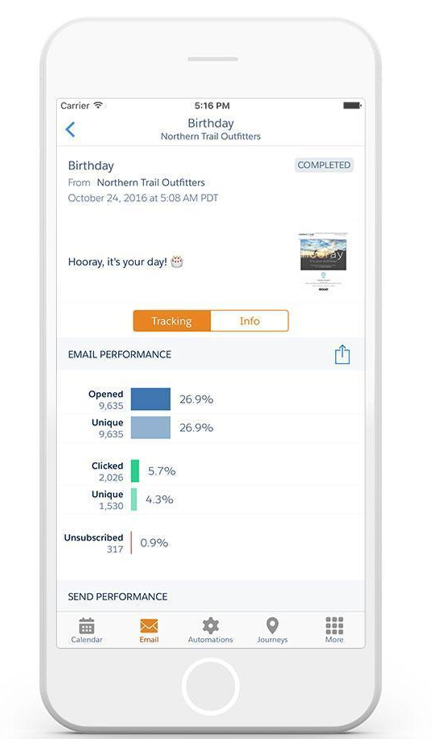
Ever needed to quickly track email performance or to check that you definitely paused that Journey, but you don’t have access to your laptop? The Marketing Cloud Mobile App might just be able to help.
However, whilst it’s useful to have instant access to your SFMC account with just your phone, it is worth pointing out that there are some SFMC features that are not available in the mobile App, so don’t throw away the laptop just yet.
You can find the app in both the Google Play Store and Apple Store.
SiteCore
Technically two for the price of one as there is both a Web CMS app and a DAM app but they’ll both help bolster your SFMC instance with the world-leading CMS. Although, it is probably worth pointing out that these apps are far from cheap.
If, however, you’re lucky enough to have one of these licenses, you can drag-and-drop approved SiteCore assets directly from the SFMC Email Editor. Alternatively, you can send contact data and behavior back to your Sitecore Experience Database to close the loop on asset performance.
DESelect Segment
Full disclosure, I’ve never had the pleasure of working with this particular app but I had to include it as it solves, what I think, is one of the biggest issues SFMC clients face when procuring SFMC… segmentation. DESelect brings drag-and-drop segmentation to Marketing Cloud and reduces the need for marketing teams to have SQL knowledge.
Again, it’s worth pointing out that whilst there is a free version available you will have to pay to increase usage, users and features (i.e., saturation control and deduplication). However, depending on your team’s skillset this app could well be worth considering.
Bonus Content
If the technical skills aren’t your team’s forte and AMPscript is constantly causing you trouble, check out ampscript.io, a useful tool that helps validate AMPscript code and highlights any AMPscript that may result in potential syntax errors.
Get more details about AMPscript in this blog post from Kayla Border.
Top Marketing Cloud Add-Ons
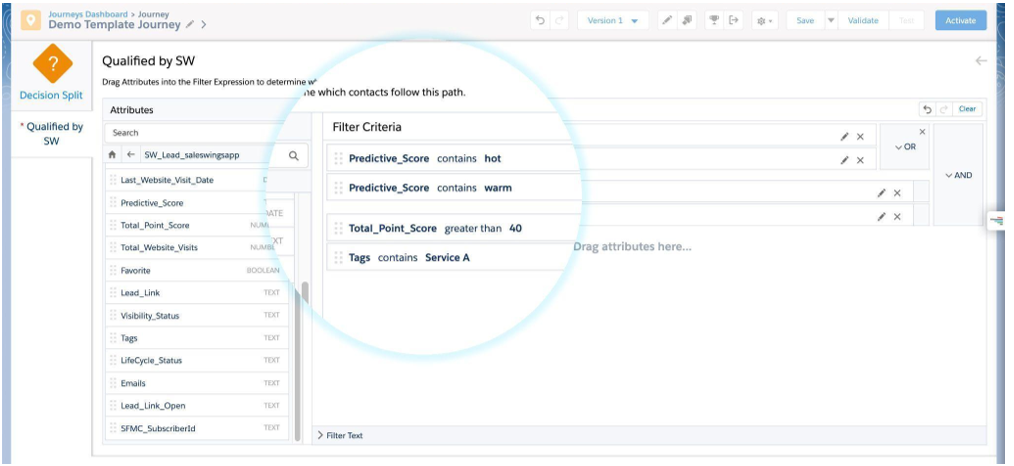
SalesWings
Ever needed Lead Scoring in SFMC? Say hello to SalesWings! This add-on is easy to install and is a highly cost-effective way of plugging the SFMC Lead Scoring hole.
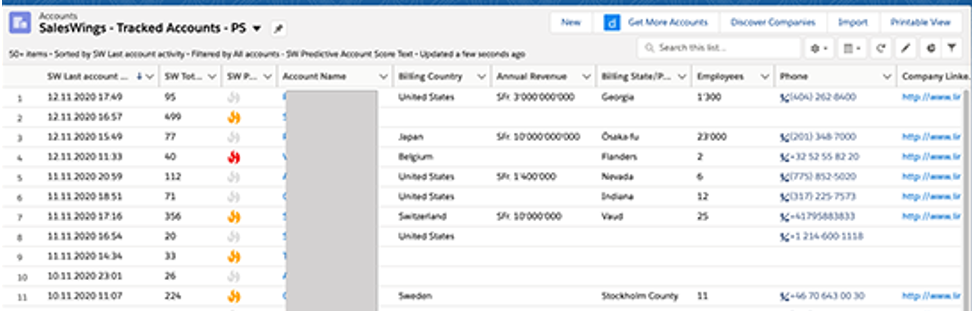
SalesWings tracks website activity and couples it with data from CRM before scoring and grading customers using a flexible scoring model. SalesWings data can be shared with Salesforce CRM as well as used in future SFMC segmentation.
Litmus
If you’re lucky enough to have both a Litmus and SFMC account, then you should definitely consider integrating the two. Yes, SFMC allows you to preview emails, but with an integrated Litmus account, you get so much more.
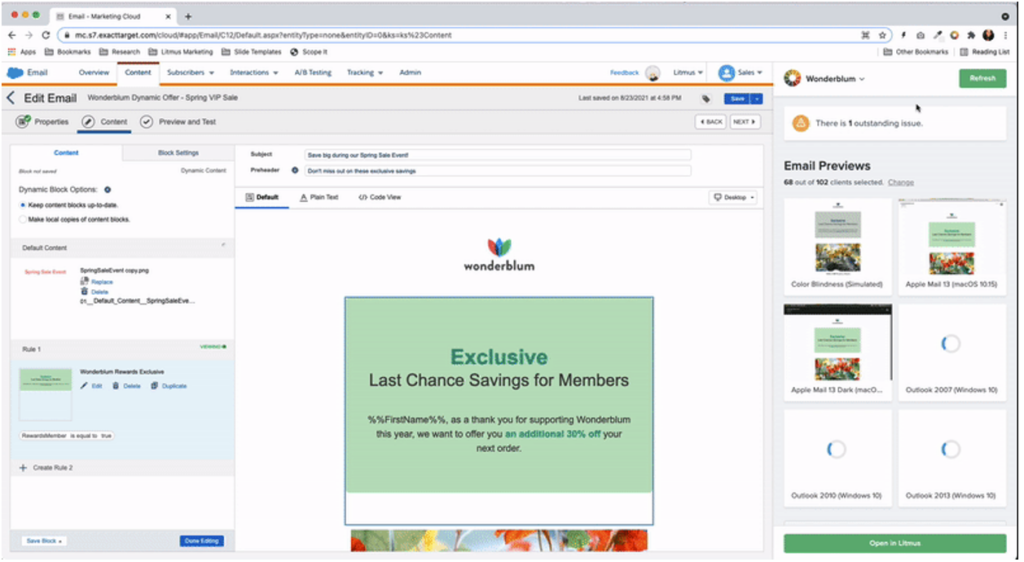
With an integrated account you can sync emails from the Litmus builder to SFMC or build in SFMC and test as you go. You can test dynamic content and individual personalization with the integrated email previews and, perhaps most impressively, share email performance with Litmus to create a single view of performance.
Use Marketing Cloud extensions to make the most of the platform
Going back to my previous comment, all software products have their limitations, but it is Salesforce’s ecosystem that has encouraged enthusiasts to build upon its offerings which, as shown above, has led to some innovative solutions that could give your SFMC instance that much-needed capability boost.
So if you’ve been contemplating if the grass is greener on the other side it could be worth exploring the depths of the Salesforce Community — chances are there is already a solution to your problem out there.