The recent unveiling of Salesforce Headless 360 marks a significant paradigm shift in the CRM industry, signaling a move away from rigid, UI-bound ecosystems toward a decoupled, “AI-first” infrastructure. For growth leaders, marketing executives, and revenue operations professionals, this means the CRM is no longer a destination users must manually log into, but rather a background engine. This engine can be accessed conveniently via natural language and “agentic” interfaces like Slack, Teams, or custom coding tools, fundamentally changing how teams interact with critical customer data and functionality.
1. Agentic Orchestration and the Model Context Protocol (MCP)
The core of this transformation is the decoupling of the CRM interface from its data layer, opening up the platform with comprehensive external API access. This shift converts Salesforce data, workflows, and business logic into over 60 composable Model Context Protocol (MCP) tools. These tools act as building blocks that allow AI agents to seamlessly interact with Salesforce without a traditional UI.
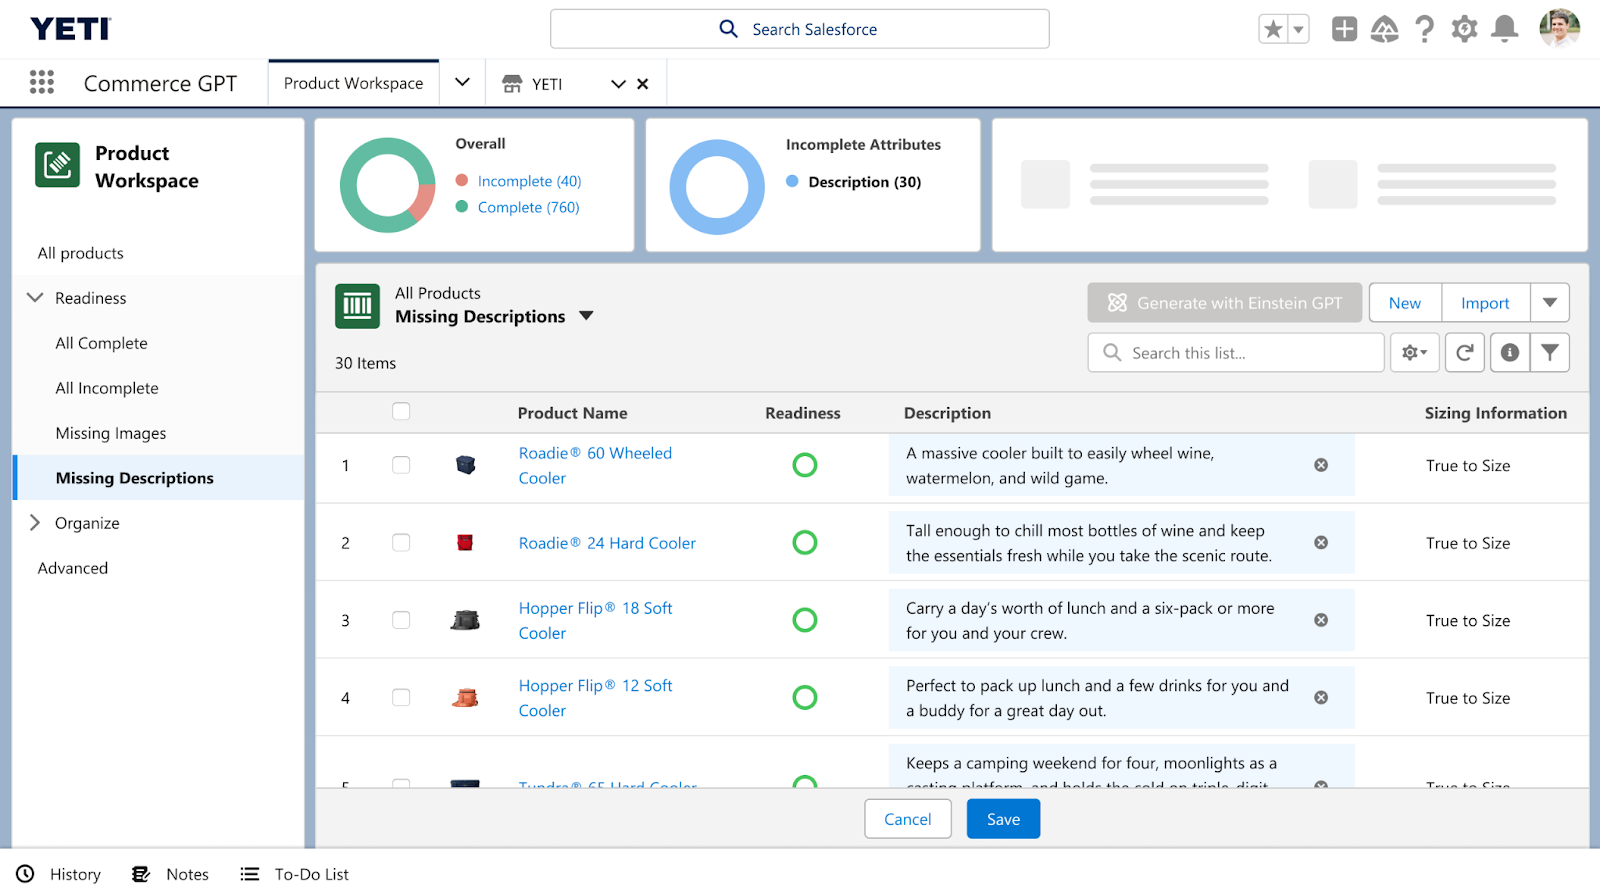
This agentic approach promises to automate complex workflows. Operational tasks, such as updating a Salesforce record or opportunity, can now be executed through agentic interfaces like Slack, completely bypassing the need to log into the traditional CRM UI. This functionality also supports extending beyond Salesforce-owned products to a wide variety of other interfaces such as Microsoft Teams, custom web and mobile apps, or even communication channels like Voice, WhatApp or SMS, as long as they adhere to the MCP protocol. The ultimate positive evolution is toward improved operational efficiency, giving users a consistent experience wherever they are already working, allowing teams to execute tasks like managing pipeline, building dashboards, and campaign journeys easier and without as many technical barriers.
2. Evolving Skillsets: Prompt Engineering and Data Hygiene
As systems transition to an agentic execution model, this democratizes the platform by transforming how non-developers, such as business users and admins, interact with and build upon the system. This highlights a growing need for a critical emerging competency: prompt engineering. For end users, especially marketers and sales representatives, the ability to write precise instructions are paramount to getting the desired results from AI. This shift necessitates that teams quickly adopt an “AI-first” approach for building solutions.
However, foundational pieces also remain crucial; even Headless 360, requirements like good data quality and metadata hygiene practices are still essential for success. AI does not natively “know” your business; it relies on your data (the facts) and your metadata (the context, rules, and structure) to make real-time decisions. Keeping data clean, deduplicated and up to date, and ensuring fields have descriptions, picklists are organized and accurate, gives AI the correct information, and the business logic and context to understand what it means.
3. Strategic Skepticism and Navigating Release Reality
While the potential for improved operational efficiency is high, leaders should approach the Headless 360 announcement with strategic skepticism. As with many major platform evolutions, the full scope of Headless 360 will likely unfold in phases rather than arriving as an immediate, all-in-one solution. While the announcements focus on a complete platform of tools, all are not generally available at this time, with some features in pilot now or planned for release in the summer and beyond, so customers should prepare for implementation over a phased roadmap. Ultimately, the move to Headless360 is a necessary and welcome alignment with modern market standards, ensuring Salesforce remains competitive as organizations increasingly adopt headless architectures.
Executives should view this development as a positive step forward, particularly for organizations that prioritize prompt engineering training and robust data governance. The headless model offers a more seamless and convenient way to integrate Salesforce functionality where users typically work day-to-day, which is an effective strategy for boosting user adoption. The foundation for this is already emerging, with capabilities such as the Agentic Enterprise Search (also known as Ask Agentforce) feature currently in beta, which uses natural language queries to synthesize summaries from connected systems.
Conclusion
The Headless 360 announcement marks the beginning of a future where growth is driven by a decentralized, AI-first engine. As technical complexity is abstracted away by agentic interfaces, success will hinge on empowering teams to adopt prompt engineering as a new competency and maintaining unwavering data hygiene. Organizations that can adapt their skillsets and navigate the gap between marketing promise and practical application will be best positioned to leverage this evolution for superior operational efficiency and accelerated growth.