As a Marketing Operations Manager, one of my responsibilities is managing Outreach.io for the sales development team and the marketing team. Our marketing team runs a ton of trade shows and webinars, all of which need to be followed up by one of our SDRs efficiently in Outreach.
Part of post-event follow up includes creating sequences that give the salesperson the freedom to personalize touchpoints on their own and identifying the prospects that need follow up. Let’s dive into how to set this up in Outreach and some tips for a successful event follow-up.
Get your sequences ready
The first step is to get the follow-up sequence ready to go. The steps in your sequence depend on how you want to follow up on your event.
What level of personalization do you want? Do you want to build fully automated email sequences? Task-based sequences? Or both?
However, you want to do it, I recommend building sequences into a cadence of manual tasks that give the salesperson the freedom to personalize each touchpoint on their own.
Outreach Blueprints can be a great starting point for your post-event sequence.
Check the settings within your Outreach rulesets. These settings determine if a prospect can be on more than one sequeunce at once and if the prospect can be put on the same sequence more than one. These settings are important to note if you want to reuse sequences for events or if you notice the number of prospects on your sequence is lower than expected.
When following up with a high volume of prospects, consider creating a high-value sequence that is highly personalized and another sequence that is more automated.
Flag prospects in Outreach
It’s important to flag to your Sales team what event or webinar the prospect attended. There are a couple of different ways to do it depending on how many events you run at once, what your Salesforce instance looks like, and how you want your Sales team to put the prospects on a sequence.
Option 1: Use a custom field and a smart view
The first option is to use a custom field to track the name of the last event the prospect attended. The custom field can be named something like “last marketing event” and should be created in Salesforce and mapped to Outreach. This custom field can then be populated via a list upload in Salesforce or through your marketing automation platform.
Once the field is created, you can use it as a filter to create a Smart View in Outreach.
You can save the Smart View as “Latest Event Prospects” and edit the view’s filters each time you have an event, or you can create new Smart Views for each event and delete the Smart Views once the event follow up is complete.
You might want to split out prospects that attended the event and prospects who did not attend the event. In that case, the “last marketing event” field would need to have two different values and you would need to create two different Smart Views in Outreach to filter them.
Tips
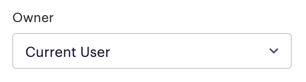
Make sure when you create the Smart View, the Owner is set to the Current User. When your Sales team uses the Smart View, they will only see the prospects that they own.
The Smart View should be shared with the whole Org
If you are a Marketo user, use the “last interesting moment description” as your filter instead of creating a new field.
If you have more than one event happening at the same time, then you might want to consider using tags instead of field updates with Smart Views.
Create a naming convention for the values of the custom field.
Option 2: Use a custom tag
The second option is to add a tag to prospects in Outreach to flag if they attended an event.
To tag prospects in Outreach, you need to pull a list in Salesforce or your marketing automation system to get the email addresses of the prospects. Depending on your sync settings, these prospects should already exist in Outreach. So, by pulling a list and importing it into Outreach, you are not creating new prospects, you are selecting the prospects you want to tag.
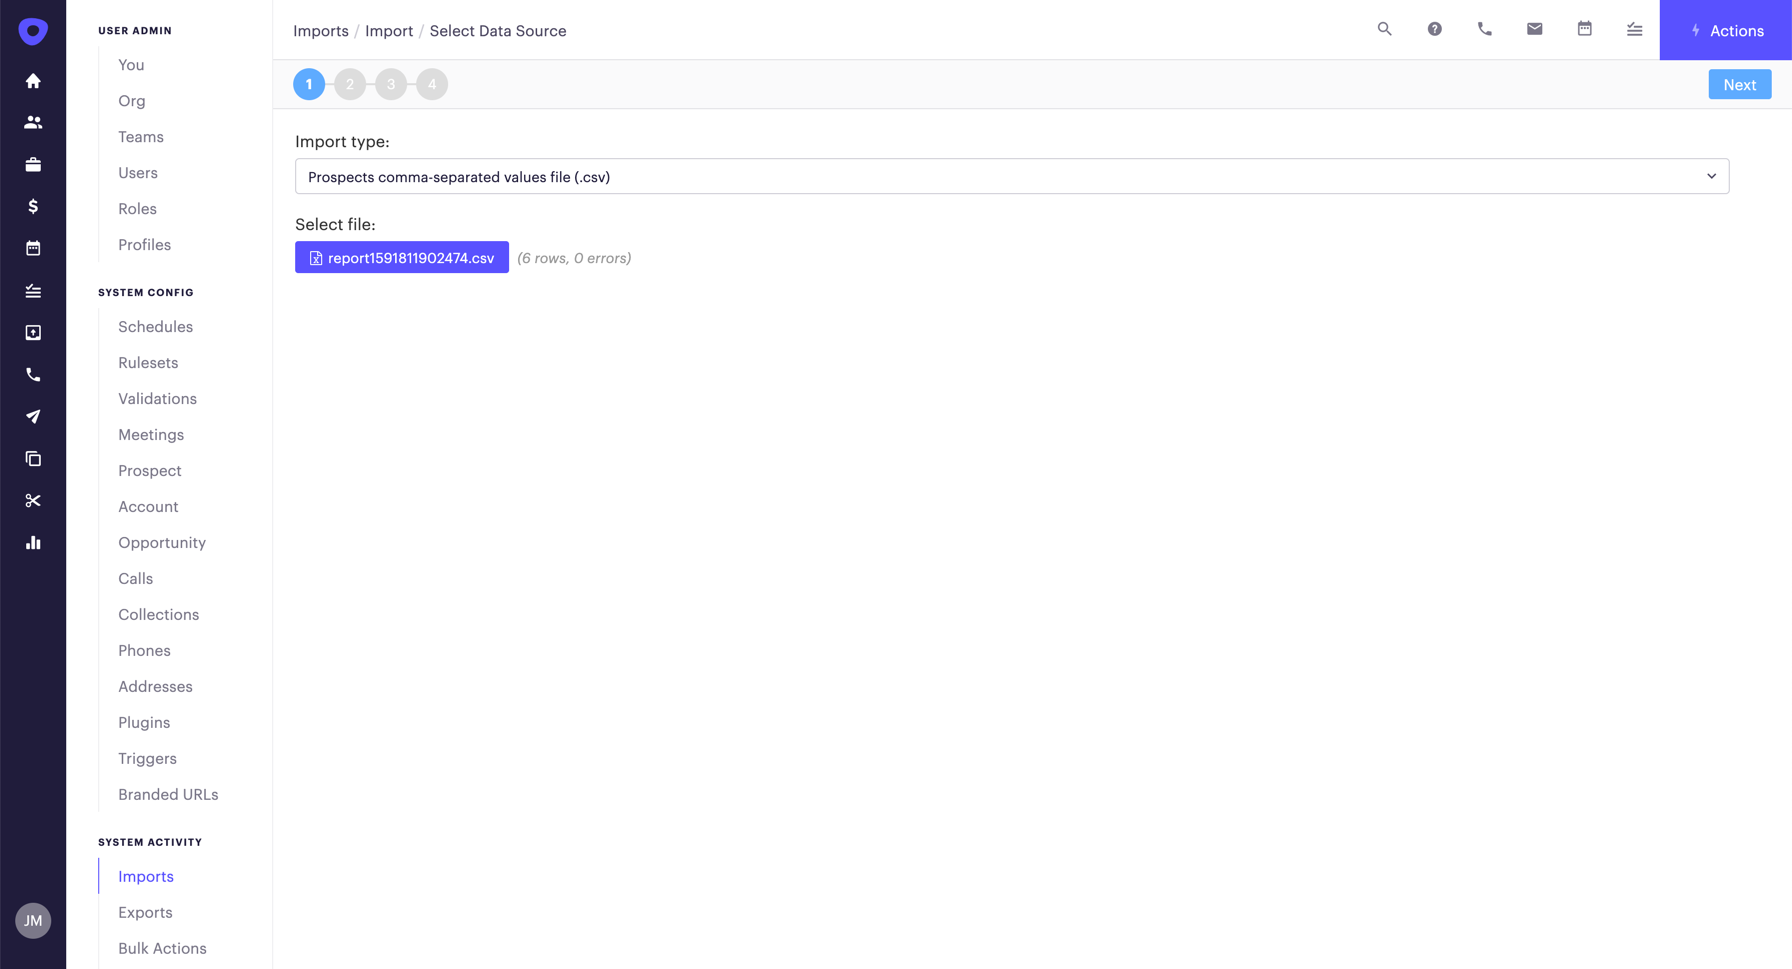
If you track events using Salesforce Campaigns, you can pull a report of Campaigns with Campaign Members. Select the name of the campaign and filter by campaign member status to get the list. Add email address as the only column in the report and export the report as a CSV. In Outreach, navigate to Admin > Imports > Add and select Prospects Comma-Separated Values File from the dropdown.
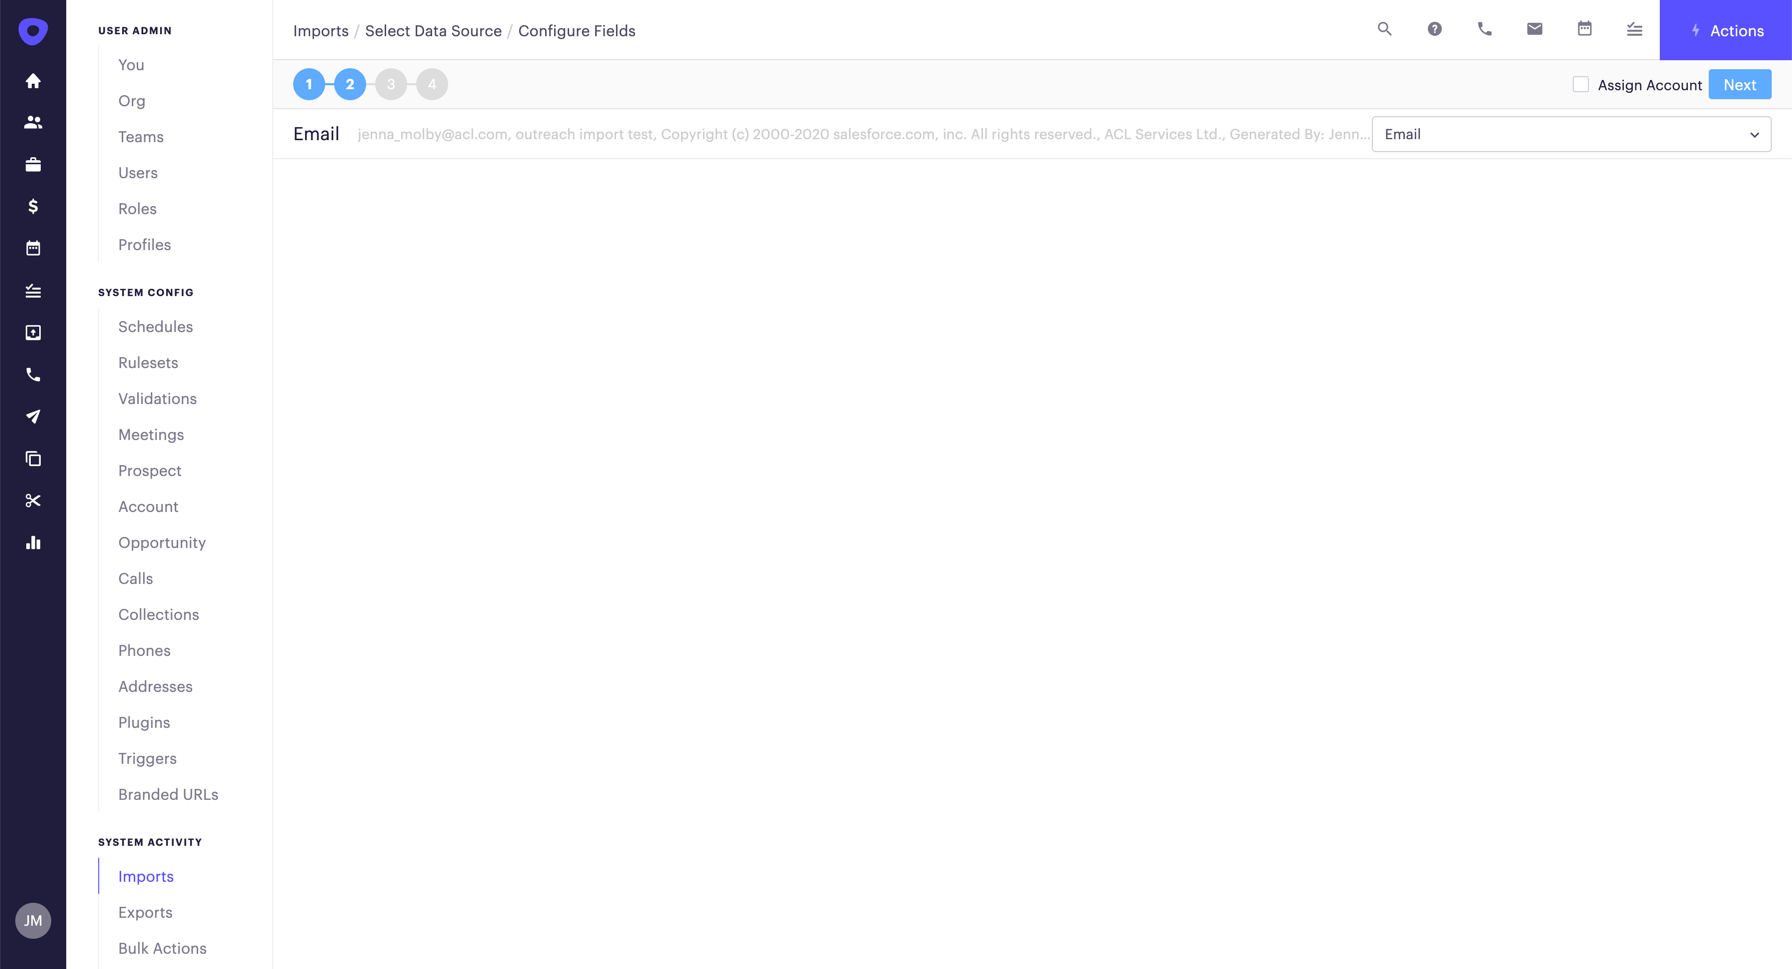
In step 3, the owner should be use owner from data. This will ensure that the owner of the prospect in Salesforce is the owner of the prospect in Outreach. Selecting a different owner from the dropdown will reassign prospects in Salesforce if your sync settings allow this. Add the tag for these prospects in the Additional Tag setting. The tag should include the date of the event, the event name, and any other filters (attended, no show, etc) to quickly highlight to Sales the event details.
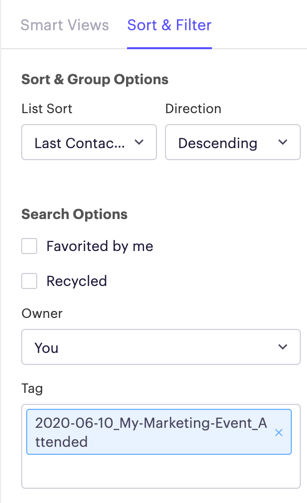
Once the tag is added, Sales can filter based on the tag using the Sort & Filter sidebar within the prospects tab. They will also see the tag when they view the prospect record directly.
Tips
If you have many duplicates in your Salesforce Org you might want to consider importing prospects based on Salesforce ID instead. This can be done by creating two Salesforce reports for each campaign. 1) Campaigns with Leads 2) Campaigns with Contacts. Add the 18-Digit Lead ID or 18-Digit Contact ID depending on the report type and save the report in the Unfiled Public Reports folder in Salesforce. Select the Prospect Salesforce Report option from the dropdown when uploading into Outreach and follow the steps to import. This is also a good solution if you don’t want marketing mangers to be exporting data from Salesforce.
You can reuse the same reports after each event. Create a report named “Post-Event Attendees” or “Post Event No Shows” and update the campaign name each time.
If you do not use Salesforce campaigns, you can export a CSV of email addresses directly from your marketing automation system and import them into Outreach to tag them.
Review and remove old tags regularly.
Create a naming convention for you tags, so Sales knows exactly what they are looking for.
Monitor follow up in Salesforce
You can view post-event follow up in Salesforce by syncing engagement status data from Outreach to Salesforce. Once this is enabled, you can pull reports based on Campaign membership, sequence name, and actively being sequenced. You can also view a lead or a contact record and see if the lead is currently on a sequence.
Tips
Engagement status fields can be synced with your marketing automation system and used as a filter for your email lists.
If you don’t sync Outreach engagement status data to Salesforce, you can pull reports using completed activities (tasks). However, this will not show you the name of the sequence the prospect is currently active.
Monitor follow up in Outreach
You can view post-event follow up in Outreach by navigating to the sequence and clicking on the insights tab. This will show you the performance metrics of your sequence, including how many prospects are active on the sequence, how many prospects are paused and the number of prospects contacted.
The overview tab of the sequence will show you how your prospects are moving through your sequence. This is a great tool to see if how prospects are moving through the sequence and if there are any roadblocks along the way. For example, if there is a phone call step that Sales is not completing, which is causing prospects not to move further in the sequence or if there is a particular email in the sequence that has a high unsubscribe rate. These are all indications that your sequence might need to be tweaked for future events.
Building and sending emails is Pardot’s bread and butter. The ability to customize the look and feel, decide exactly who to send to, and how you want to use emails is key to any marketing automation operation.
In Pardot, there are two types of emails that can work together but have distinct purposes: List Emails and Email Templates. (more…)
If I hear someone complain that they don’t like the email and landing page editor in Pardot, my first thought is: “your implementation partner didn’t set your templates up well for your needs.”
Don’t get me wrong, there are absolutely things in the editor experience that could be improved. But there are also a lot of things that can be built into the template to simplify the process for making updates, customizing, and minimizing the potential for error when the templates are being used.
Here are a few best practices to consider as you build out Pardot email templates: (more…)
It’s an increasingly competitive environment to try to catch anyone’s attention — your prospects, your customers, even that dude on Tinder (okay, kidding on that last one). But seriously — our span of attention just keeps getting smaller, and our inboxes keep getting fuller.
So how’s an email marketer to stand out in this environment? (more…)
Do you know you can turn any email template into a Pardot email template? With a couple of modifications to the HTML, you can have a fully functional Pardot email template which allows you to remove, edit and duplicate sections. In this tutorial, I will show you how to take any free, responsive email template and turn it into a Pardot email template.
The template
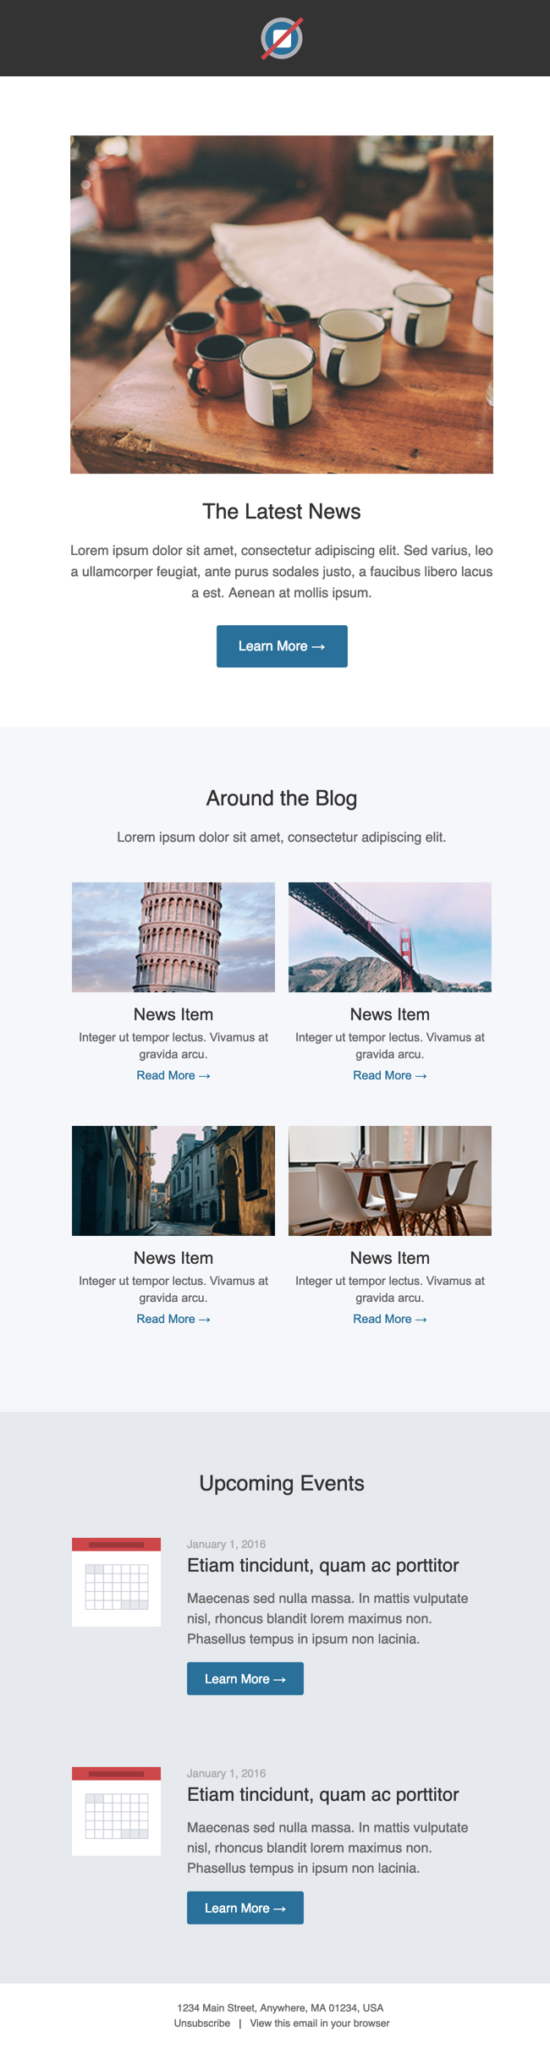
For this tutorial, I decided to go with this free, responsive email template from the folks at Litmus. Here’s what the template looks like:
Create your email template in Pardot
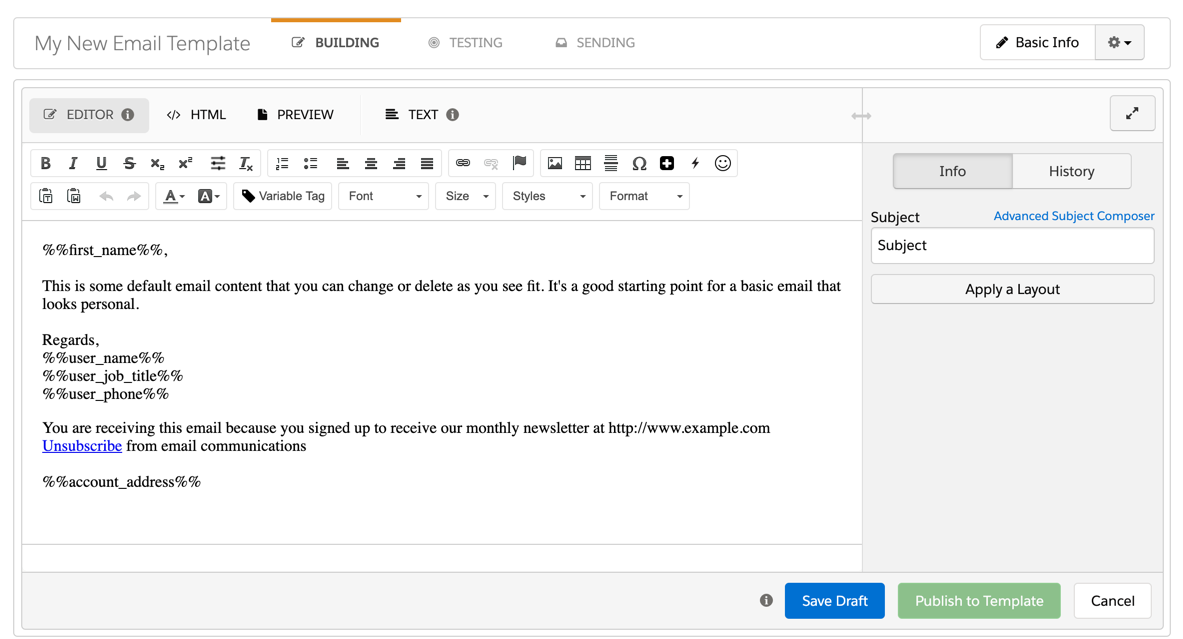
Create a new email template in Pardot by navigating to Marketing > Emails > New Email Template. Enter the required information and click next. When asked to select a layout click skip. Now you should have a brand new email template populated with the default Pardot content.
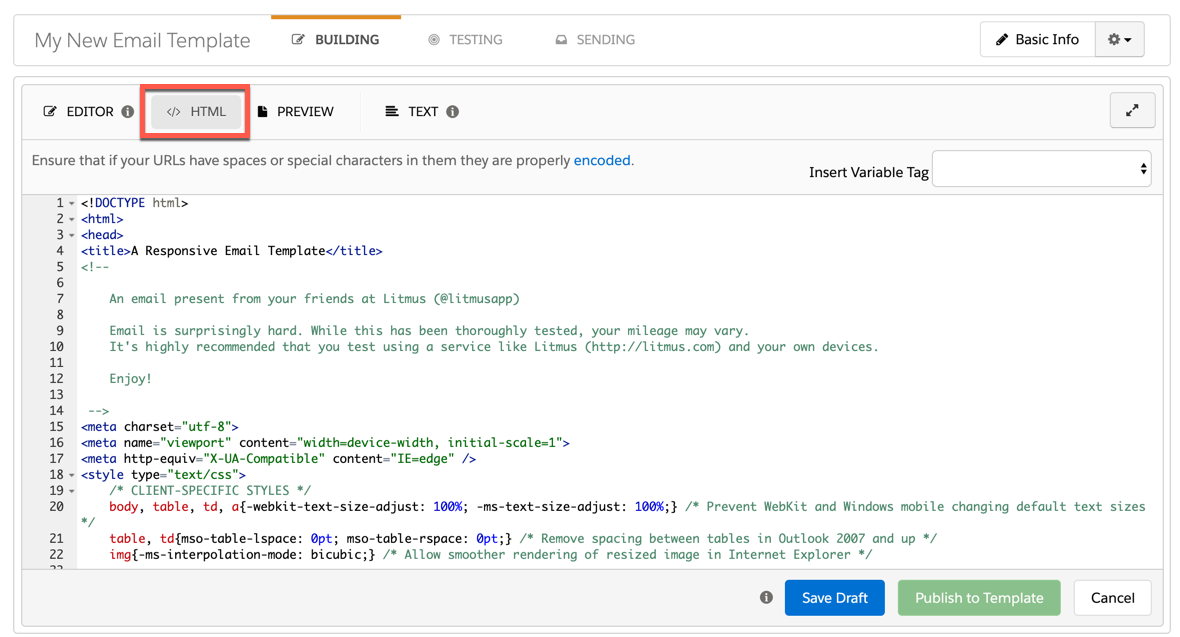
Open the email template you want to use in a text or HTML editor (Notepad works fine too). Copy the HTML and paste it into the HTML tab in the Pardot email editor.
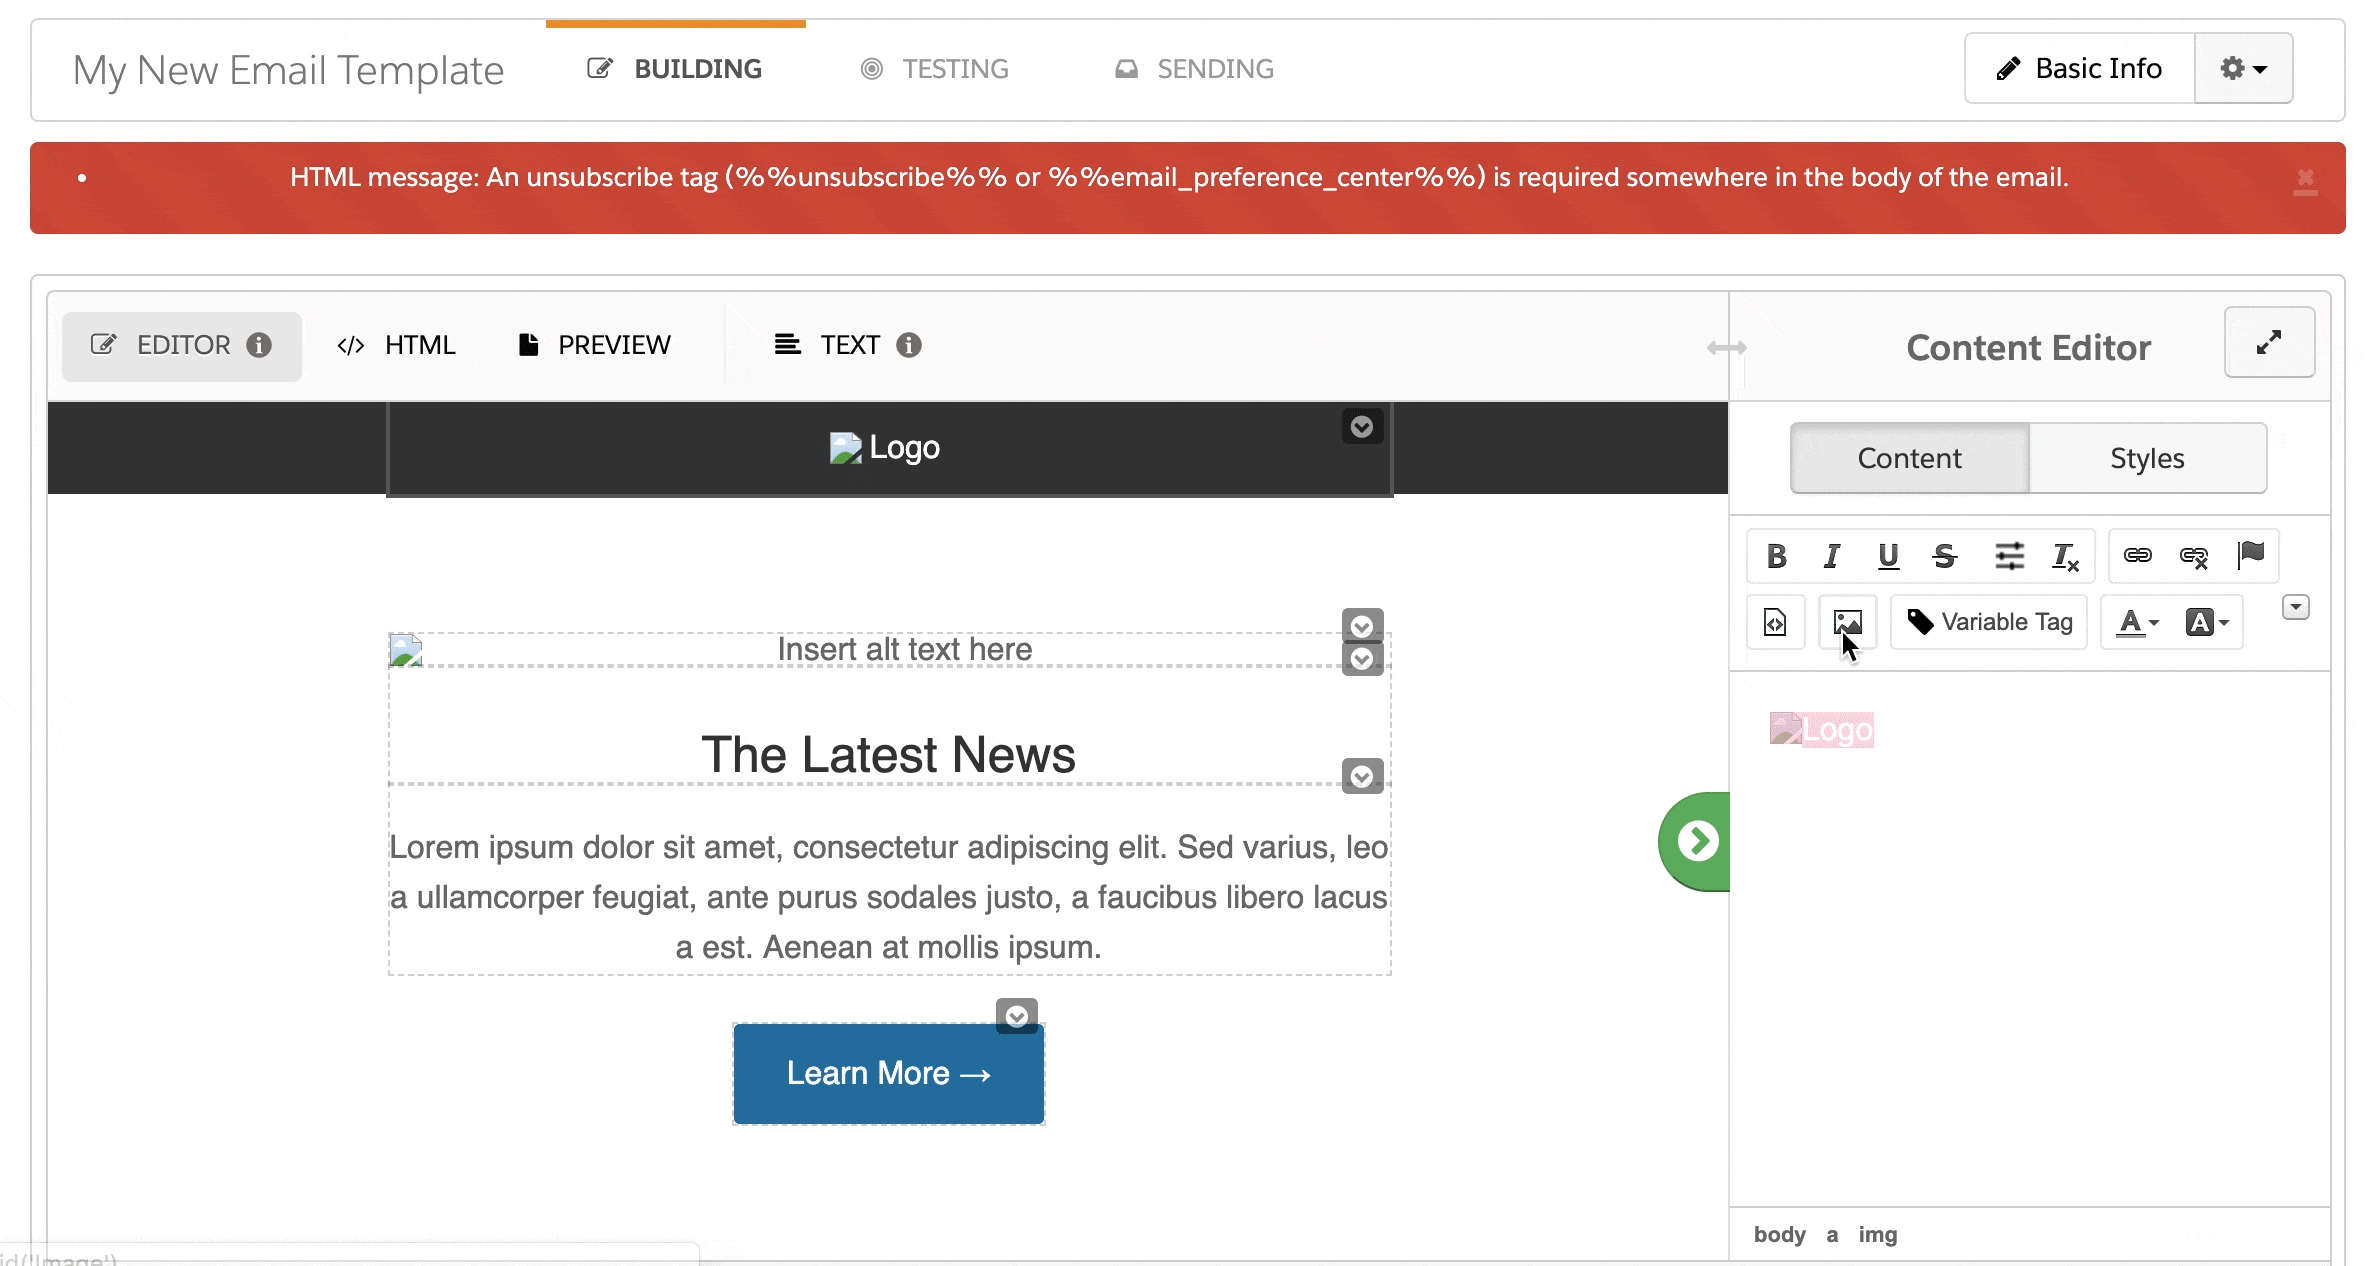
Now if you navigate back to the editor tab to preview your new template, you will probably notice some error messages, broken images, etc. Let’s dive into how to fix those.
Replace the image paths
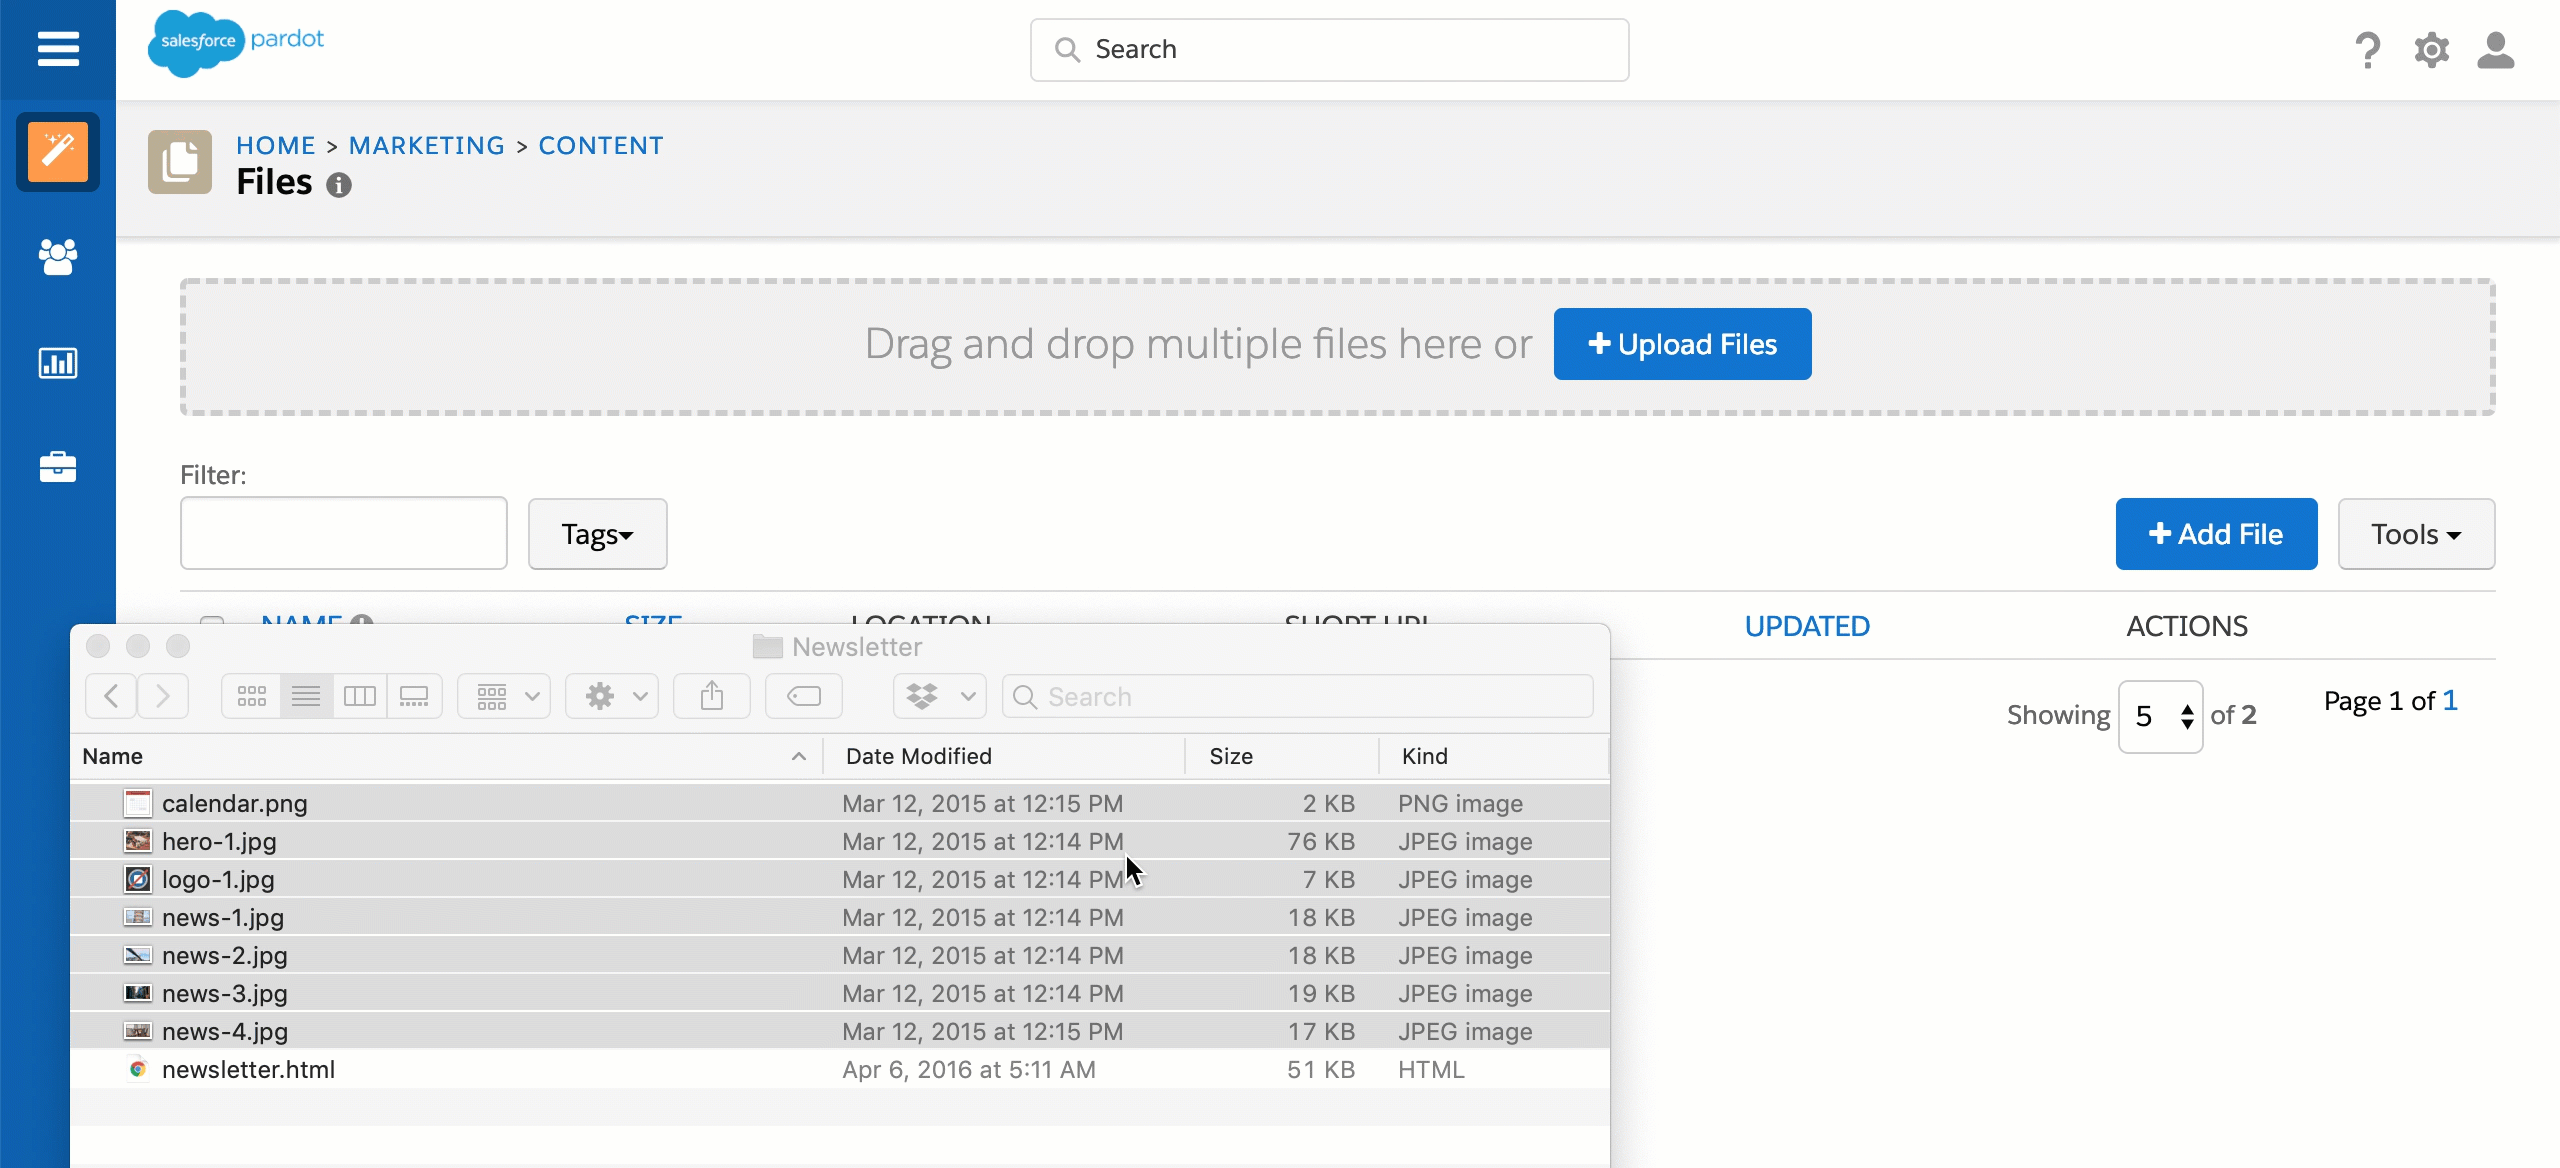
In order for your images to work within the Pardot editor you will need to upload the images to the Pardot content library and replace their paths within the template.
You can replace the image paths in the email editor by selecting on the broken image, clicking on the photo icon and searching for the new image within the Pardot content library.
Note: You can also edit the image paths directly in the HTML.
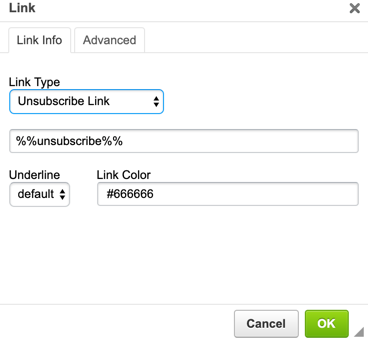
Add the unsubscribe tag
If your template already has a link in the footer for the unsubscribe you will need to modify it to use the Pardot unsubscribe tag. Otherwise, add a link to the footer for the unsubscribe.
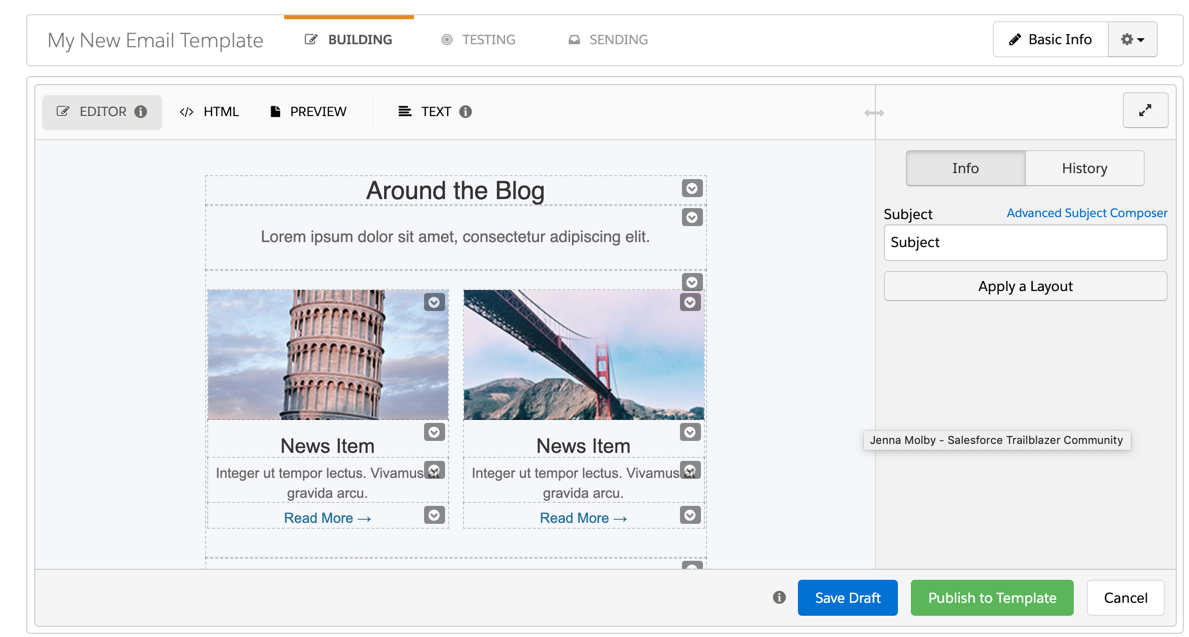
Here’s what my template looks like in the editor now.
Notice all the dotted lines and arrow icons in the editor?
The arrows and the dotted lines within the editor indicate that a section can be edited, duplicated, removed and moved up or down. By default, all table cells within your email have this applied to them. You can choose to leave it that way, but I always recommend “locking down” the template.
“Locking down” email template sections
There are a couple reasons why I recommend “locking down” your email templates:
Brand consistency: certain elements such as footer, header, etc should not be altered by someone who is using the template.
Formatting: Sometimes the email editor can strip out some HTML within a template. One way to prevent this from happening is to restrict what can be edited.
Pardot regions
To add section that can be duplicated, removed or reordered can be created by adding this tag to your DIV, TD, TR, or TABLE elements.
pardot-region="my-section"
Alternatively, you can use this syntax for creating a section that is only repeatable
pardot-repeatable="my-section"
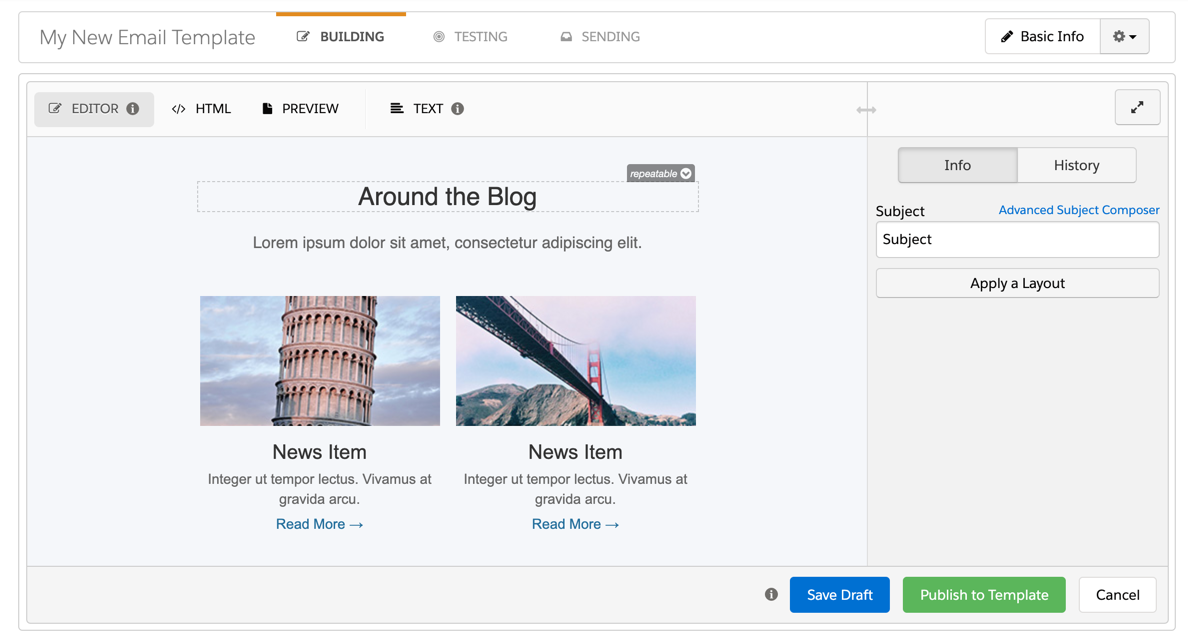
Here’s what my template looks like with an editable section. Notice how the rest of the dotted lines and arrows no longer appear? That’s because once you add at least one pardot-region to your email template, it “locks down” the rest of the template.
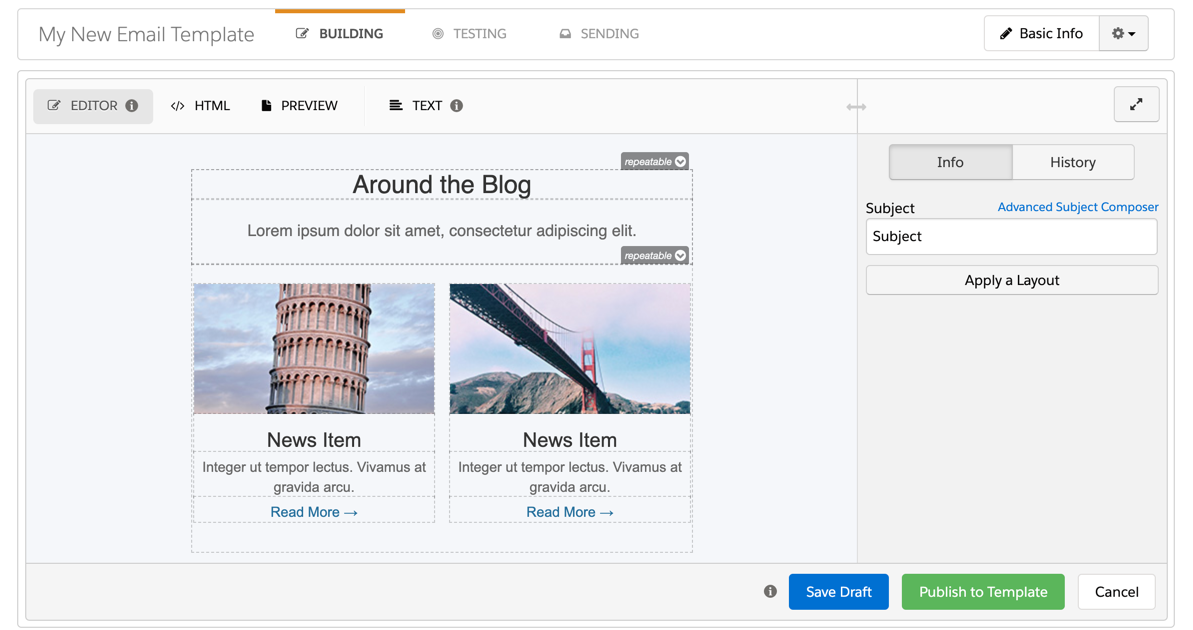
After adding the rest of the editable and repeatable regions to my template, here’s what the blog section looks like.
Here’s what the HTML for the template looks like now with the added regions.
That wasn’t too complicated, was it? Now you can turn any email template into an editable Pardot email template. Here are some good free email templates to get you started.


