In this tutorial, I will show you how to turn the default Pardot email preference page into a preference page that matches your brand. You will learn how to customize everything including the header, footer, form, and text.
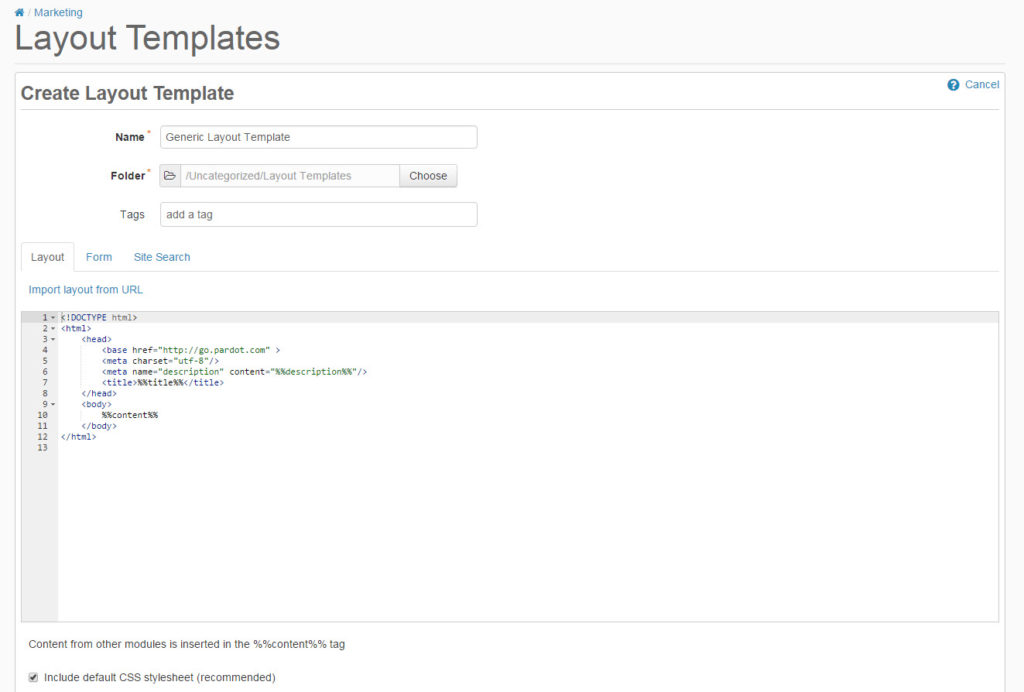
Step 1: Create a layout template
By default, the preference page uses the “Standard” layout template. You can edit the “Standard” template or create a brand new layout template. I recommend creating a brand new layout template that’s only used for the email preferences page.
Create a new layout template (Marketing > Landing Page > Layout Templates > New Layout Template) and paste your HTML into the template. Add the tag %%content%% where you want the preference center form to appear.
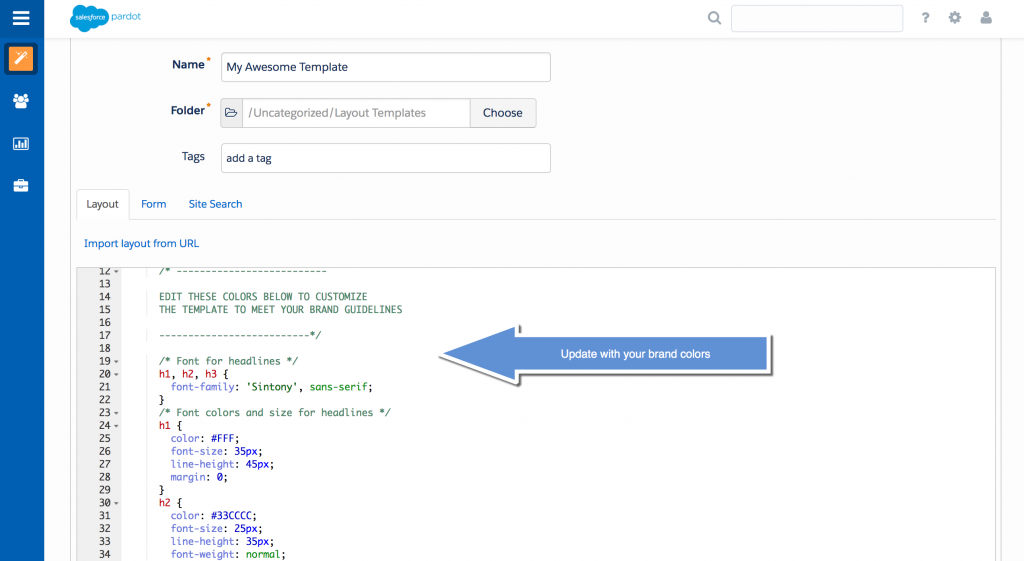
The preference page form can be styled as well to match your brand. To style your form, you will need to add some CSS to your layout template.
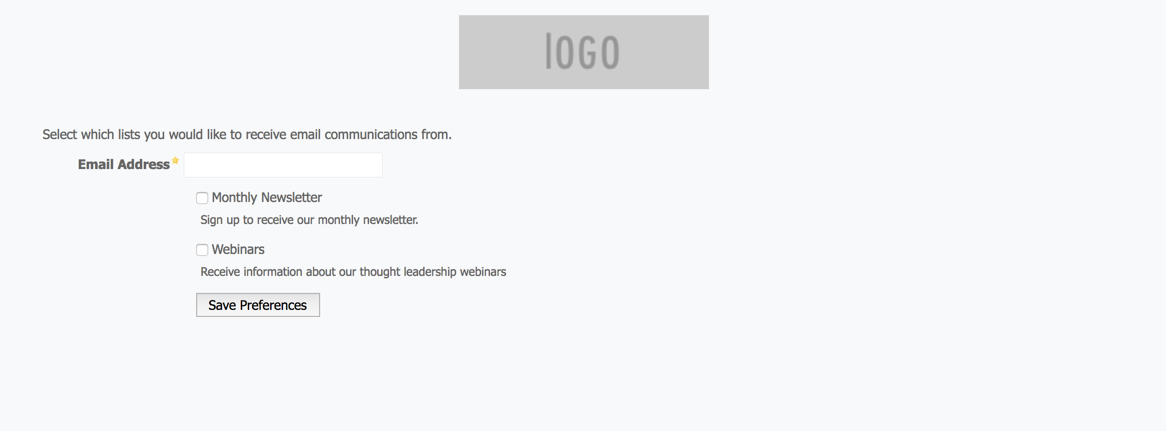
This is what my page looks like without adding any CSS to the form.
You can add whatever styles you want. Here are some elements you might want to style, along with the CSS classes.
Center the form and give it a width
body form.form {
    width:100%;
    max-width:500px;
    margin:0 auto;
}
Remove the left margin from the checkboxes
body form.form p.no-label,
body form.form p.email-pref {
    margin-left:0;
}
Change the font color, size, etc of the list name
body form.form p label.inline {
    font-size:15px;
    color:#5d5c5c;
}
Change the font color, size, etc of the list description
body form.form p.email-pref span.description {
    font-size:13px;
    color:#7b7a7a;
}
Change the label for “Email address”
body form.form p label {
    /* stack the label on top of the form field */
    float:none;
    text-align:left;
    /* label font styling */
    font-weight:normal;
    font-size:15px;
    padding-bottom:5px;
    color:#5d5c5c;
}
/* hide the required star */
body form.form p.required label,
body form.form span.required label {
    background:none;
}
Add some styling to the “Email address” field
body form.form input.text {
width:100%; /* give it a width to be responsive */
padding:5px;
}
Customize the submit button
/* Submit button properties */
body form.form p.submit input {
    background:#56CFD2;
    color:#FFF;
    border:0;
    padding:10px 35px;
    font-style: normal;
    font-weight: 800;
    text-transform: uppercase;
    line-height: 1.6923em;
    letter-spacing: 2px;
    cursor:pointer;
}
/* Submit button hover */
body form.form p.submit input:hover {
    background: #4ebfc2;
}
/* the submit button wrapper */
body form.form p.submit {
    margin-left:0; /* get rid of the default left margin */
    width:100%;  /* give it a width in order to center the button */
    text-align:center; /* center the button */
}
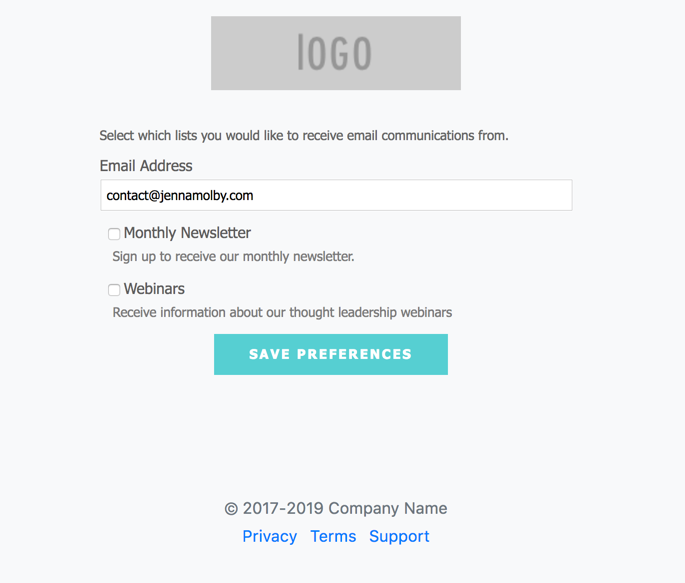
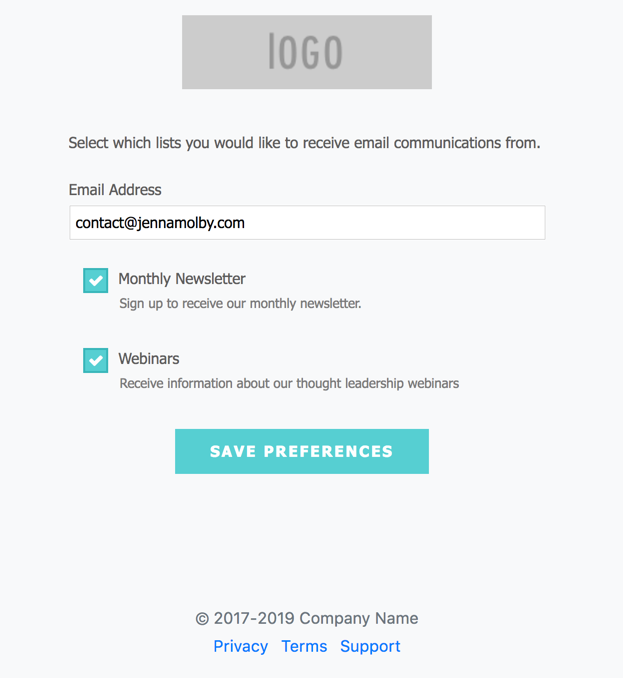
Applying all the styles left me with this result. Much better, right?
Learn how to build a net promoter score (NPS) survey directly in Pardot. I will show you how to create an NPS survey that asks the recipient to give you a score from 1 – 10 using an in-email rating that directs them to a Pardot landing page to collect more information.
What is a net promoter score (NPS)?
A net promoter score is a rating from 0-10 that answers the question ‘how likely are you to recommend us to a friend or colleague?’. This question is followed by ‘Why would you give us this score?’
Anyone who answers 10-9 is considered a ‘promoter’. This means they are satisfied with your product or service enough that they would gladly be willing to promote your company given you provide an easy platform for such promotion.
A rating of 8-7 is considered ‘passive’. These users are likely not to go out of their way to promote you but will still use your product.
Users who choose 6-0 are considered ‘detractors’. This subset has not had a great experience with your product or service.
Though a rating of 0-6 is never ideal, it can help identify problems with your product or service, promoting positive evolution, and providing an incentive for changing detractors and passives to promoters.
The concept
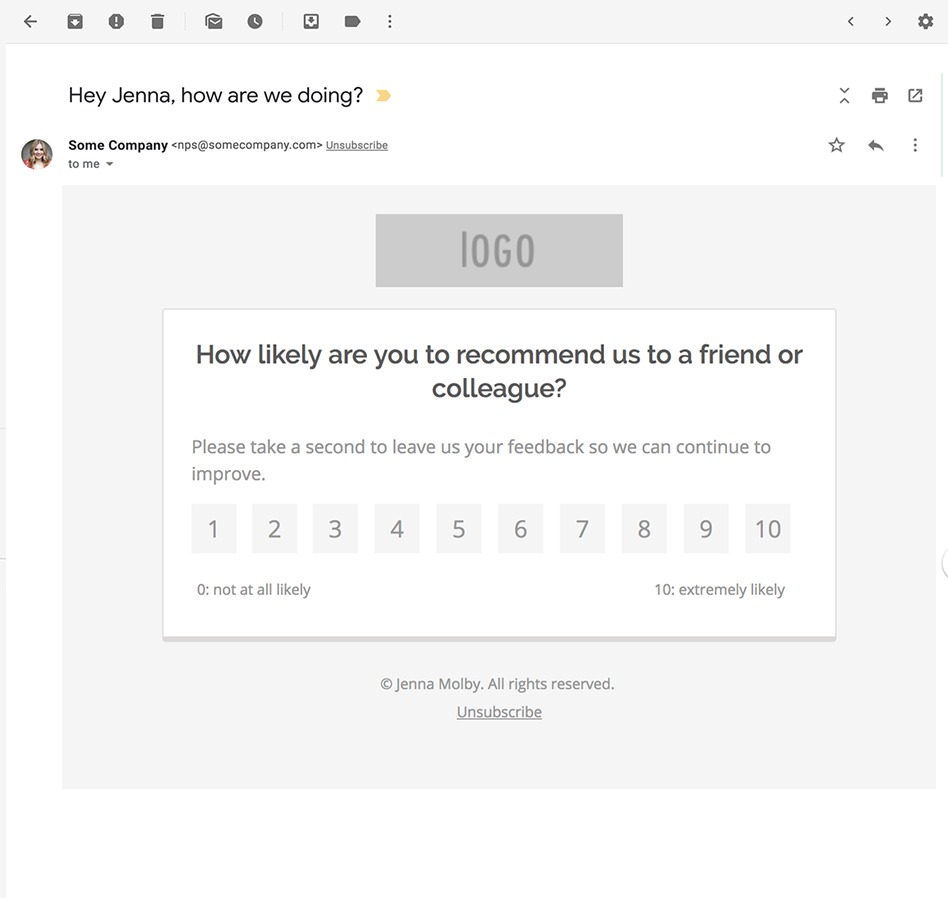
An NPS survey email will be sent out from Pardot that asks the recipient to rate you on a scale from 1 to 10.
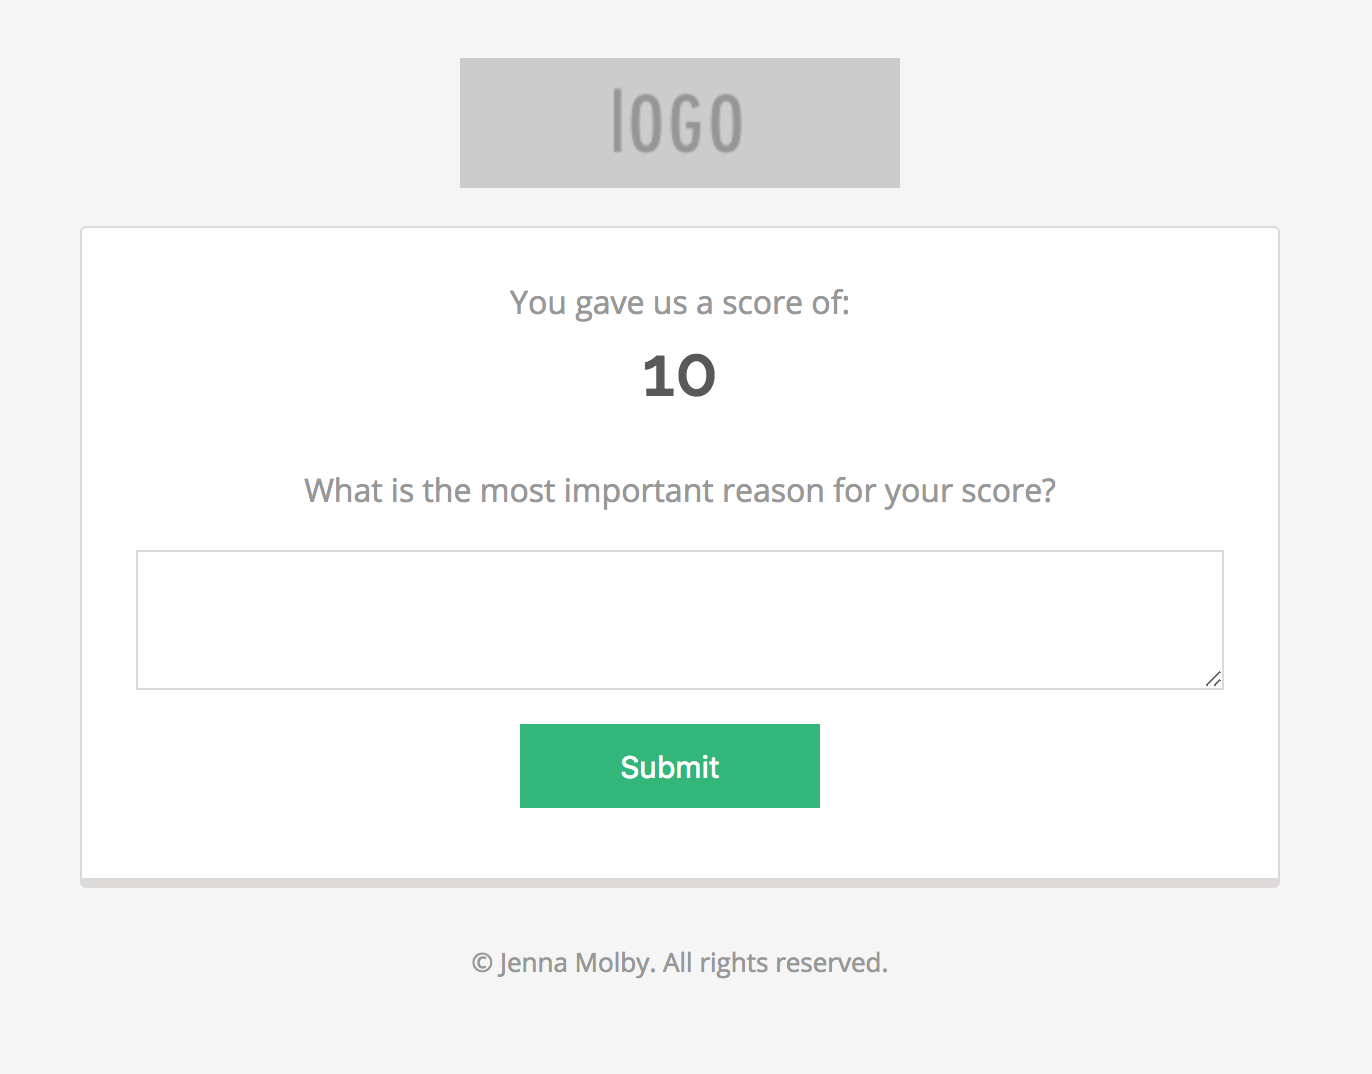
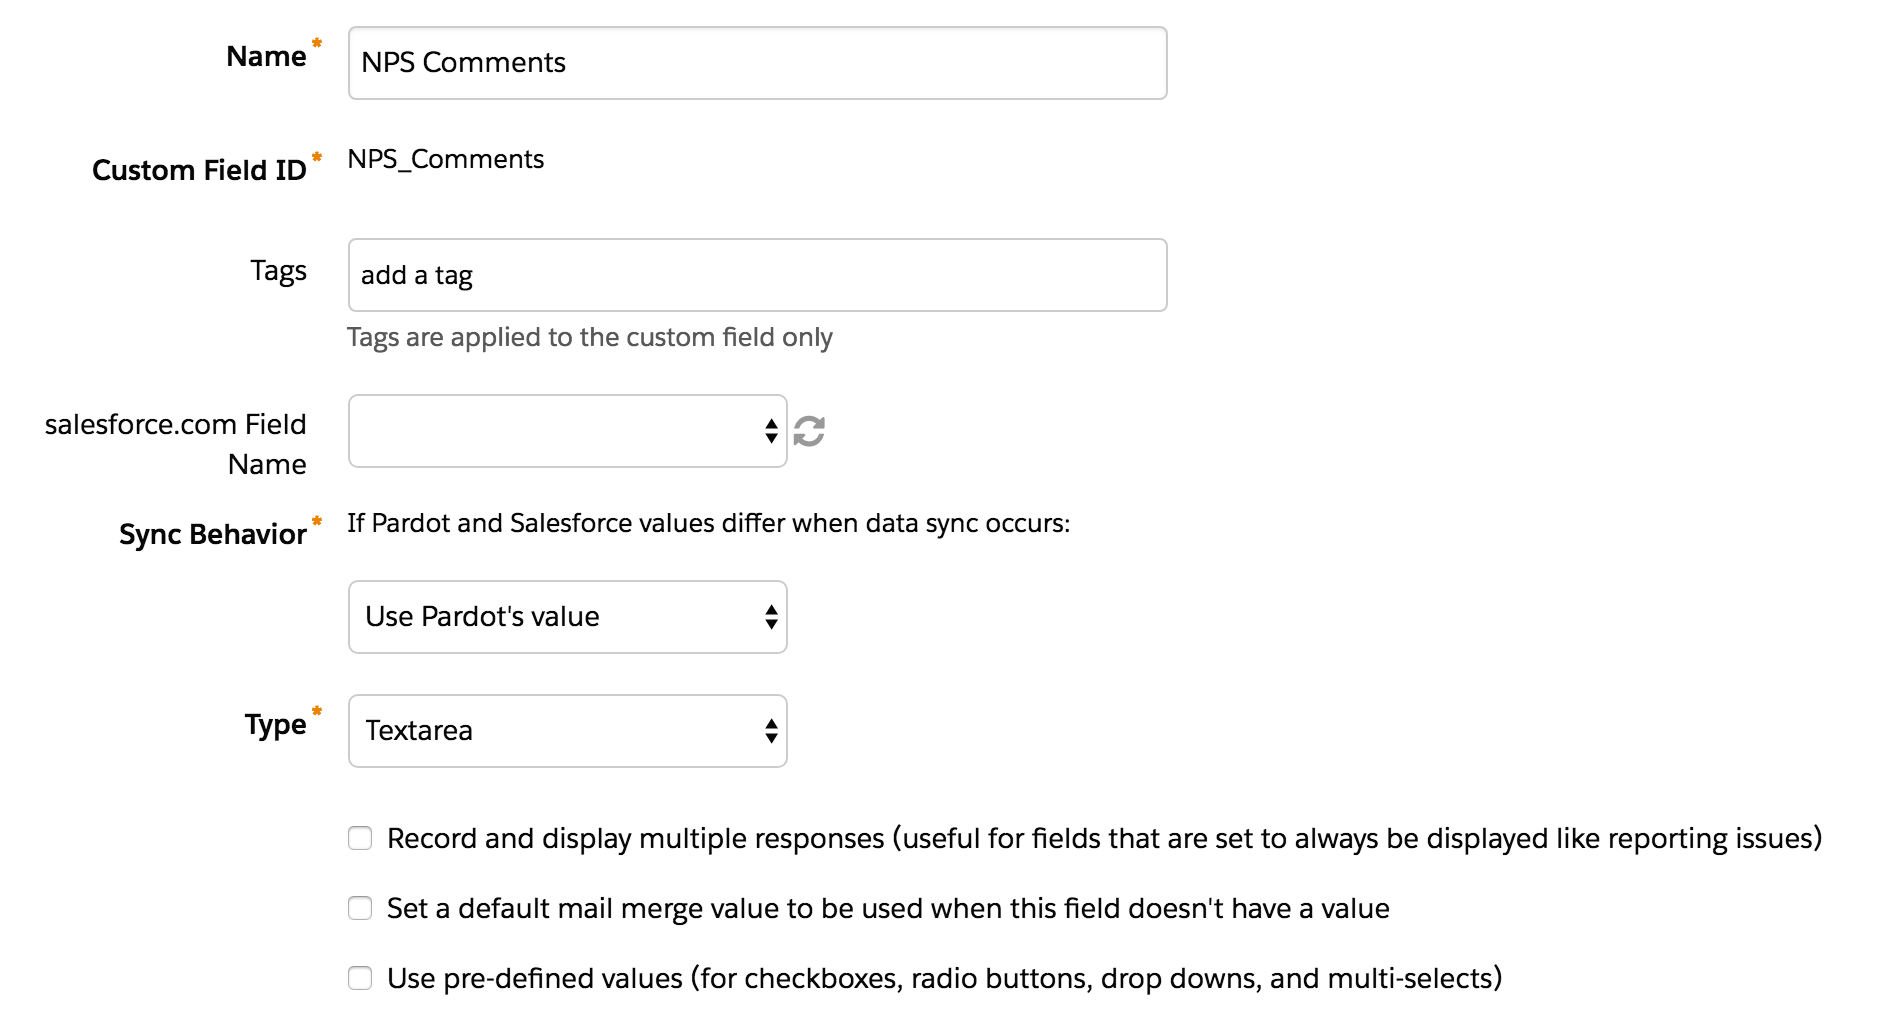
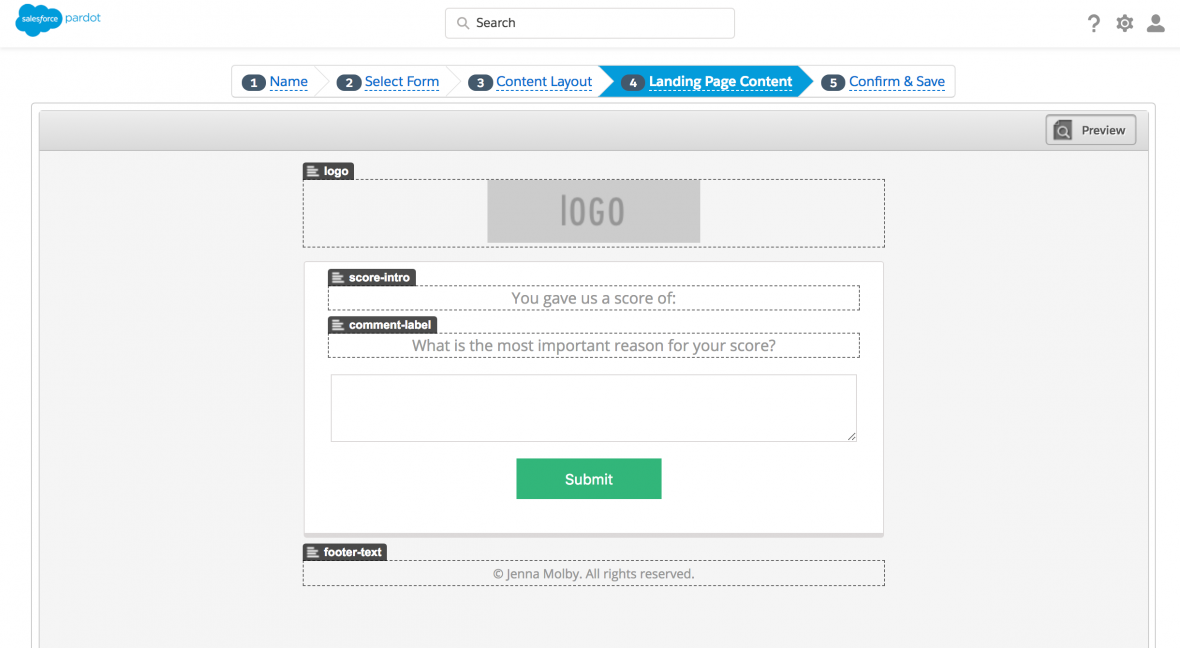
The recipient clicks on a rating and is directed to a landing page where they can fill out more information on why they gave you that rating.
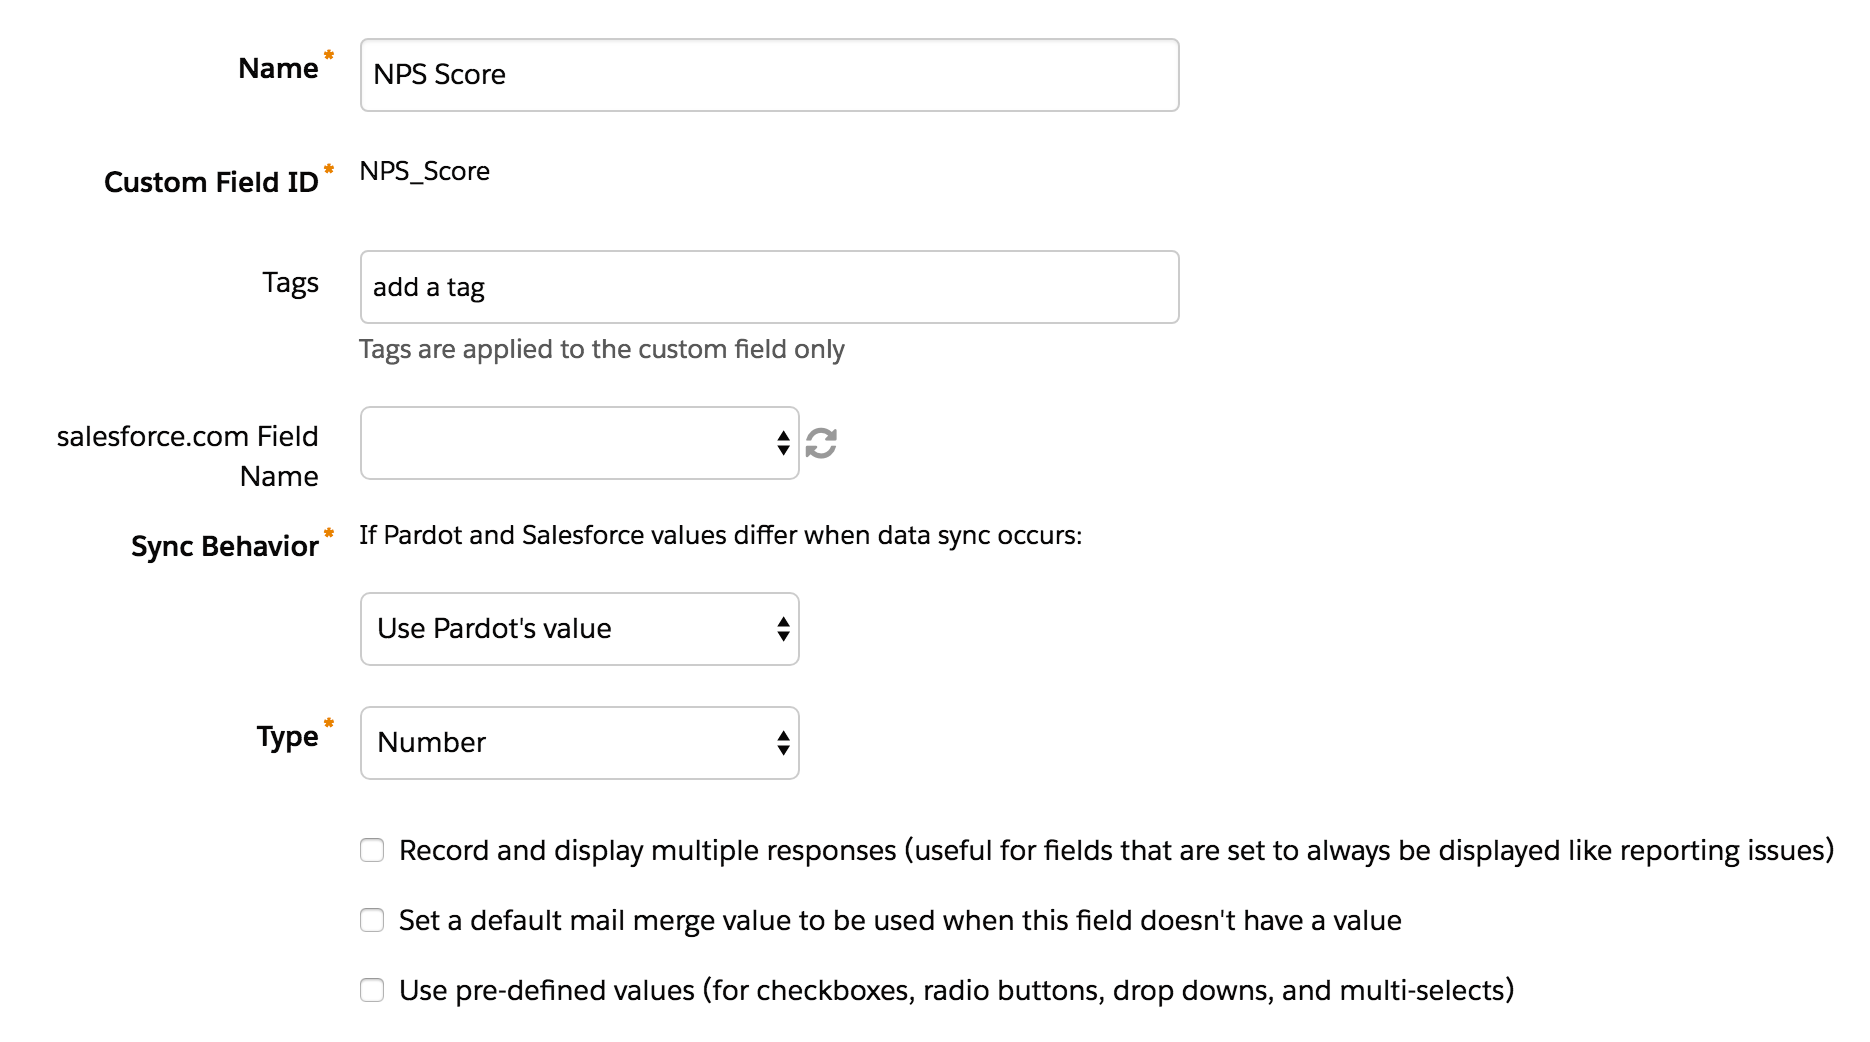
The rating the recipient selected from the email is automatically displayed on the landing page and passed to a hidden field in the form to capture in the Pardot database.
You can use my code to create your own layout template, or you can create your own. If you create your own you will need to add some CSS and JavaScript to make the form work correctly.
The JavaScript
JavaScript is used to take the nps score the recipient selects from the email and pass it to the hidden field within the form. It also is used to grab the recipient’s email address from the URL and pass it into the email field within the form. Here’s what the script looks like
<script type="text/javascript">
   // Parse the URL
   function getParameterByName(name) {
       name = name.replace(/[\[]/, "\\[").replace(/[\]]/, "\\]");
       var regex = new RegExp("[\\?&]" + name + "=([^&#]*)"),
       results = regex.exec(location.search);
       return results === null ? "" : decodeURIComponent(results[1].replace(/\+/g, " "));
   }
   // Give the URL parameters variable names
   var nps = getParameterByName('nps');
   var email = getParameterByName('email');

   // Put the variable names into the hidden fields in the form. selector should be "p.YOURFIELDNAME input"
   $('p.NPS_Score input').val(nps);
   $('.nps-score').text(nps);
   $('p.email input').val(email);
</script>
Note: The jQuery library will need to be loaded in order for this to work.
The CSS
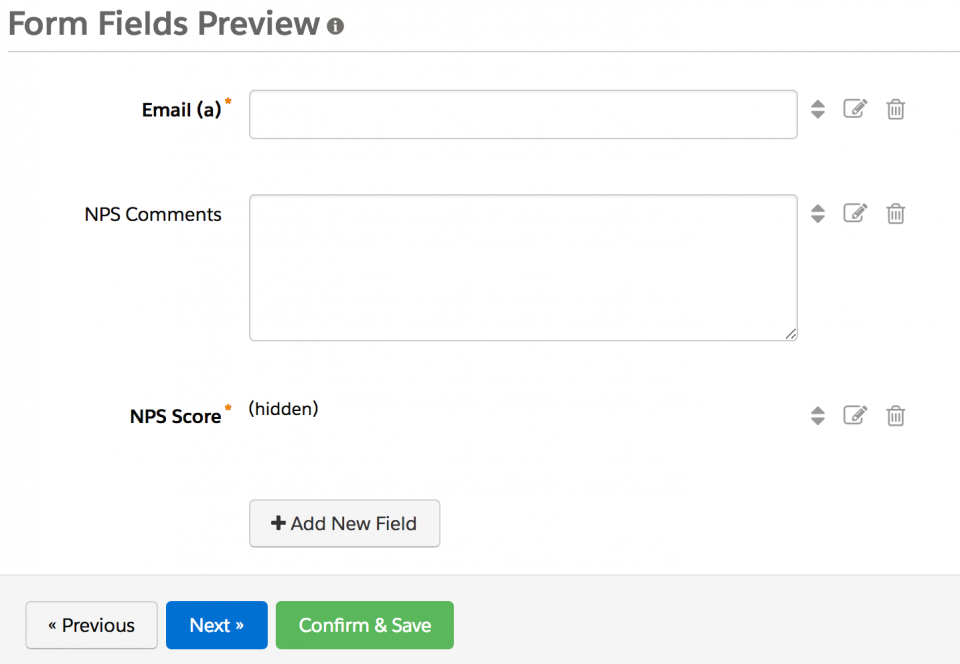
The only piece of required CSS is to hide the email field since we will be auto-populating it through the URL.
 p.email {
   display: none !important;
   }
4. Create the landing page
Once your layout template is set up, use it to create a new landing page.
5. Set up the email
Lastly, create an email that includes the option to select a rating, which directs the recipient to the landing page you just created. Here’s what my email HTML looks like:
And now, there’s another brand that’s making my heart throb. It’s Chubbies, ladies and gentlemen. Yes, the uber southern frattastic short shorts brand. Their subject lines are bold and absolutely hilarious.
Another interesting tactic of Chubbies’ is creative use of the From Name and From Email. Recent “senders” of Chubbies emails include:
Chubbies
Nana Chubs
Chubmiral Ackbar
MC Hammer
Oh Farts
You
Hungover You
As email marketers, we have a limited number of levers at our disposal to entice opens. All our recipients see in their inboxes is the subject line, the preview text, and the sender info.
So why not pull a Chubbies and tap into the From Name as another opportunity to get creative? Lets talk about what your options, what best practice says, and ideas to change things up.
What your email sender options are in Pardot
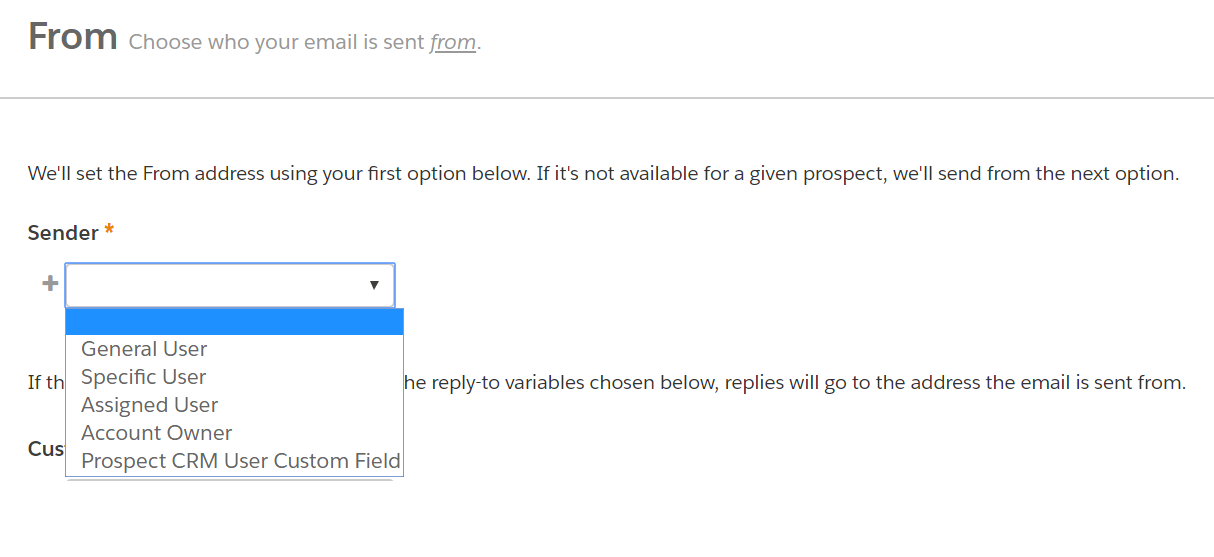
In Pardot, we have several options on who we can send emails from:
Prospect CRM User Custom Field – If you have a user lookup field on the lead/contact record in Salesforce, you can create a custom field in Pardot and then use that as the sender.
Account Owner – Send the email from the prospect’s account owner in Salesforce.
Assigned User – Send the email from the user who owns the prospect record. If the prospect is synced to Salesforce. this is the Lead or Contact Owner.
Specific User – Select from a list of your Pardot users to use as the email’s sender.
General User – Set a general address (like [email protected]) or a non-Pardot user to be the sender of the Email.
The first 3 options on the list may or may not apply to all prospects. If you have an unassigned prospect for example — they’re not going to have an Assigned User or Account Owner. If you pick one of these 3 options, Pardot will make you set a fallback scenario with a Specific or a General User.
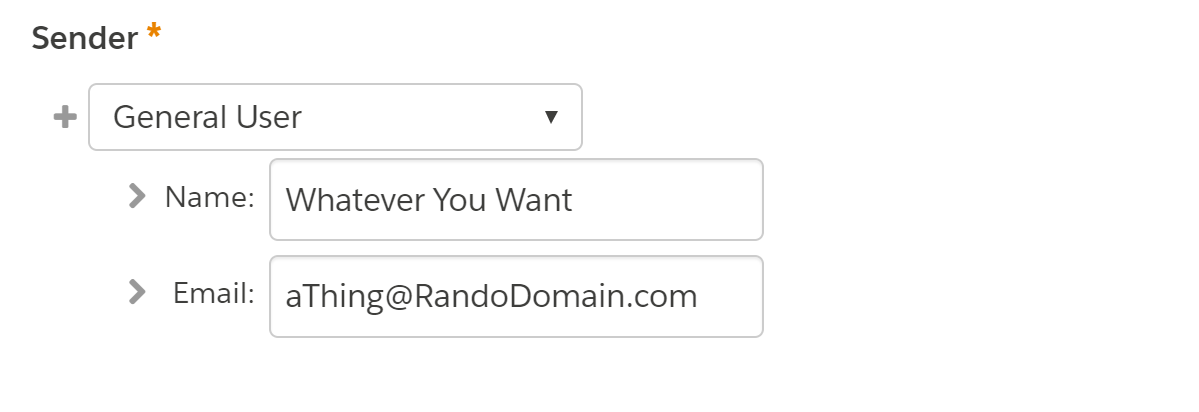
Setting a General User in Pardot
With the General User option, you can literally put whatever you want. You type in a name and email, and bam.
In most email clients, users see the Sender Name in their inbox preview, and only see the Sender Email when they actually open the email.
For example, if “Chubbies” is the Sender Name, then we don’t know the Sender Email address until we open it.
Guidelines on “From” name and address
General best practice guidance on Sender Name and Email is to pick something people will recognize and trust.
Many ESPs recommend NOT to use an individual’s name, and to use the company/brand name instead.
In most situations it’s much better to use a company or brand name over an individual person’s name, unless that person is the brand, like Madonna or Betty Crocker. If you have a good reason to use a person’s name and it’s not a brand, follow it with a comma then the company or organization you’re from.
In most situations, you want to use a brand name your recipients can instantly recognize as yours. It’s normally a bad idea to use a person’s name, unless that person is your brand, or there is a direct relationship between the person and recipients.
I don’t think this is the best call in many B2B or considered purchase sales environments.
I generally recommend using a person’s name or a person’s name + the company name. This is a great opportunity to build name recognition for your reps who are out there prospecting and trying to get appointments. Having a real person’s name/email as the sender has also been shown to positively impact deliverability.
My experiment with from name and email
Not all brands (mine included) can get away with sending people emails from “Hungover You.”
But I’m dying to see if a Chubbies-like strategy could positively impact open rates.
So my not-statistically-significant experiment with my modestly-sized list was to send this week’s blog digest email as an A/B test.
Version A
Sender: The Spot for Pardot
Version B
Sender: Future Dwight
Results to follow…
If You Want to Think Outside the [In]Box
So we have “best practice” guidance on one hand.
And Chubbies’ creative comedic genius on the other.
There aren’t that many examples of brands playing around in this area of email marketing. If you’re interested in running your own experiment, I’d suggest a few basic parameters.
1. Use a real sender email
While you CAN put anything you want in the Sender Email spot, keep it as a real email address that people can reply to… because you know, CAN-SPAM.
2. Use your own domain
Use your domain so that recipients’ email servers will recognize it as legit (that’s why you went through the trouble of setting up DKIM and SPF records, remember that from your implementation?) And definitely stay away from free email providers (i.e. don’t send from @gmail.com).
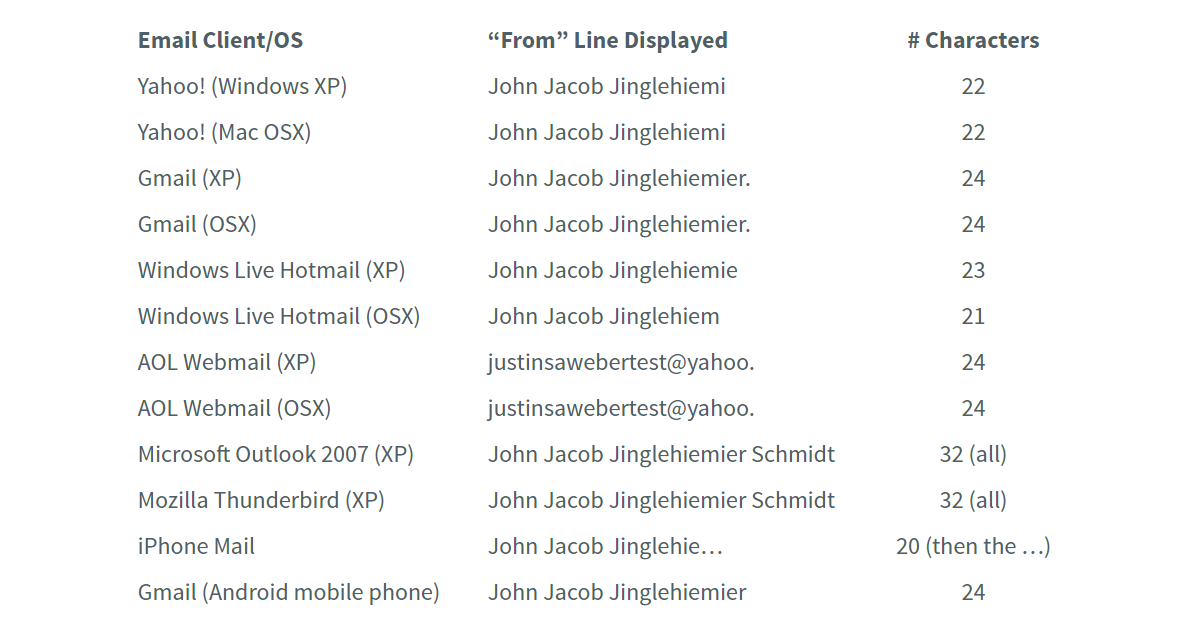
3. Stay short & sweet
Keep in mind that some email clients cut off long “From” names. An AWeber strategist ran a test emailing himself from “John Jacob Jingleheimer Schmidt” and here’s what he found:
Apparently JJJS is not as great of a name for inboxes as it is for camp songs. Don’t tell his mother.
4. Stay on brand
Of course, keep your experiments consistent with your brand and know your audience. Weird senders for men’s leisurewear? Totally cool. Weird senders for finserv, healthcare, and other super serious things? Maybe tread cautiously.
But other than that?
Have at it, ya mad scientists!
If you play with this, let me (and your fellow readers) know what you find in the comments.
“You automated everything so well that we’re just going to let it run and leave it alone. That’s the point of marketing automation, right?”
My team just wrapped up a project to build a series of big, bad Engagement Studio programs. This customer was particularly fun to work with because their whole business is powered by the Salesforce platform — sales, service, operations, finance, and of course, marketing.
Not only were we able to build a solid communication cadence for them, we also leveraged connected campaigns to build some stunning dashboards in Lightning showing how each marketing touchpoint influenced sales for the month.
So those words above, from the mouth of that customer, hurt my heart a little there. Okay maybe more than a little. Here’s why:
1. Successful programs never go in the “forget it” pile
Automated programs can free up time and resources in a big way. If you whip up an Engagement Studio program to manage routine, repeatable communications, you don’t have to think about it every day. How awesome is that?
But you shouldn’t not think about it for FOREVER. Monthly check-ins to monitor performance help ensure everything stays on track and is working as designed.
2. You should constantly one-up yourself
The best marketing automation strategies are those that evolve.
People change. Platforms change. Tactics change. The competition changes.
The beauty of a platform like Pardot is that you can automate repetitive tasks and free up time to ask “what’s next?” Not to settle into the slightly improved status quo.
3. The technology changes constantly
Continuing with the theme of change, can we talk about how the Pardot product team is on overdrive releasing new features lately? As this awesome new functionality is released, reviewing how it can be leveraged to support your company’s efforts is key.
Repeating Engagement Studio programs, for example, would have totally changed our thought process on how we designed the solution for this particular client if it were available 3-4 months ago.
4. Sometimes data will change your mind
When a program has run for 30, 60, or 90 days and you’ve run through a full sales cycle, you will have extremely valuable information to inform future efforts. You’ll know more on what is enticing opens, soliciting clicks, and most importantly, what’s actually converting into actual closed won opportunities.
Think “let your conscience be your guide,” Jiminy Cricket style… except strike conscience and insert data.
5. Content has a sell-by date
Comedians can’t tell the same jokes over and over.
Chrissy Teigen can’t do headband of the day for the rest of her life.
Okay I’ll stop, you get the idea. You need fresh copy and design from time to time too, yo.
6. “Forgetting it” means you’re missing valuable opportunities in the now
“Newsjacking” events and anchoring to time-sensitive things can work wonders (WONDERS!) when paired with automated programs.
One of our other clients, for example, frequently sends out emails with the call-to-action to book a meeting with sales. When we link this to an actual event — like a tradeshow, community gathering, or other milestone — the open and CTR metrics more than double.
This is a huge opportunity that is utterly squandered if you’ve filed marketing under “forget it.”
(PS SalesLoft is my newsjacking crush — their ridiculous antics at Dreamforces past are such a smart way to do big things with a not-so-big budget.)
To sum it up: Set it & don’t forget it
Ongoing maintenance — whether that’s by an in-house resource or by a consultant — is a must for any successful marketing automation programs.
Someone’s gotta make sure you’re efficiently leveraging the latest and greatest features of the platform, that your messages are hitting home, that you can pivot and seize opportunity, and that the data confirms you have a winning strategy.
Have strong feelings about this too? Random musings to share? Let’s hear it in the comments!
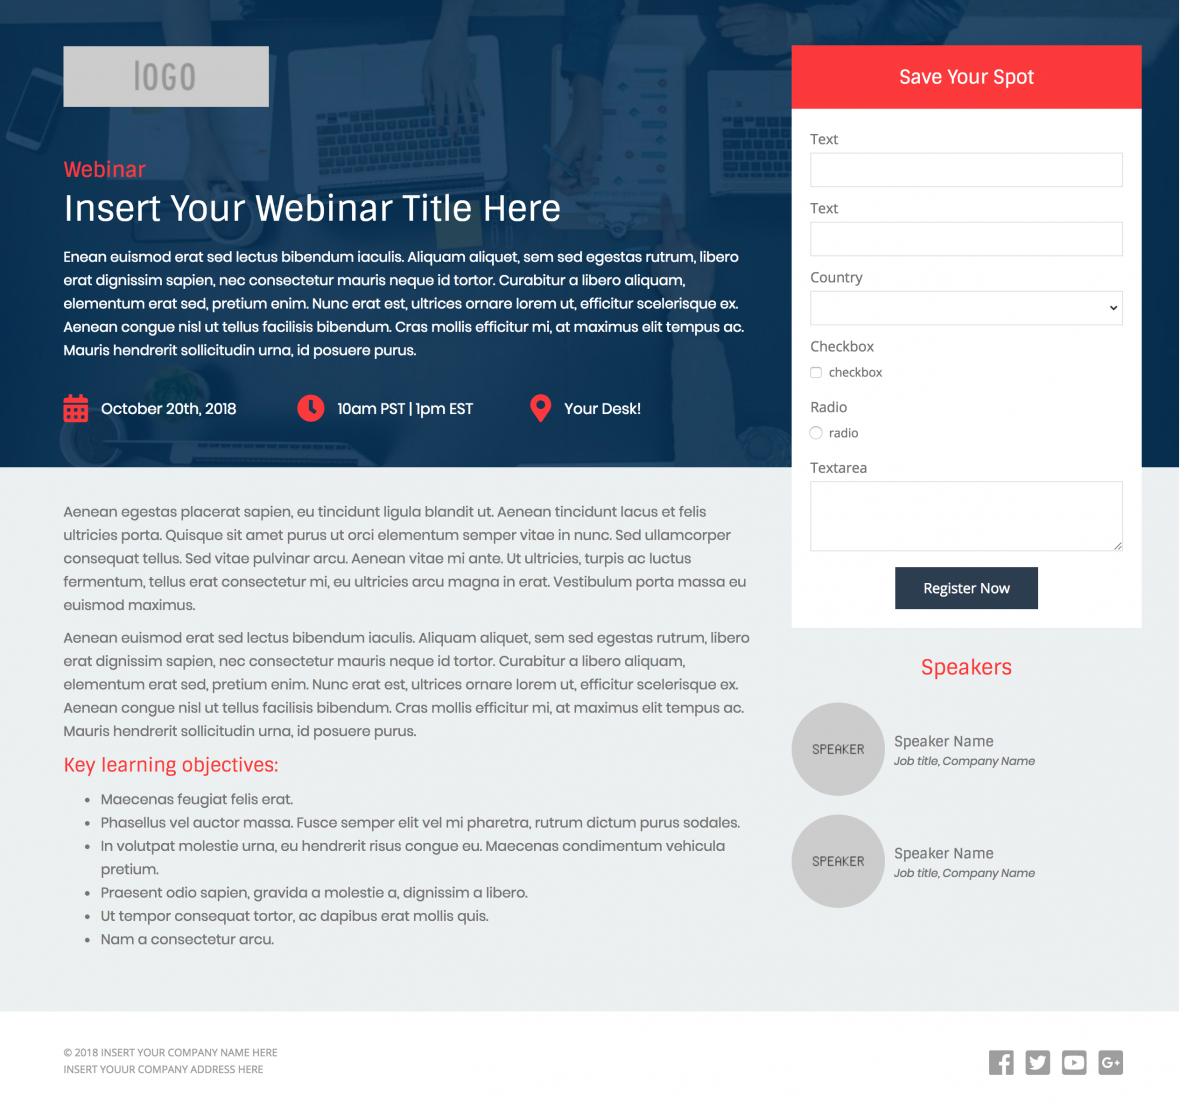
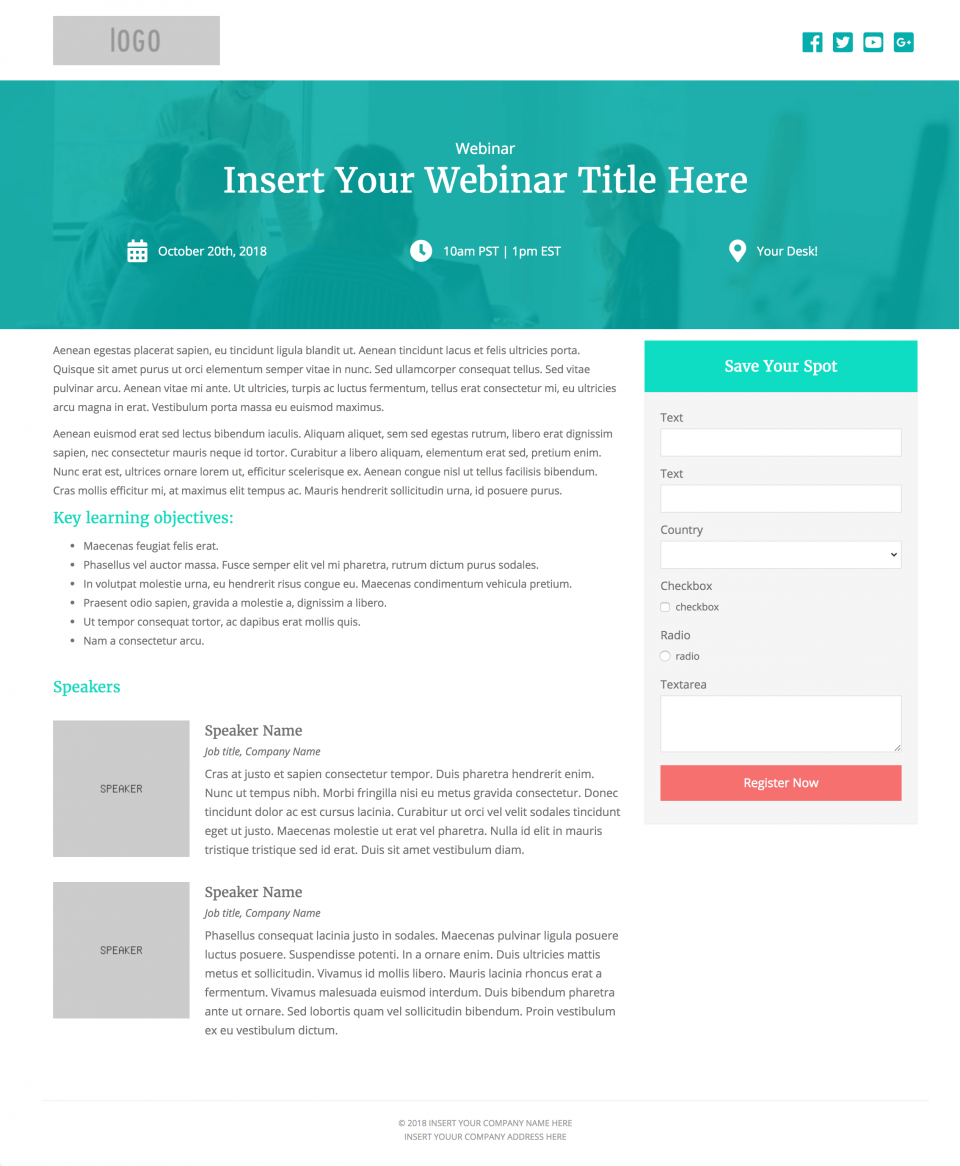
Create beautiful, responsive landing pages in Pardot by using one of these 2 free Pardot layout templates. These landing page templates are designed specifically for events such as webinars or trade shows, but they will work well with any landing page that contains a form.
Terms
These templates are free for both commercial and personal projects. No attribution is required, however, if you use them I would love to see how you customize them. Share your templates with me through Twitter, email, or in the comments below.
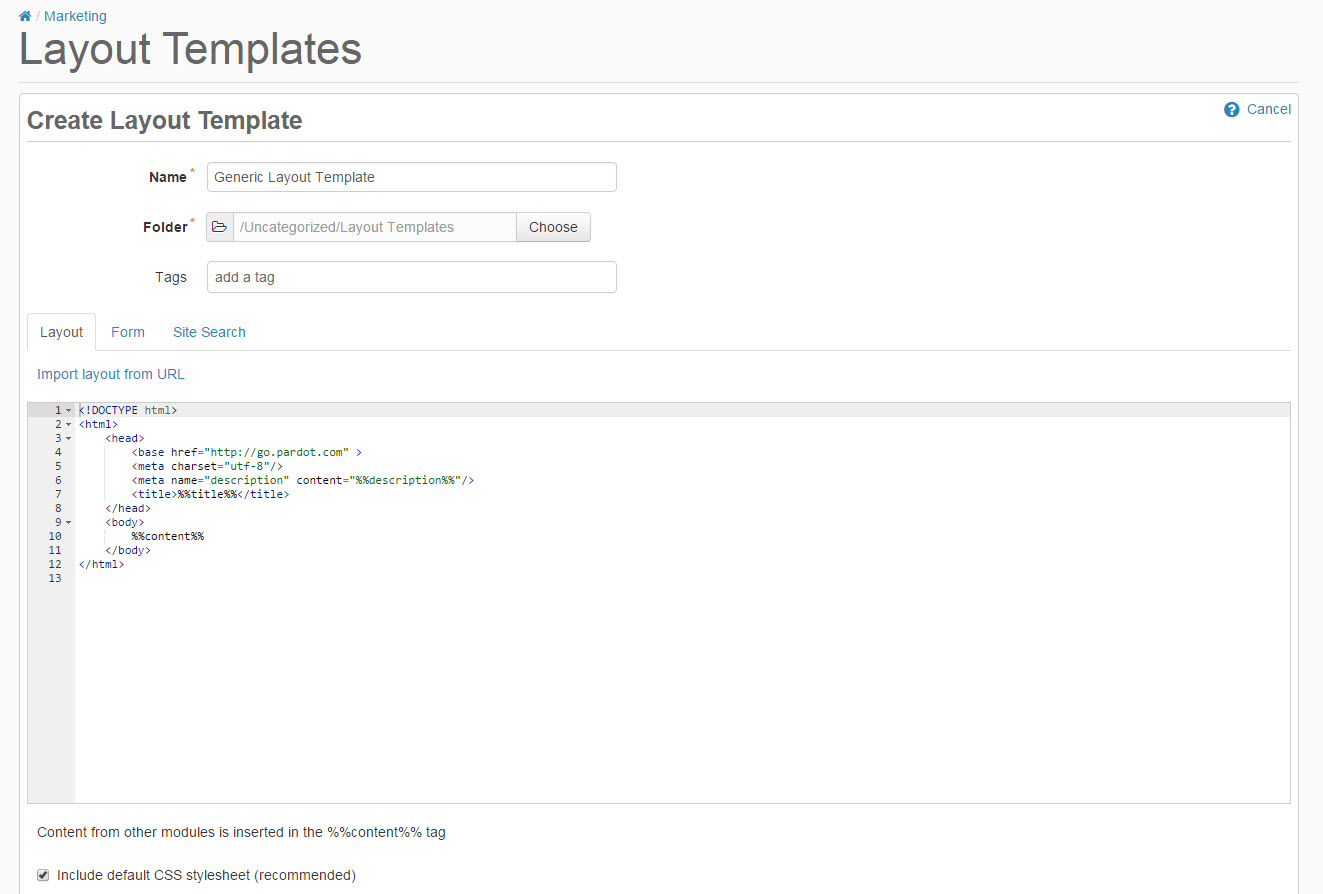
1. Create a new layout template in Pardot (Marketing > Landing Pages > Layout Template > Add Layout Template). Give your layout template a descriptive name and add your desired tags.
2. Copy the link to the template by clicking on one of the ‘copy link’ buttons below. This will copy the URL to your clipboard.
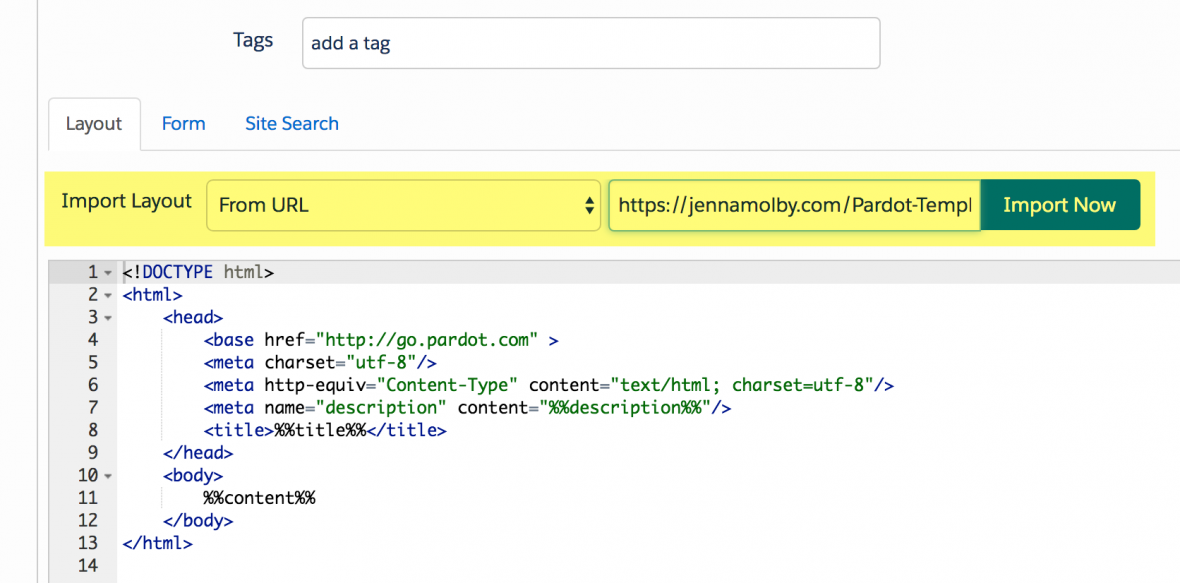
3. Navigate to the import layout drop down and select from URL. Paste the URL to the template into the text field and click import now.
Customizing Basics
All templates use the Bootstrap Framework and use Font Awesome for the social media icons. The CSS is directly in the template (no external CSS files are referenced other than the Bootstrap and FontAwesome library). You can easily modify the template to meet your branding requirements by modifying the hex codes directly in the template which are commented clearly within the template file.
Create beautiful, responsive landing pages in Pardot by using one of these 2 free Pardot layout templates. These landing page templates are designed specifically for events such as webinars or trade shows, but they will work well with any landing page that contains a form.
Terms
These templates are free for both commercial and personal projects. No attribution is required. However, if you use them, we would love to see how you customize them. Share your templates with us through Twitter, email, or in the comments below.
1. Create a new layout template in Pardot (Marketing > Landing Pages > Layout Template > Add Layout Template). Give your layout template a descriptive name and add your desired tags.
2. Copy the link to the template by clicking on one of the ‘copy link’ buttons below. This will copy the URL to your clipboard.
3. Navigate to the import layout drop down and select from URL. Paste the URL to the template into the text field and click import now.
Customizing Basics
All templates use the Bootstrap Framework and use Font Awesome for the social media icons. The CSS is directly in the template (no external CSS files are referenced other than the Bootstrap and FontAwesome library). You can easily modify the template to meet your branding requirements by modifying the hex codes directly in the template which are commented clearly within the template file.