Product Note: Marketing Cloud Growth and Advanced are editions of Marketing Cloud Next and have also been referred to as Agentforce Marketing.
In February 2024, Salesforce released Marketing Cloud Growth Edition, its first marketing automation platform built fully on the Einstein 1 Platform (a.k.a. “On Core”). Marketing Cloud Growth Edition has been rapidly evolving and expanding the features of this new solution ever since, and Account Engagement (f.k.a. Pardot) users are about to get a taste of it.
Update! In the Dreamforce ‘24 Marketing Keynote, Salesforce announced that all Account Engagement orgs can get Marketing Cloud Growth provisioned at no additional cost. Previously, this offer was only for orgs with Growth Edition Account Engagement, but it now includes all orgs with a current edition of Account Engagement. A banner notifying all Account Engagement orgs that they can now get access to Marketing Cloud Growth Edition was published on October 15th. This blog has been updated to reflect the most recent news around this offering.
In this post, we’ll cover how to take advantage of the offer and use Marketing Cloud Growth alongside Account Engagement.
A Note on Naming
Now the naming of this new tool has caused quite a bit of confusion in the Salesforce community as it seems to change on a weekly basis. When launched, this new solution was referred to as “Marketing Cloud Growth Edition” or “Marketing Cloud on the Einstein 1 Platform”. During Dreamforce, Advanced Edition was announced, so this solution became “Marketing Cloud Growth or Advanced Edition” or “Marketing Cloud built on Data Cloud”. Finally, during the Winter ‘25 release, this tool started showing up in Salesforce documentation as just “Marketing Cloud” or the “Marketing Cloud App”, much to the chagrin of Marketing Cloud Engagement users. Now, if you are using Marketing Cloud Growth with Account Engagement, it is being referred to as “Account Engagement on Marketing Cloud” but also “Account Engagement powered by Data Cloud”.
Confused? Yes, me too. But all this is to say there is one new Salesforce Marketing tool that is built on core to bring users a truly unified marketing experience. For simplicity, we will continue to refer to this tool as “Marketing Cloud Growth” for this blog post.
What Account Engagement Users Need to Access Marketing Cloud Growth Edition
- A current instance of a Marketing Cloud Account Engagement
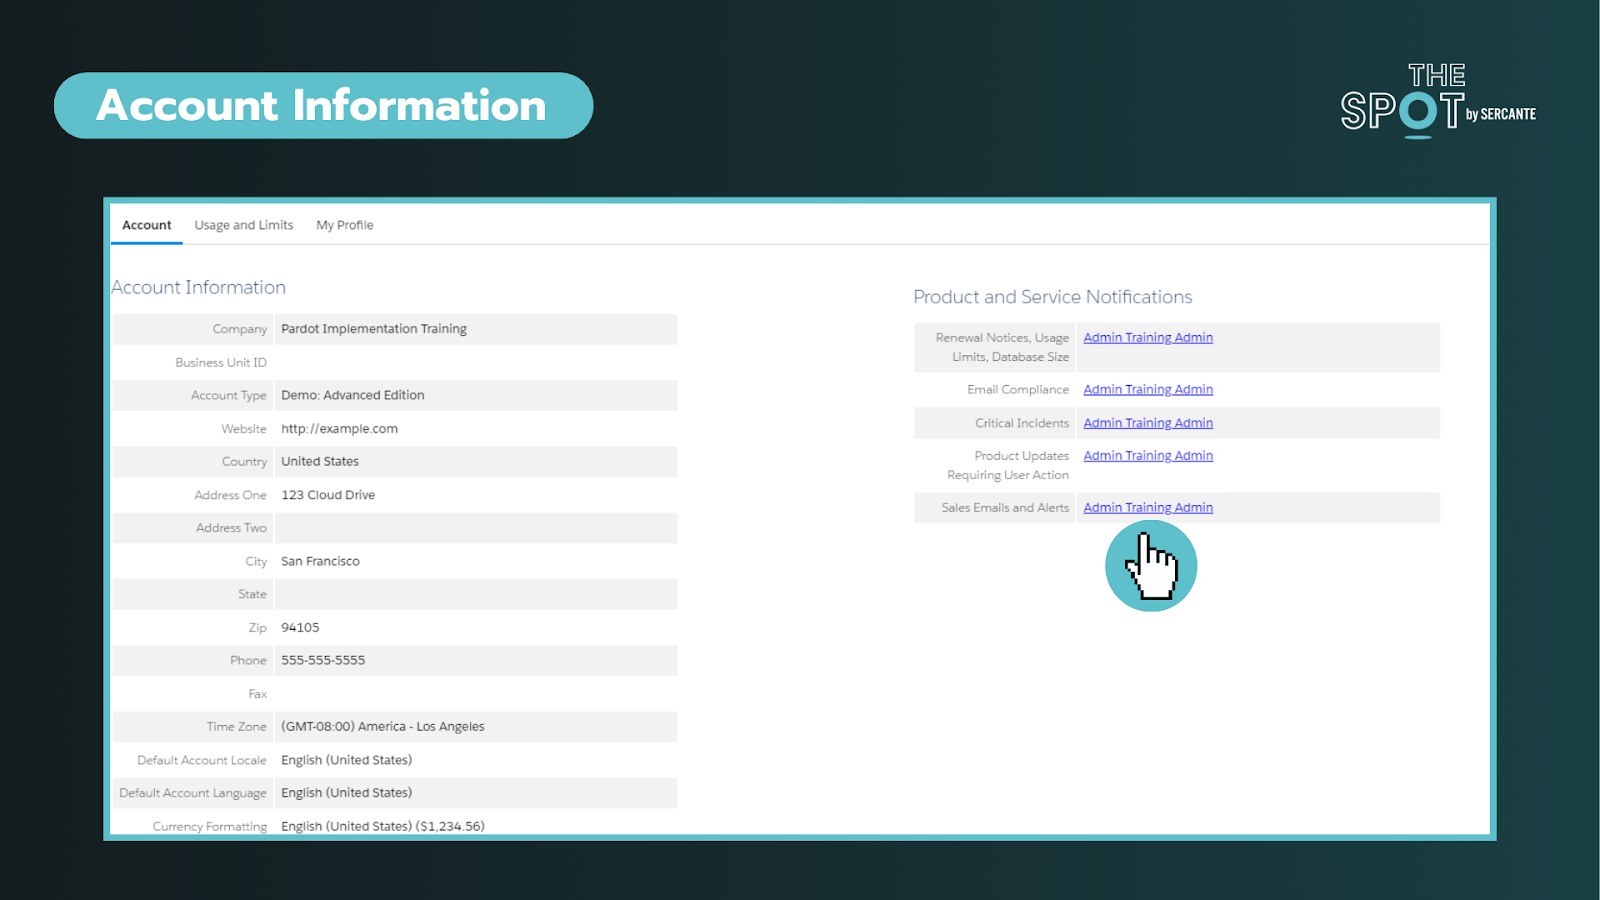
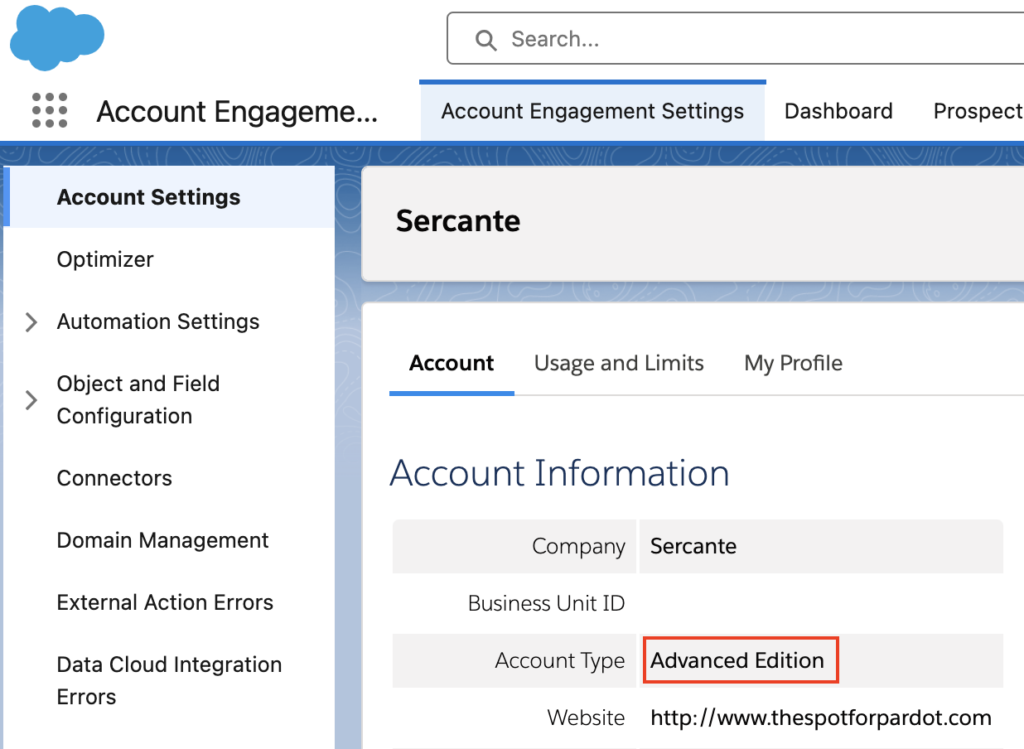
This includes Growth, Plus, Advanced, and Premium editions of Marketing Cloud Account Engagement (MCAE). Your MCAE Admins can view your Edition by going to the Account Engagement Settings tab.
- Data Cloud
Data Cloud not only unifies customer data for use within Marketing Cloud Growth, but also ensures data continuity between Account Engagement and Marketing Cloud Growth. Free Data Cloud is available for orgs with Enterprise and Unlimited Edition Salesforce customers. If you have a lower edition of Salesforce, check out more information on provisioning and access here.
If you are brand new to Data Cloud or don’t have a Data Cloud Architect at your disposal, don’t fret! Marketing Cloud Growth comes with Data Kits that help map your Marketing and CRM Data to Data Cloud. The free Data Cloud SKU + Marketing Cloud Growth’s out of the box data kits will cover everything most orgs need to get started, but if you’d like assistance with additional Data Cloud Data Streams or want to dive into more advanced Data Cloud use cases, we’re happy to help!
Data Cloud Credits
Marketing Cloud Growth uses Data Cloud’s credits to fuel its activities. So, although MCAE users will get Marketing Cloud Growth at no additional charge, orgs still need to purchase credits to fuel Marketing Cloud Growth. Think of it like you’re being given a car, but you still have to purchase the gas to make it run.
If you’re new to Data Cloud’s consumption model, our previous blog post and this Trailhead module will help give you an idea of how this works and the different types of credits available. If you’re using the Free Data Cloud SKU to get started, note that this does include some credits to fuel data ingestion and unification. However, orgs will need to reach out to their AE to purchase the credits that fuel sending emails, sending SMS, compiling Segments, and using Einstein.
You don’t necessarily have to purchase these credits before implementing Marketing Cloud Growth for testing purposes, but you may be limited in the features you can play around with without them.
Getting Started
Here are a few things to keep in mind as you start using Account Engagement and Marketing Cloud Growth side by side.
Understanding Consent and Subscriptions
Consent works a little differently between the two systems.
Account Engagement has a permission-based marketing policy, meaning that although there is no default “Opt-in” field, users must certify that they only contact prospects who have expressly consented to receive marketing communications.
In Marketing Cloud Growth Edition, consent is a bit more rigid. To send marketing communications, each prospect must have a Consent Record comprising of:
- The Contact Point (email or phone number)
- The Marketing Channel (Email, SMS, etc.)
- The Communication Subscription (Webinars, Events, Product updates, etc.)
- The Date and Time the prospect opted in
More considerations for Consent and Subscriptions are available in this Salesforce Help article.
Import Consent Data
Before you import consent data, make sure the contact point exists in Marketing Cloud Growth Edition. A consent import can update consent information for existing contact points, but it can’t create new leads or contacts or update other fields (at least as of the Winter ‘25 release).
First, export your list from Account Engagement:
- In Account Engagement, navigate to Prospects > Segmentation > Segmentation Lists
- Locate and open the preference list you would like to import into Growth
- Select Tools
- Select CSV Export
You’ll need to format your export before importing it into Growth, see this help article for guidance.
Start Your Import
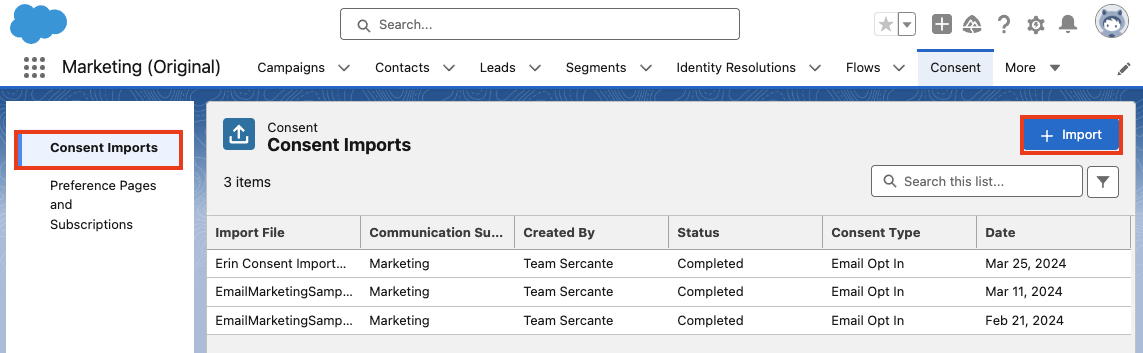
- Within Marketing Cloud Growth, navigate to the Consent tab
- Ensure you are on the Consent Imports tab, then select + Import
- Select your Channel, Communication Subscription, and whether this list is opted in or opted out
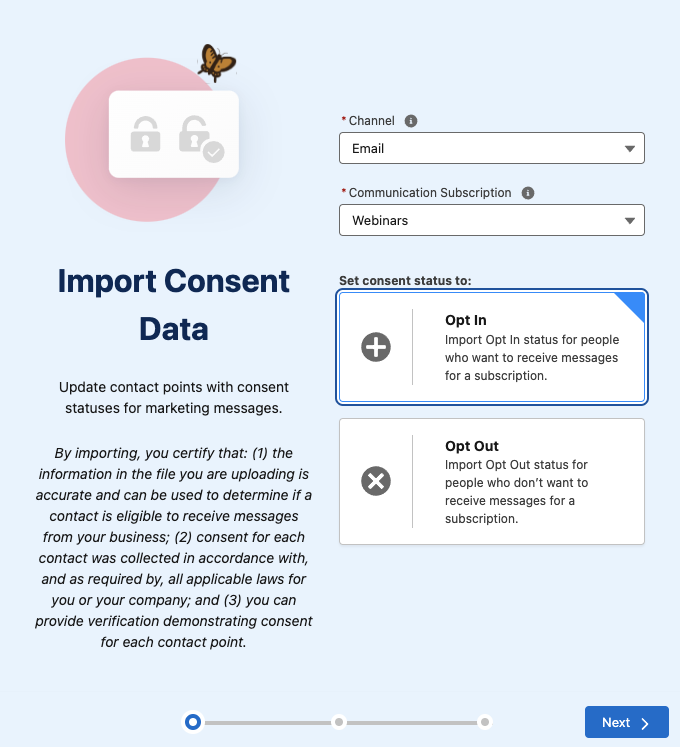
- Select Next
- Upload your CSV, select Next
- Review the import preview and select Import
- Select Done
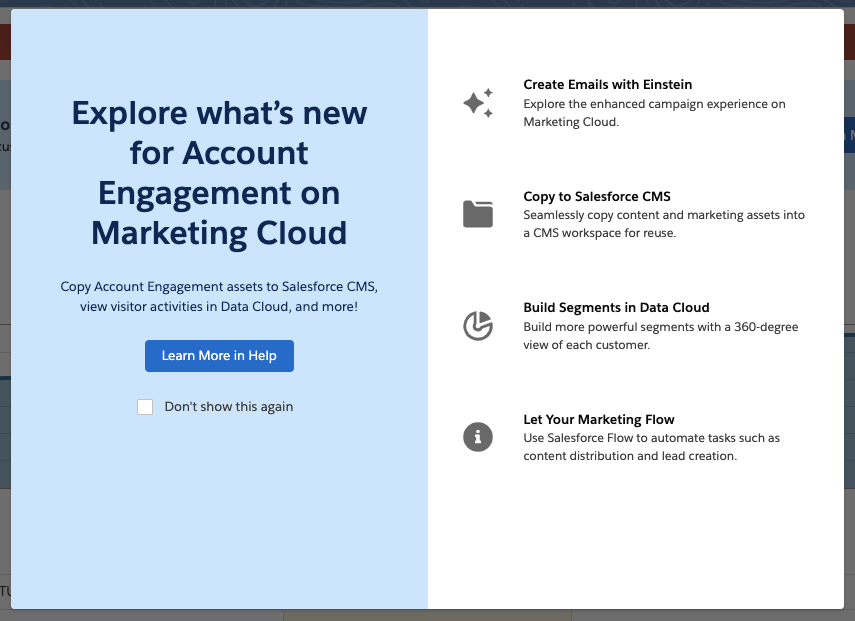
Send Account Engagement Images to CMS
Use images in both Account Engagement and Marketing Cloud Growth by enabling “Copy to CMS”.
- In Salesforce, navigate to Marketing Setup > Copy to CMS
- Use the dropdown menu next to your Account Engagement business unit to select Enable
- Repeat for additional Account Engagement business units
This will create a CMS Workspace named, “Content Workspace for Marketing Cloud Account Engagement – Copied Content – [business unit name]”. To avoid issues, do not change the workspace name or remove the B2BMA Integration user as a contributor.
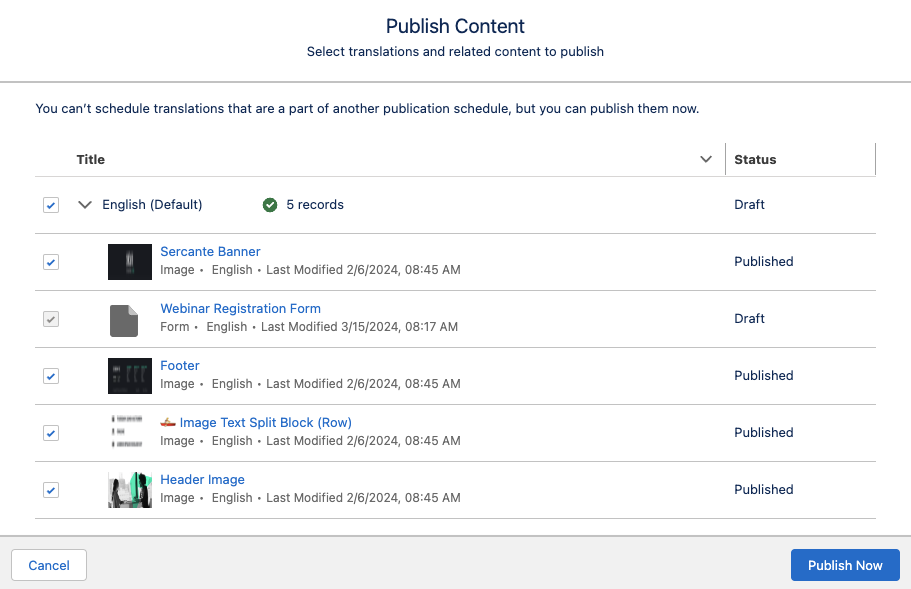
Copy Images from Account Engagement to the Growth Edition CMS Workspace
Next, you’ll need to copy the images from Account Engagement to your new CMS Workspace.
- In Account Engagement, navigate to Content > Files
- Use the checkboxes on the left-hand side to select the files you would like to move. Once selected, use the dropdown menu at the bottom of the table to select Copy to CMS
- Select Go
Use the New Growth Edition Email Editing Experience
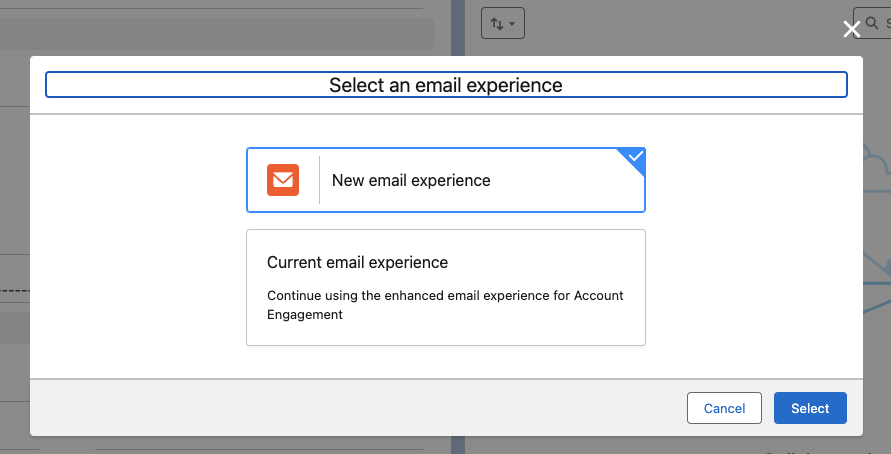
Now you can build emails that are available in both Account Engagement and Growth Edition. When creating or editing Email Content in the Lightning Email Builder, select New Email Experience to use Marketing Cloud Growth Edition’s editor.
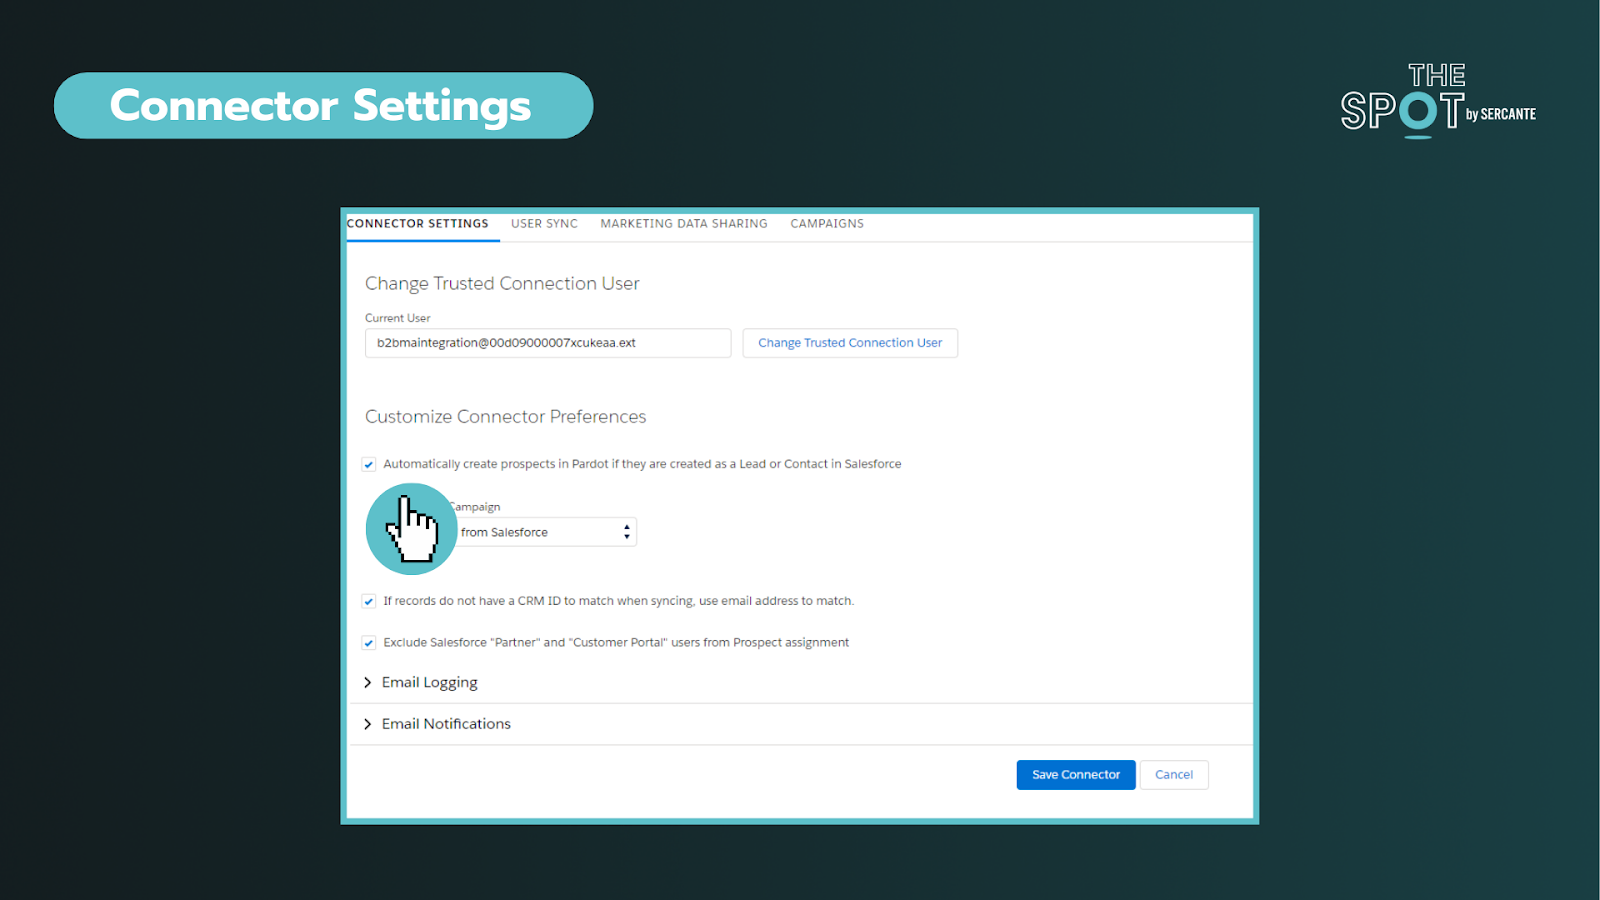
Account Engagement Campaign Considerations
Account Engagement and Marketing Cloud Growth Edition cannot currently share campaigns, so you’ll want to have distinct naming conventions to easily identify which campaigns belong to each platform. You can also keep Marketing Cloud Growth’s campaigns from syncing to Account Engagement by creating a new campaign record type for Growth.
Read more about Campaigns for Marketing Cloud Growth in this help article.
Using Account Engagement & Growth Edition Together
Current users of Account Engagement probably have long-standing engagement studio programs that are set up to run on a recurring basis. Account Engagement thrives in this situation and provides flexibility for enrolling prospects and ensuring that the marketing journey you want to happen actually happens. Let’s look at instances where you can use this existing functionality with all the bells and whistles Growth offers.
Use cases for combining the two platforms
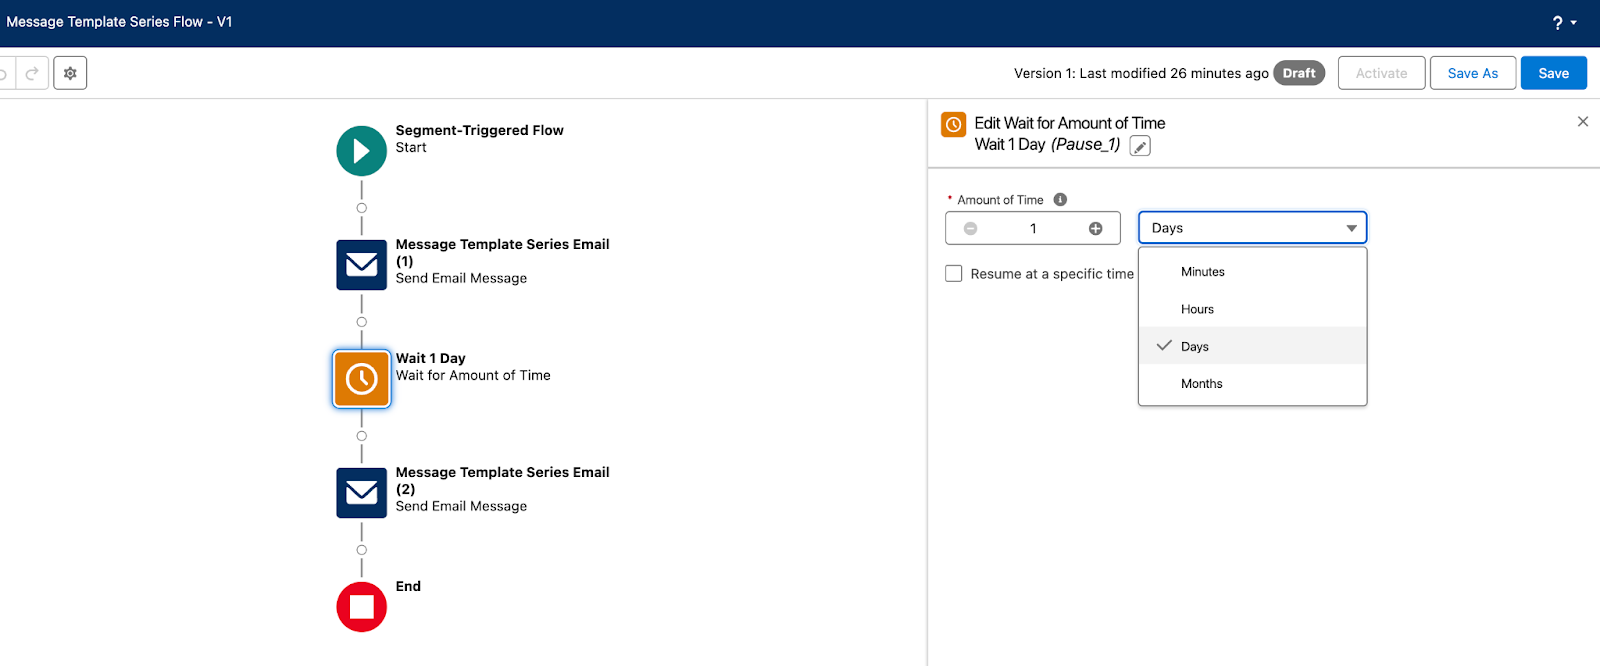
- SMS functionality. In Account Engagement, You may have a pre-existing engagement studio program set up for every event your company puts on, thanking attendees for joining and sharing pertinent details. If you want to send a reminder text message to people who have registered for the event, you can now take advantage of native Marketing Cloud Growth functionality to do so.
- Using cross-object personalization. Say you have a recurring monthly email sent out to your customers letting them know their account status, YTD savings with your company, and other information pertinent to the customer on an ongoing basis. If this information is stored within custom objects, it’s difficult to populate an Account Engagement email with those details. With Marketing Cloud Growth Edition, users can create Data Graphs for cross-object personalization, allowing marketers to personalize emails with data from any object.
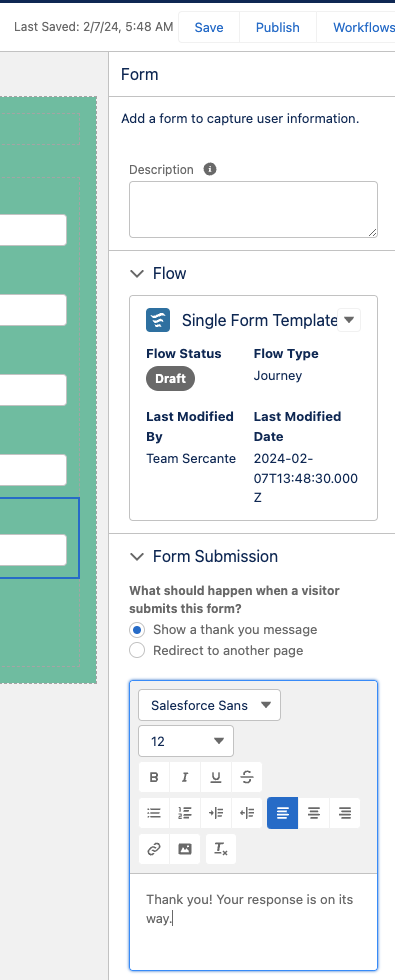
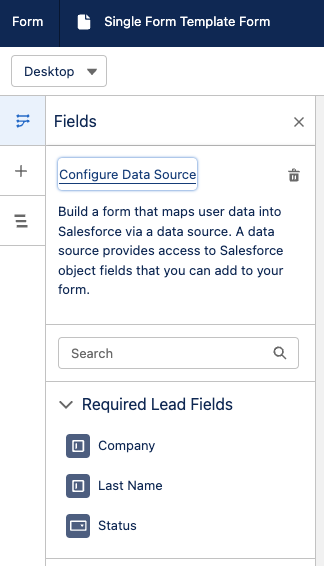
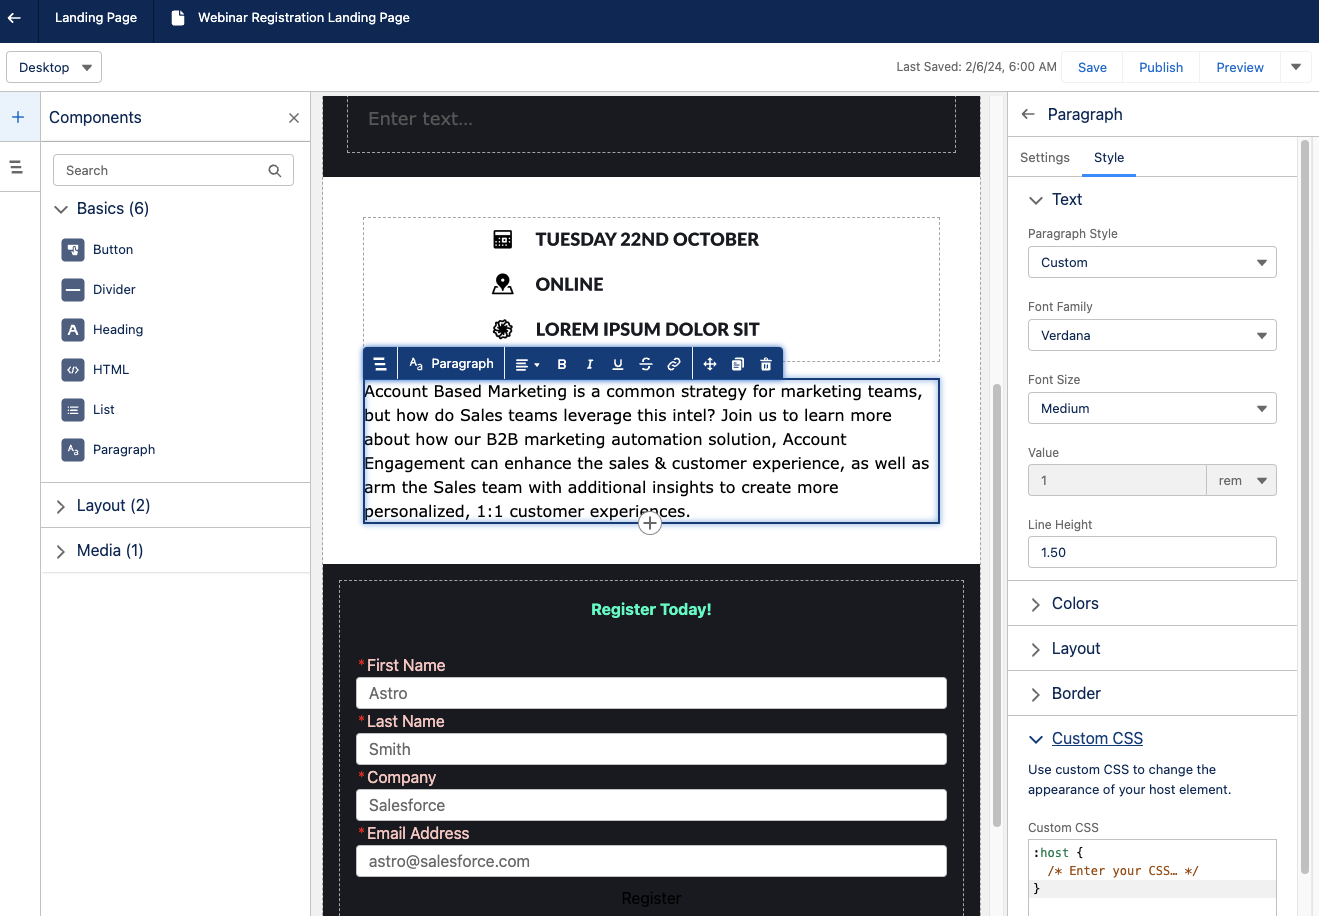
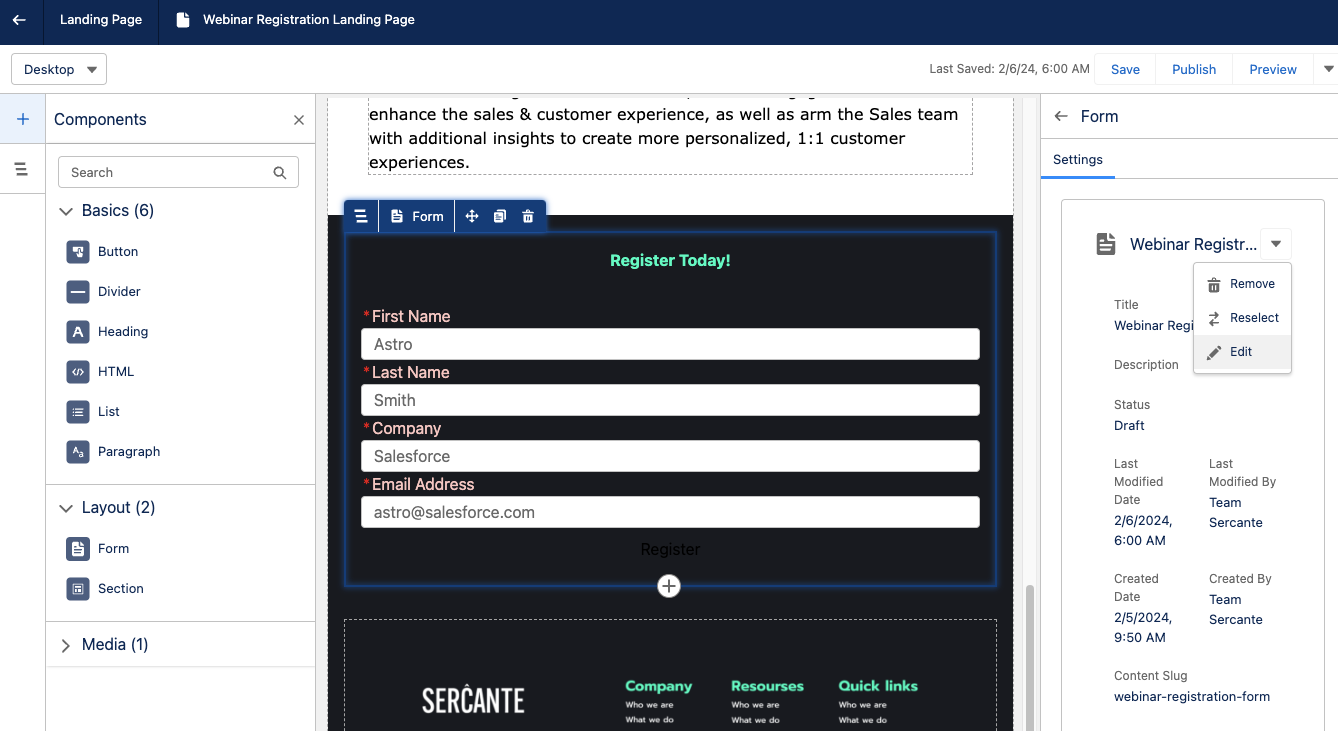
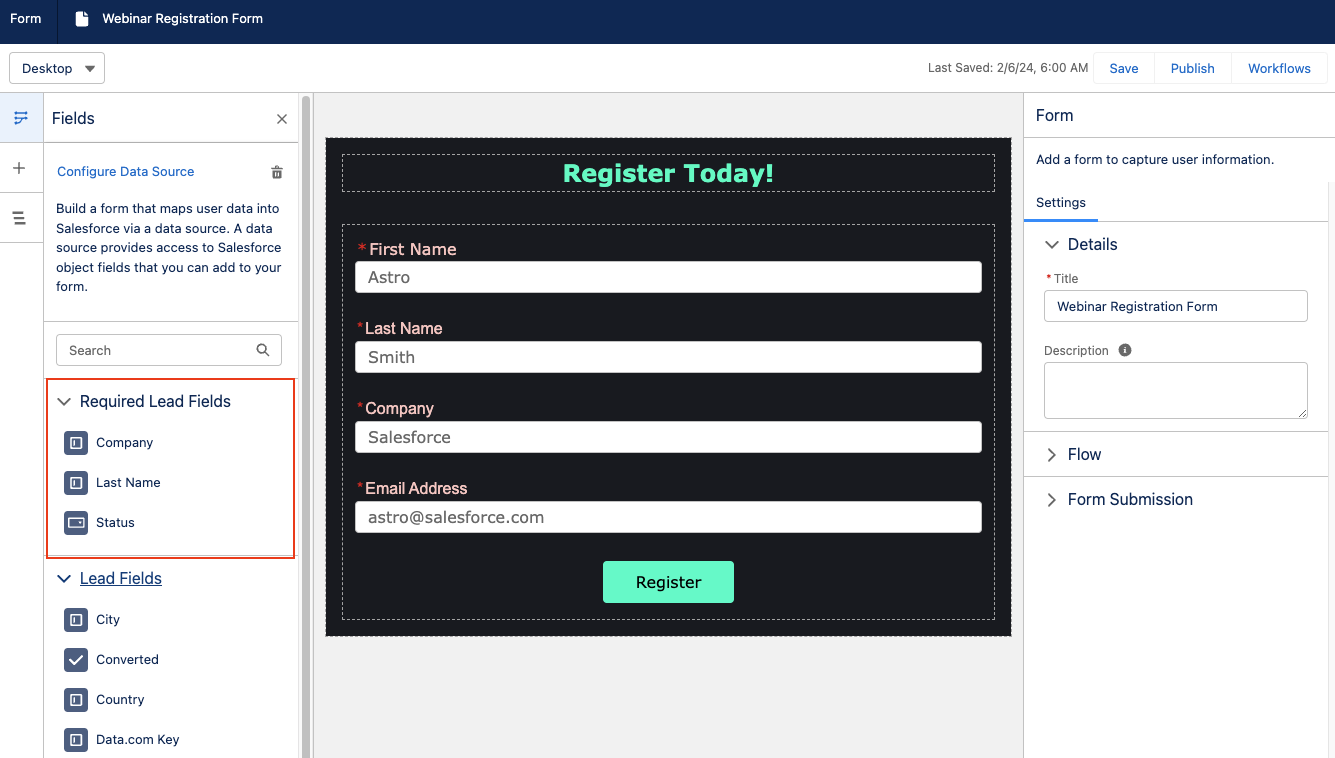
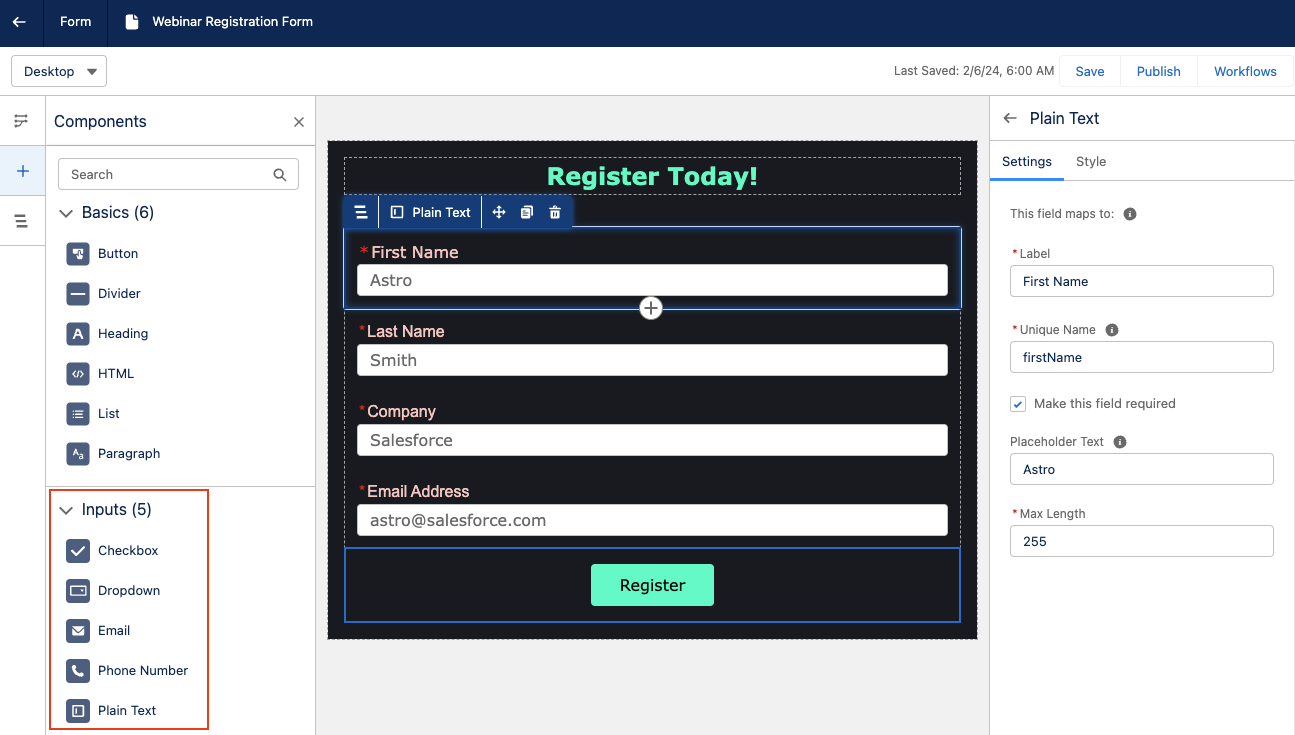
- Custom processes for post-form-fill actions. Another great example of how you can use Marketing Cloud Growth Edition alongside Account Engagement is when you want to implement a custom process when someone submits a form.
Since Growth uses Flow for automation, the actions taken after a form is completed can be customized to each unique need. For instance, you can standardize field values or send data to several objects within Salesforce before the Lead/Contact record is updated.
There you have it
You are now ready to start experiencing Marketing Cloud Growth Edition. The future of Salesforce marketing is bright and evolving every day.
Stay tuned for Growth’s next iterations. In the meantime, use these resources to get started:
- Prepare for a New Campaign Experience with Marketing Cloud Growth
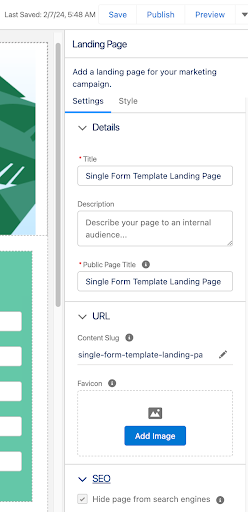
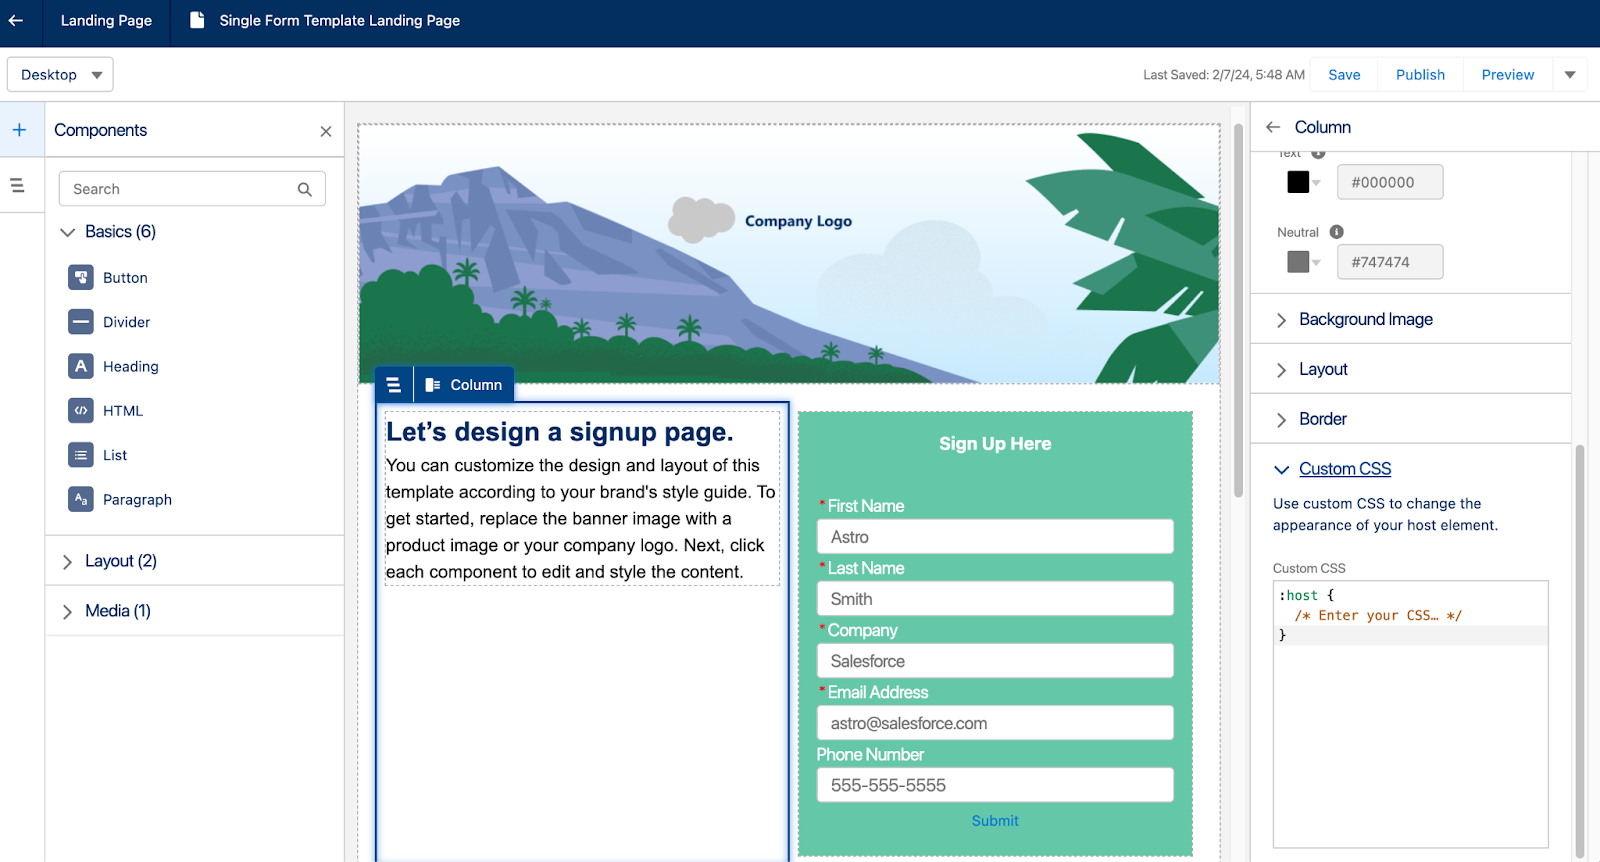
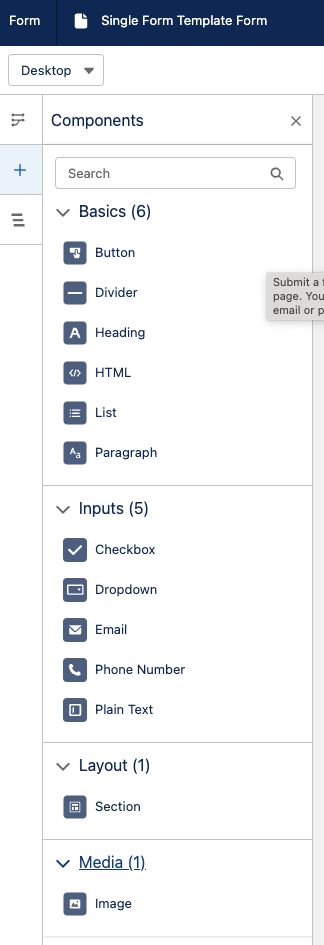
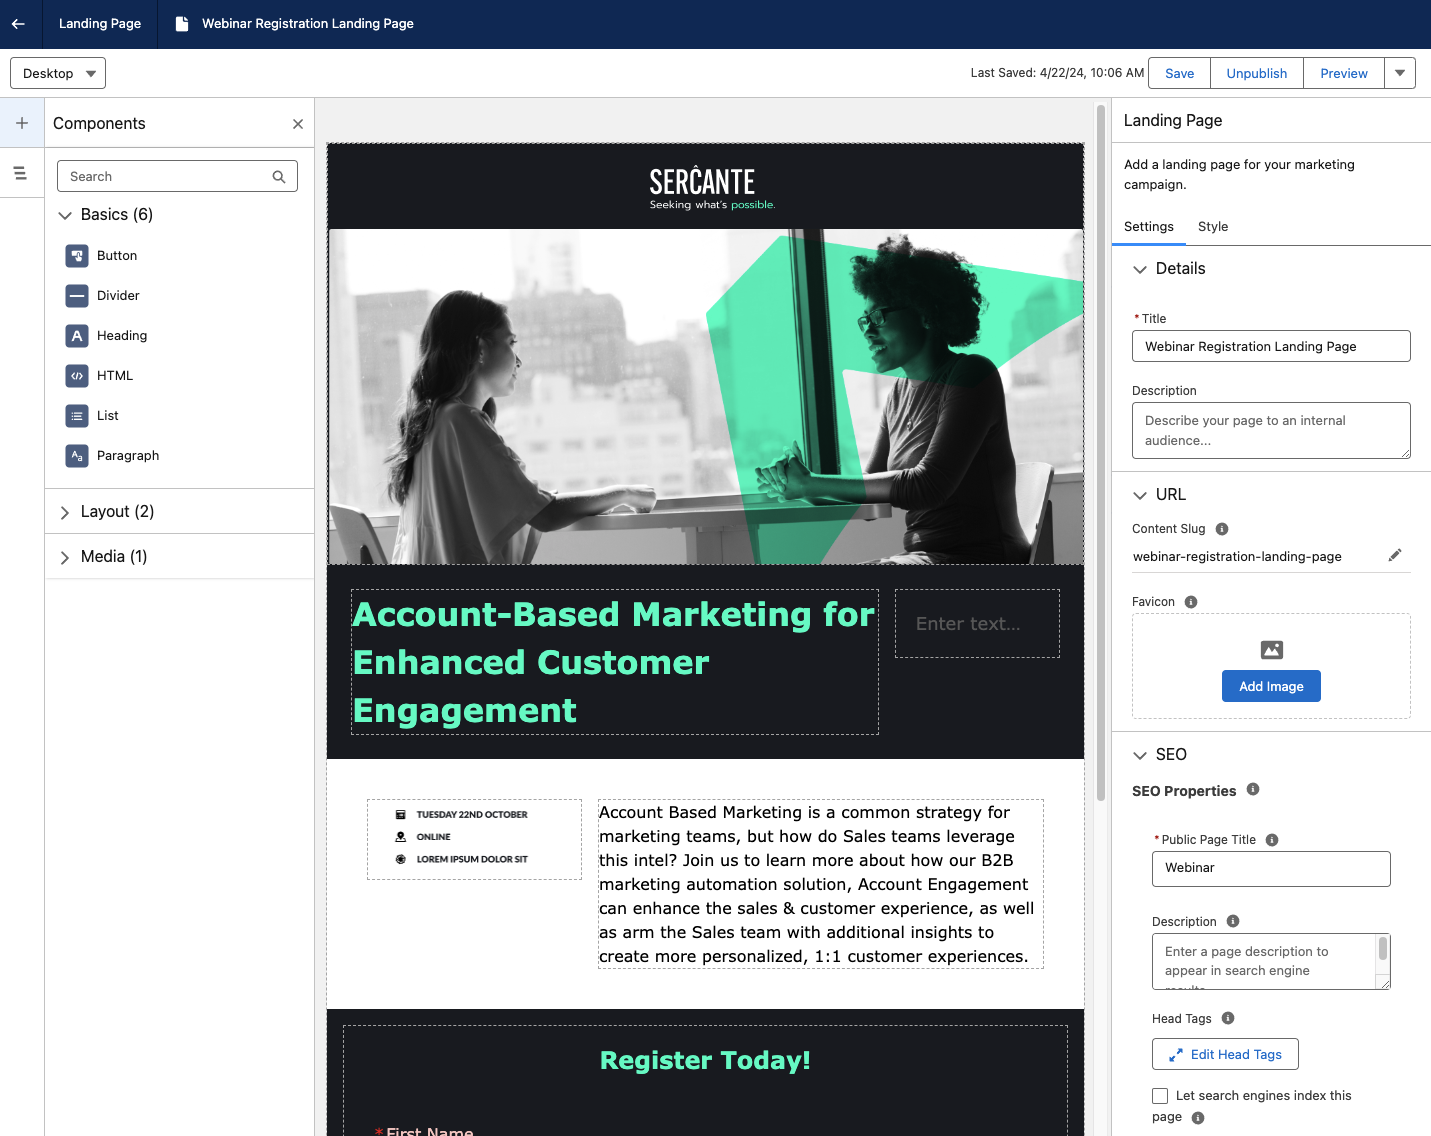
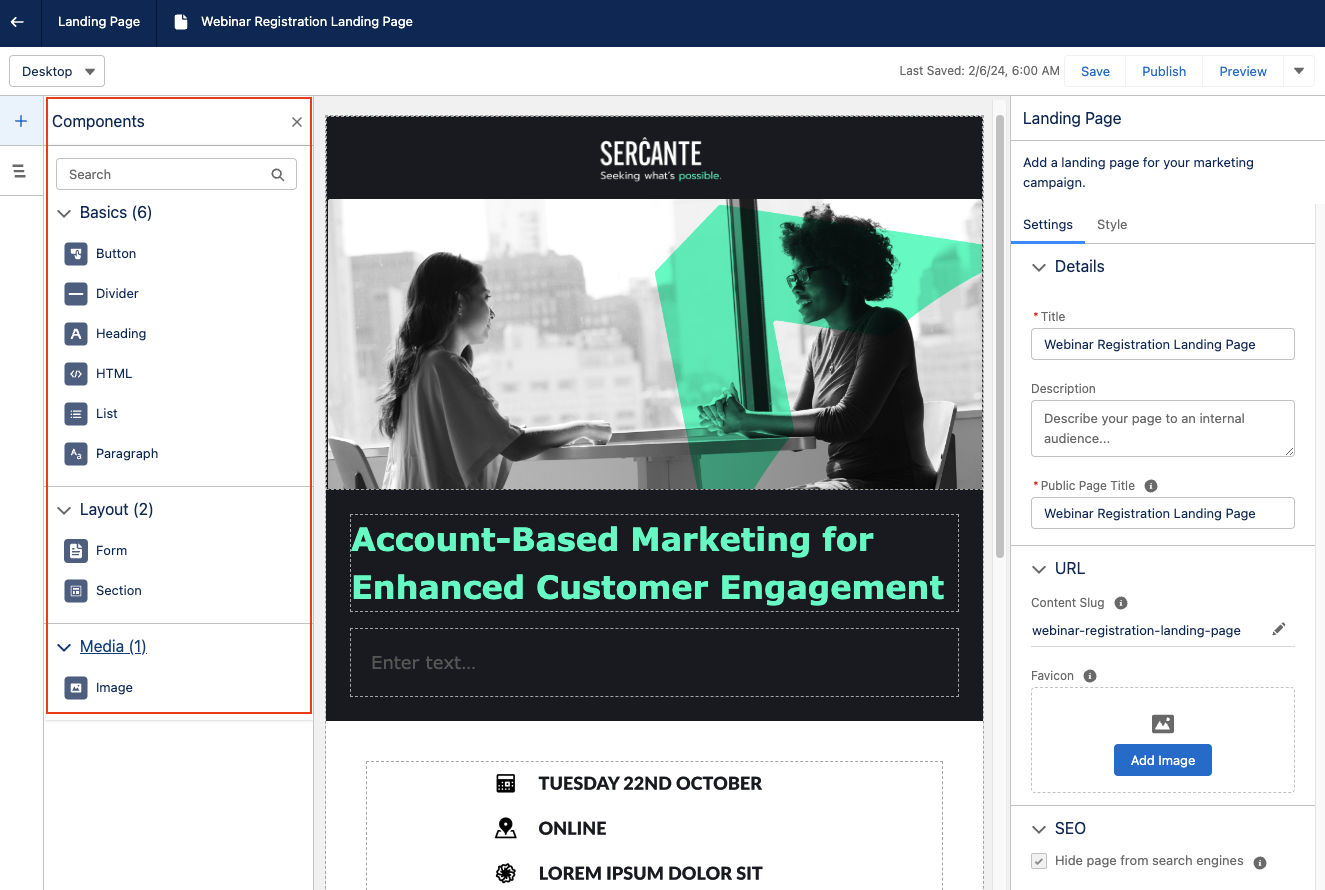
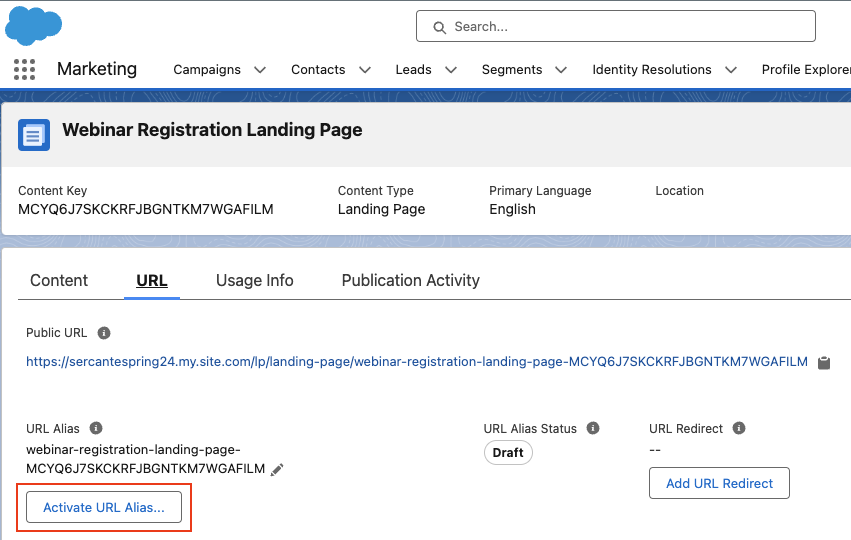
- Marketing Cloud Growth Edition: Landing Page and Form Builder
- Marketing Cloud Growth Edition: Creating Brand Guidelines
- All the FAQs on Marketing Cloud Growth Edition
If you need help implementing or learning how to use Marketing Cloud Growth Edition, send us a message!