
Product Note: Marketing Cloud Growth and Advanced are editions of Marketing Cloud Next and have also been referred to as Agentforce Marketing.
Marketing Cloud Growth Edition builders enable marketers to build beautiful landing pages and forms with ease. The builders have a robust set of styling and functionality options that allow Marketers to customize their assets without needing extensive custom coding. Let’s dive into the features of these builders and walk through how to build your first Growth Edition assets.
Creating a New Landing Page
Users can create a new landing page in two ways:
Option 1
- Navigate to Content > CMS Workspace for Marketing Cloud
- Select Add > Content
- Select Landing Page
This option starts you with a completely blank canvas and does not auto-generate a form or flow for your page.
Option 2
- Navigate to Campaigns and create a new campaign
- Select Save
- Select the Signup Form Template
This option starts you with a Salesforce Landing Page that can be easily customized with your own content and styling. It also auto-generates a form and flow for the form.

Landing Page Builder
Once you’re in the landing page builder, you can begin setting up the landing page’s basic info.
This includes:
- Internal title and description
- URL content slug, this is the URL-friendly name for your page (a.k.a. vanity URL)
- Favicon
- Public page title (max 70 characters)
- Public Description (max 2000 characters)
- If SEO indexing is enabled and this field is blank, the search engine results display the first text that the search engine finds on the page.
- Head Tags
- Whether or not the Landing Page should be hidden from search engine indexing
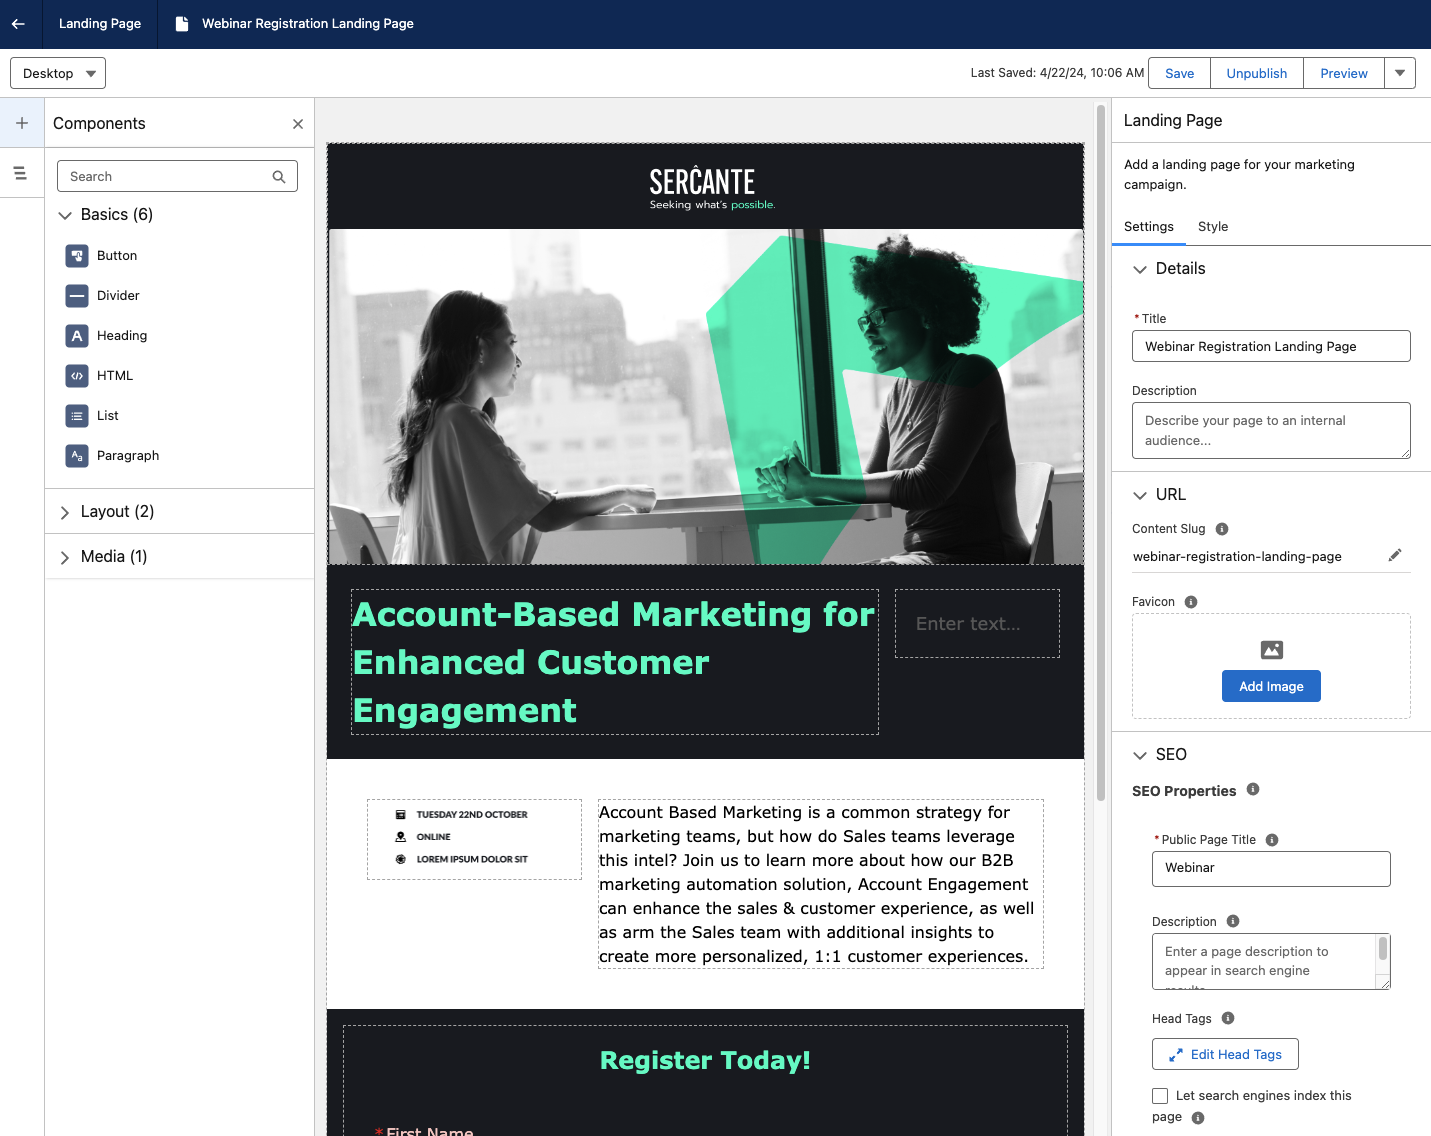
You can also optionally set a background image for the Landing Page on the Style tab.
Drag-and-drop components
Similar to the Lightning Builder experience for Account Engagement, you can begin building your Landing Page by dragging and dropping components from the left-hand components menu.
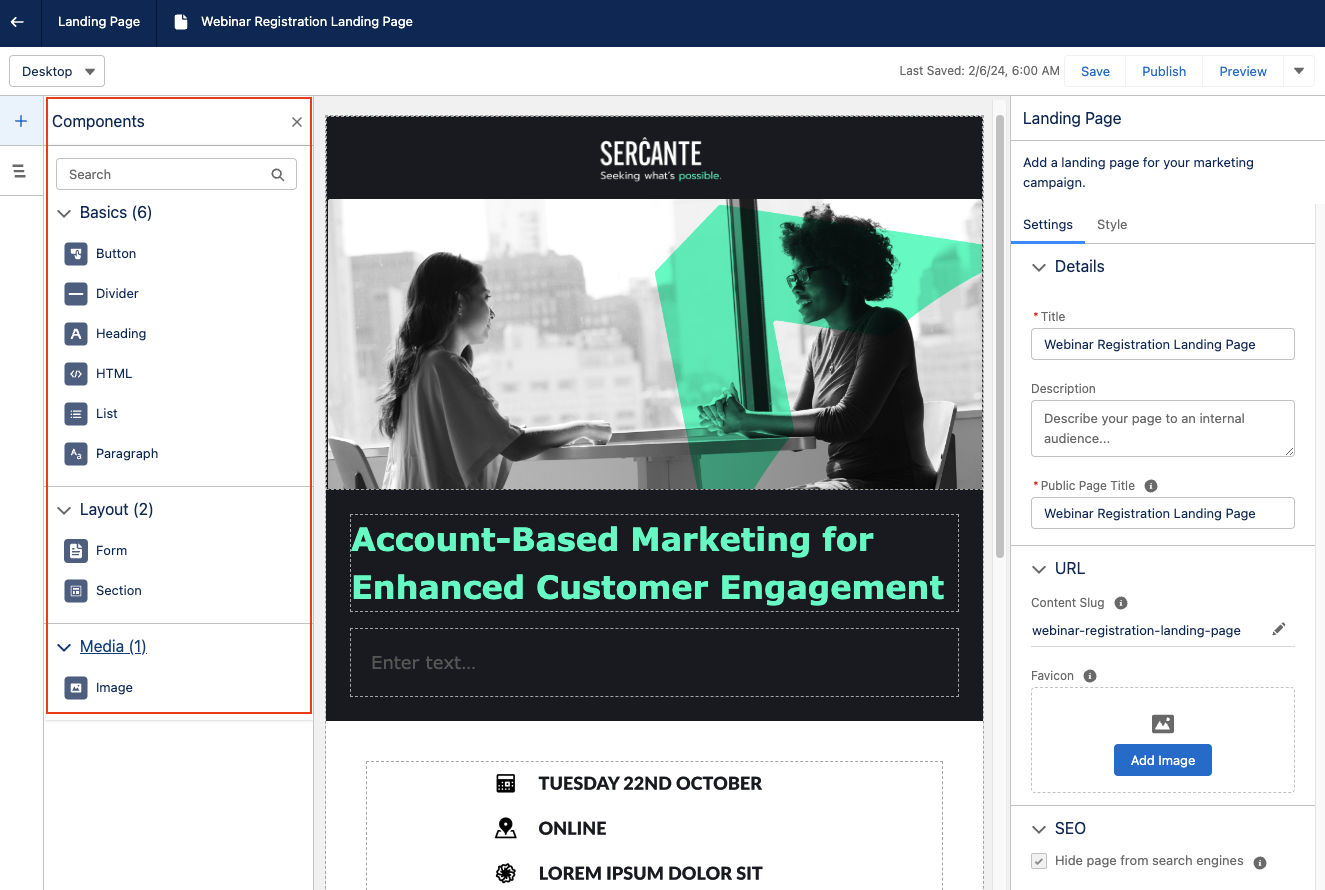
I always like to start with a Sections component so I can divide up my section and set the style before dragging in another component for my content. The Sections component can be divided up to 12 and includes an option to stack columns when the page is viewed on mobile.
Add more components to the section
Once you’ve formatted your section, you can drag and drop additional components into said section. This includes:
- Buttons
- Dividers
- Headings
- HTML
- Lists
- Paragraphs
- Forms
- Images
All components and sections have robust editing options and have an optional area to enter Custom CSS for more granular customization.
Add form to landing page
To add a form to your Landing Page, drag and drop a form component anywhere on the builder canvas. Once a form component is added, select the existing form you’d like to use. You cannot create a new form while in the landing page builder, but you can open the form builder to edit an existing form or switch out the form later. You can only have one form on your Landing Page.
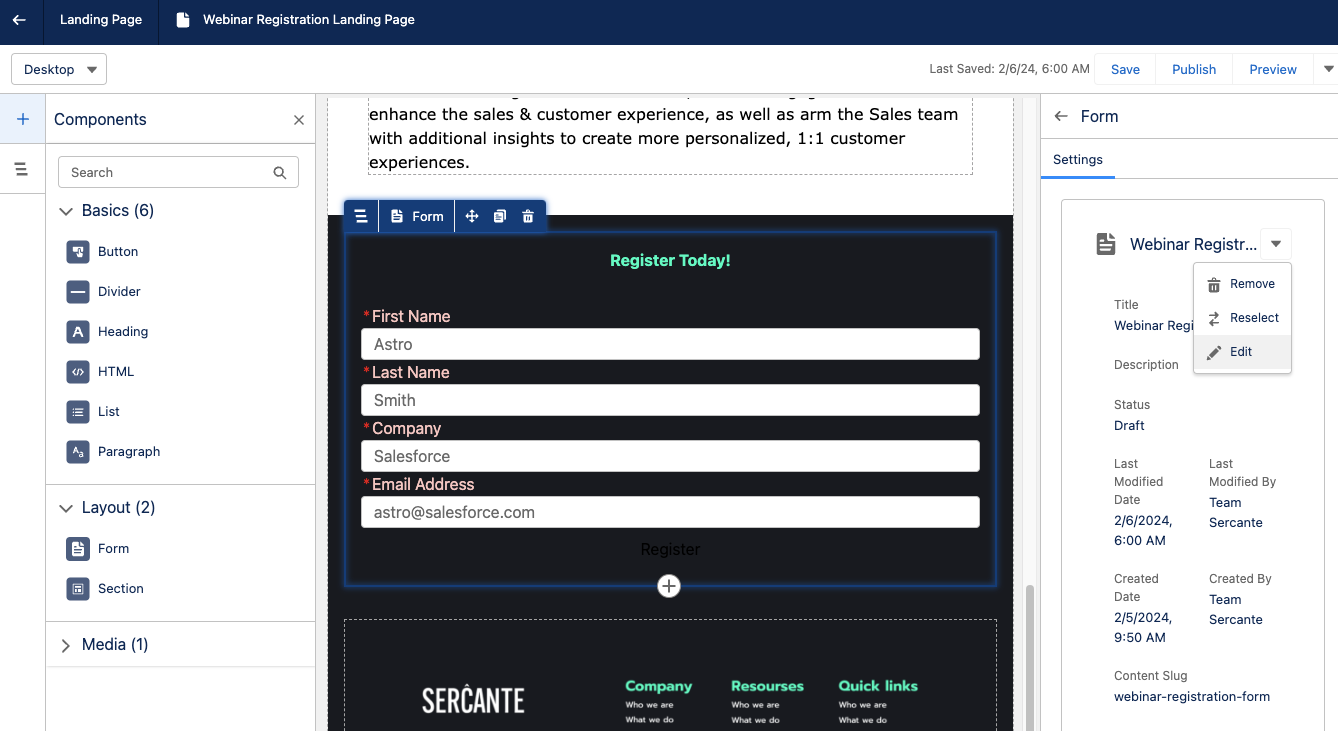
Form Builder
Build your form by selecting edit within the form component on your landing page. Once in the form builder, you have the option to configure a data source to pull in Lead, Contact, or Account fields into your form. Doing so allows you to easily see which fields are required to create a new record of that type.
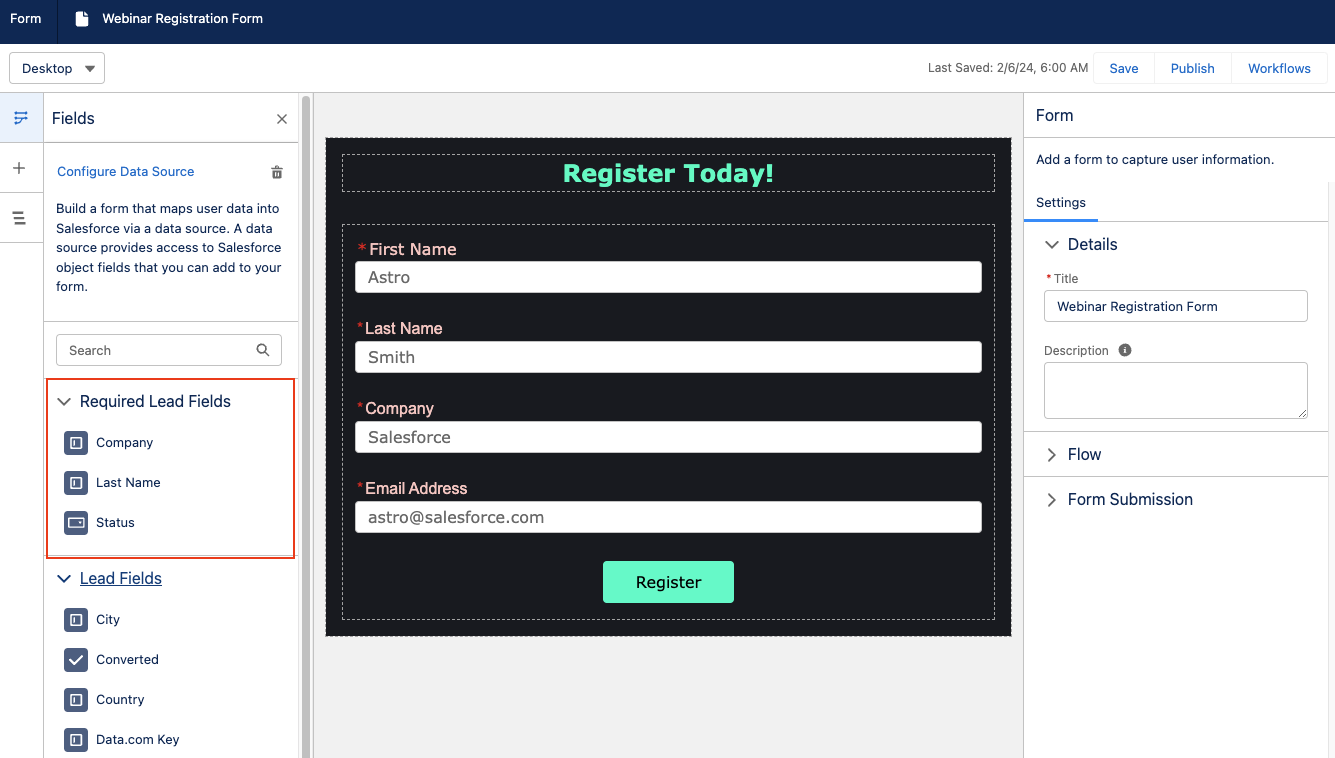
If you opt to not configure a data source, just ensure your fields are mapped accordingly within the flow.
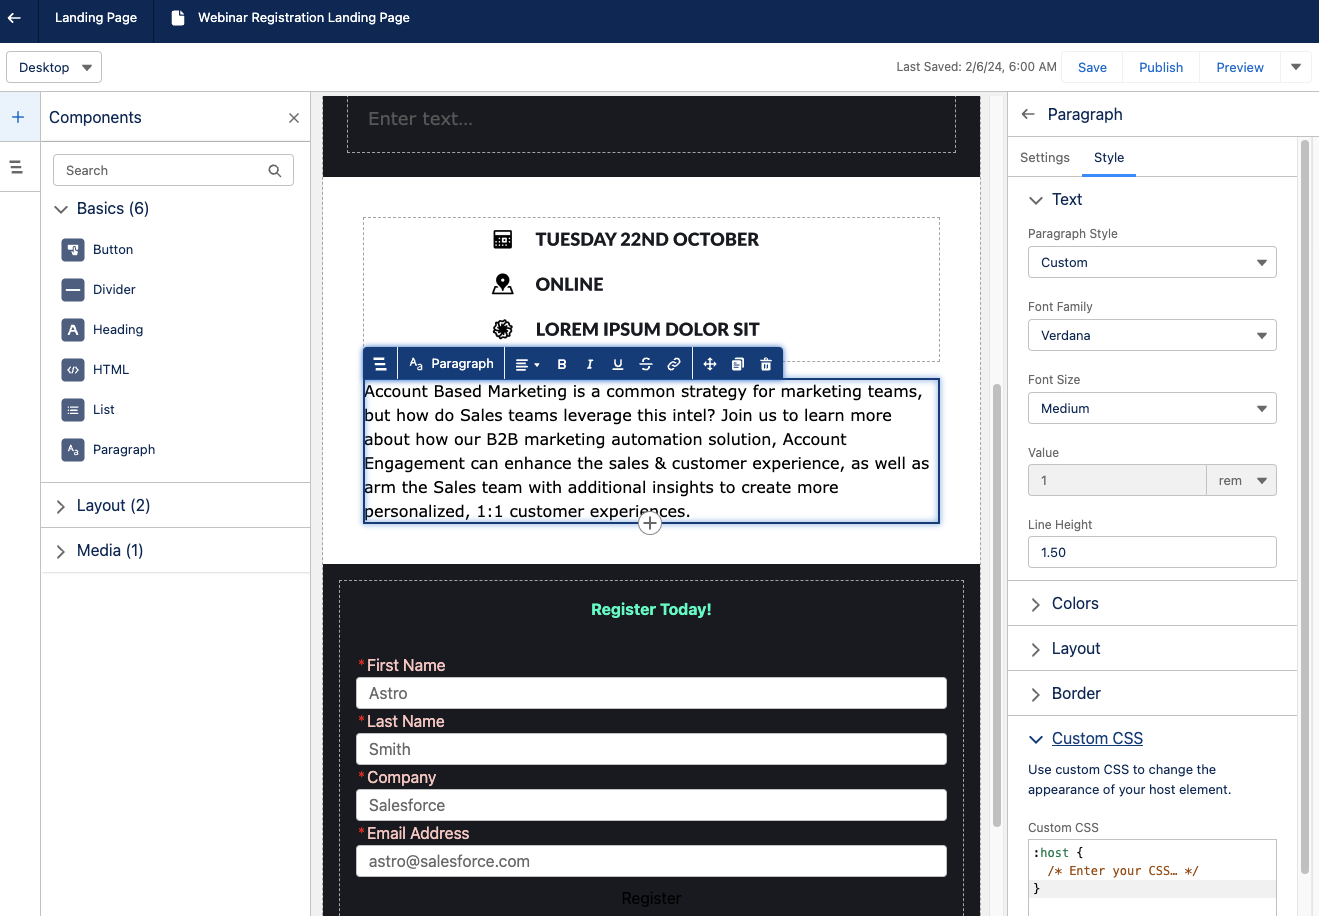
Customize your form
The components panel has several options for customizing your form. You can enter buttons, dividers, headings, HTML, lists, and paragraphs above, below, or in between form fields. You can also create a new section or insert images. The following form field types (aka Inputs) are supported in this form builder:
- Phone Number
- Plain Text
- Checkbox
- This is an individual checkbox, but multiple checkbox components can be added in if you want a multi-picklist.
- Dropdown
- You must manually enter the picklist options for dropdown components. Labels and Unique Names can be set for each value within the field.
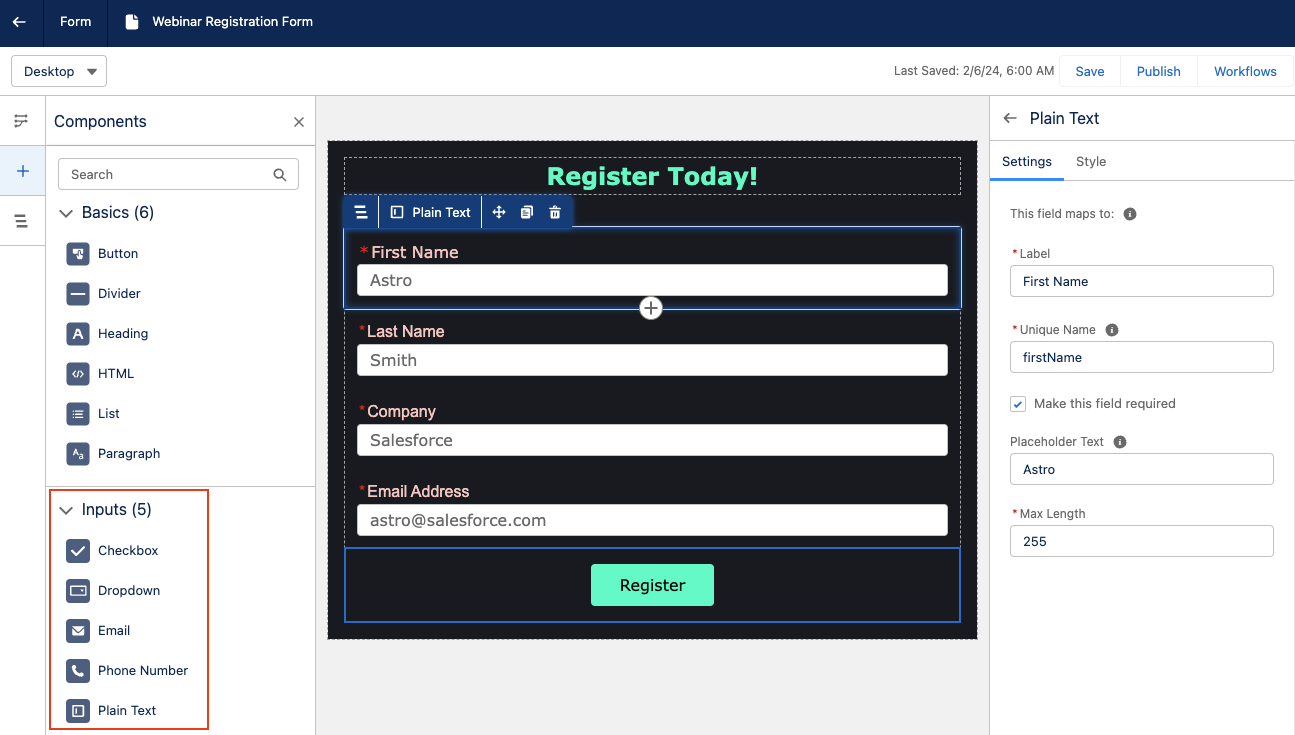
Drag and drop Inputs into your form to add new fields. Options to add placeholder text, make the field required, and set the max length of the entered data are available on the right-side panel. You can also fully customize the field’s text styling, background, padding, border etc., as well as insert Custom CSS.
Edit any flows
Keep in mind that adding or removing fields from the form does not automatically update the flow that is associated with it. When you are done building your form, you will need to edit your flow to correctly map the final form fields to their destinations.
Publishing your Landing Page
Once you’re ready to test and publish your landing page, select the Preview option from the top right-hand corner. The Preview will allow you to view your landing page in Desktop, Tablet, and Mobile views to ensure everything looks good no matter how your audience is viewing the page.

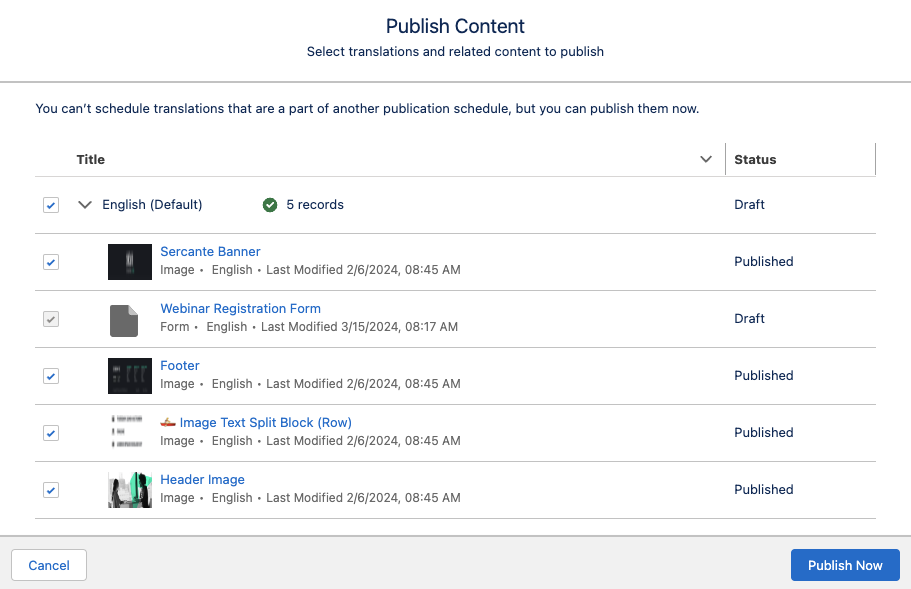
When you are ready to push the landing page live, select the Publish button in the top right-hand corner. You can then confirm the related content that needs to be published with your landing page, such as images used on the page, translations, and your form.
Activate URL Alias
Once published, you also need to activate your URL alias. Publishing a landing page indicates that the content is ready to be made available online, but the content isn’t accessible until you also activate the URL alias. To do so,
- Navigate to Content > CMS Workspace for Marketing Cloud
- Select your landing page
- Select the URL tab
- Select Activate URL Alias
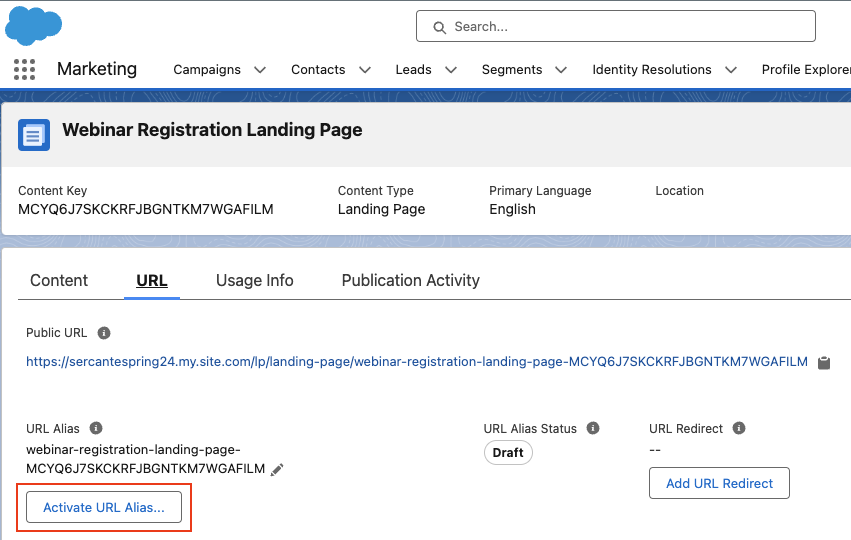
- Select Activate
Start Building in Growth!
Now you’re ready to build your first landing page in Marketing Cloud Growth Edition! Be sure to return to The Spot for more posts about Marketing Cloud Growth. We’ll dive into Flows, building emails and all our other Growth learnings in future blog posts.
Want to know more about Marketing Cloud Growth, like, today? Then reach out to the team at Sercante to start a conversation.