
GDPR and CASL compliance are just a few reasons to add an explicit opt-in message or a privacy policy to your Pardot forms. In this post, I’ll show you how to add a custom opt-in message to your form and a privacy consent message above the form submit button.
Adding an opt-in checkbox
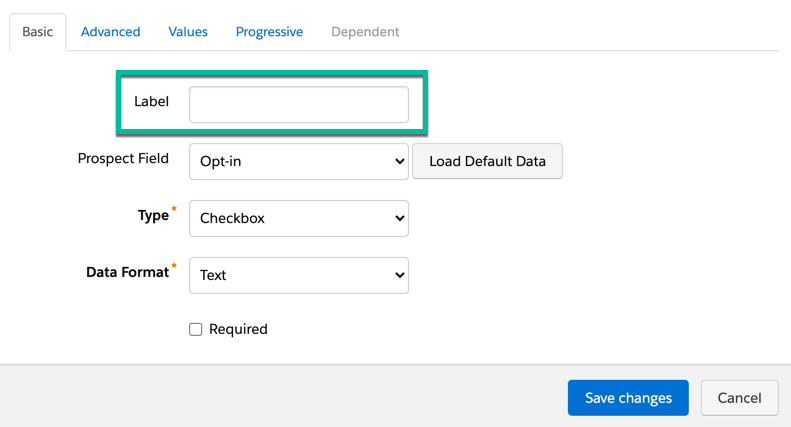
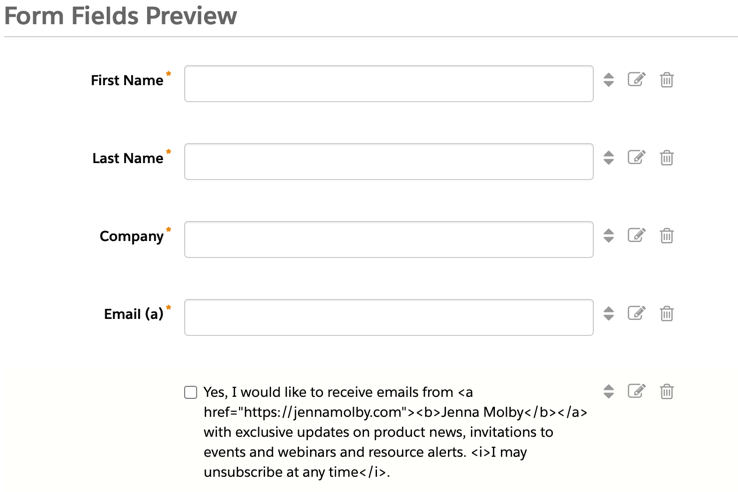
Add your opt-in field to your form and remove the label text.
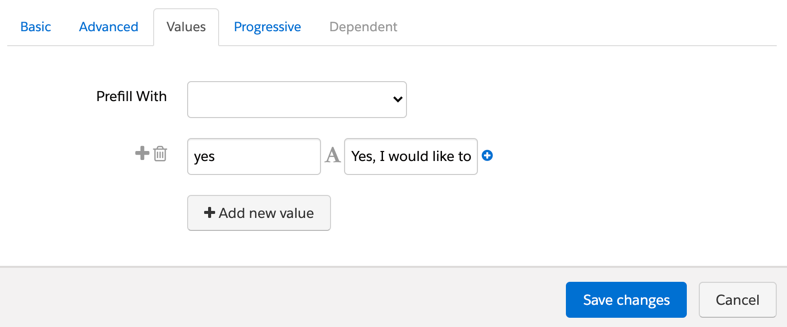
Navigate to the values tab and input the values for the checkbox. The first box contains the value that will be stored in the Pardot database (in my form the stored value is yes). The second box contains the value that will be displayed to the prospect completing the form. In this case, it’s the opt-in message.
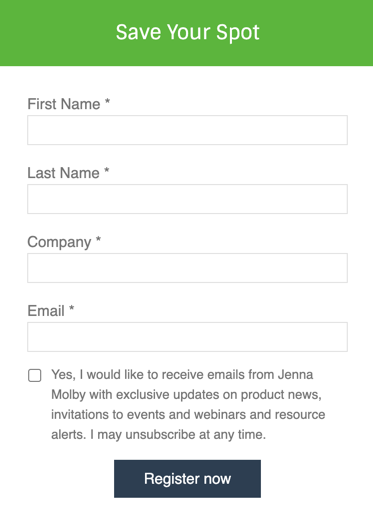
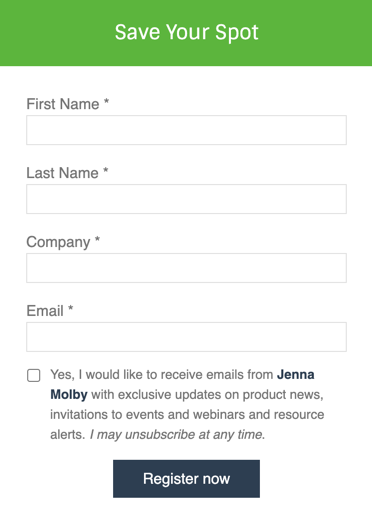
Save and preview your opt-in message. Here’s what mine looks like.
Add links and other formatting
You can add HTML to your opt-in message to include links, bold text, etc, by adding it directly as the display value.
Yes, I would like to receive emails from <a href="https://jennamolby.com"><b>Jenna Molby</b></a> with exclusive updates on product news, invitations to events and webinars and resource alerts. <i>I may unsubscribe at any time</i>.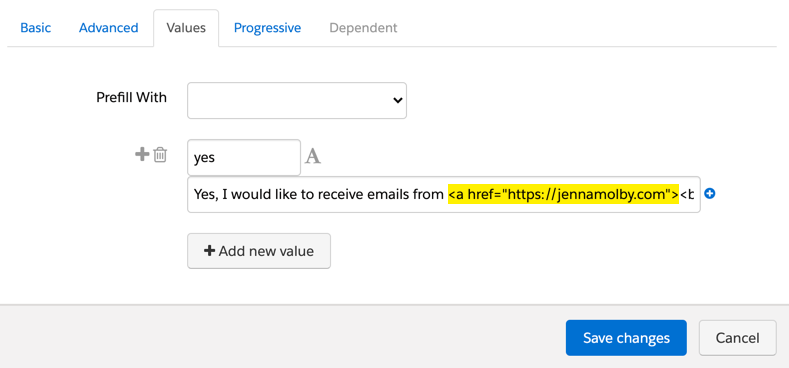
When you preview the message within the editor, it will show the HTML tags, but when you view the live form, it will display the correct HTML.
Adding a privacy policy message
Before the submit button
You can add a privacy policy above the submit button by adding javascript to your form.
Custom JavaScript can be placed within your Pardot forms under Look and Feel > Below Form. Click on the HTML button within the WYSIWYG editor and add in the JavaScript.
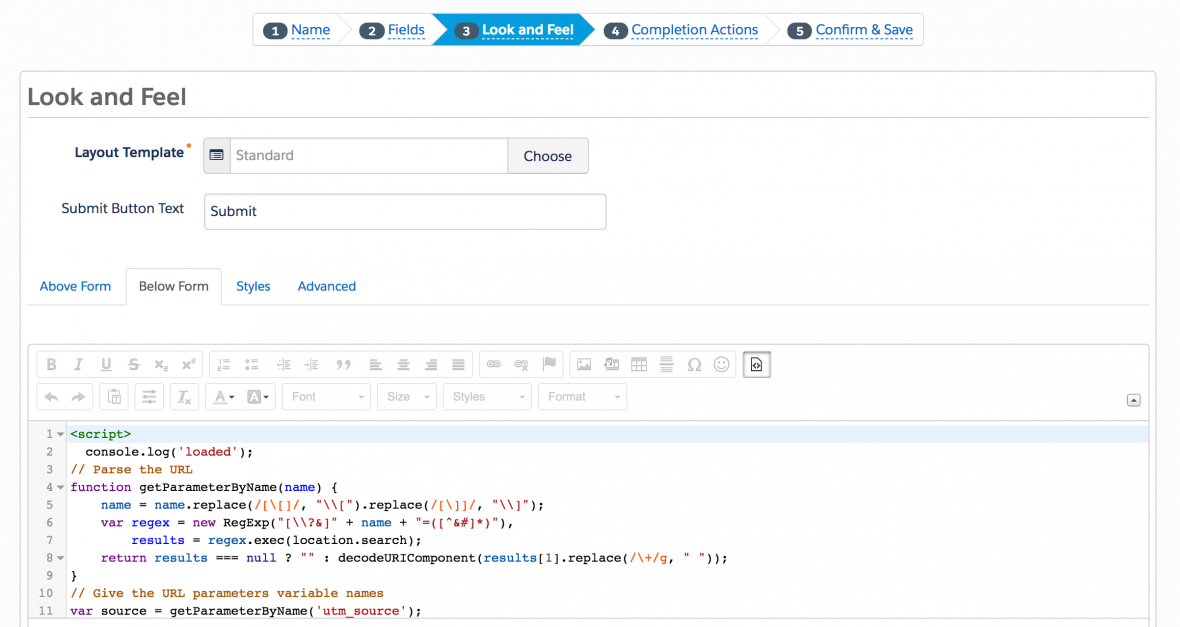
Edit the javascript below to include your privacy policy message.
<script type="text/javascript">
function insertBefore(el, referenceNode) {
referenceNode.parentNode.insertBefore(el, referenceNode);
}
var newEl = document.createElement('div');
// replace this line with your message
newEl.innerHTML = '<span id="privacy-policy-msg">By registering I confirm that I have read and agree to the <a href="https://jennamolby.com/privacy-policy/" target="_blank">Privacy Statement</a>.</span>';
var ref = document.querySelector('p.submit');
insertBefore(newEl, ref);
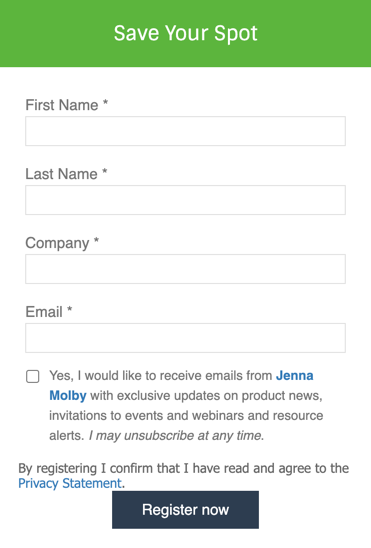
</script>Here’s what my form looks like once the privacy policy message has been added.
Some CSS can be added to the form to style the privacy policy message.
<style type="text/css">
#privacy-policy-msg {
    font-size:11px;
    line-height:20px;
    font-family: 'Open Sans', sans-serif;
    margin-bottom:10px;
    display:inline-block;
    text-align:center;
}
</style>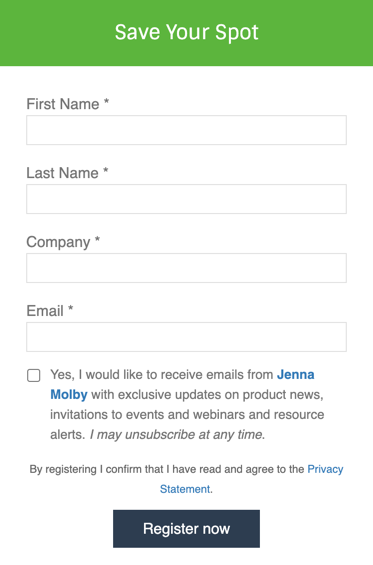
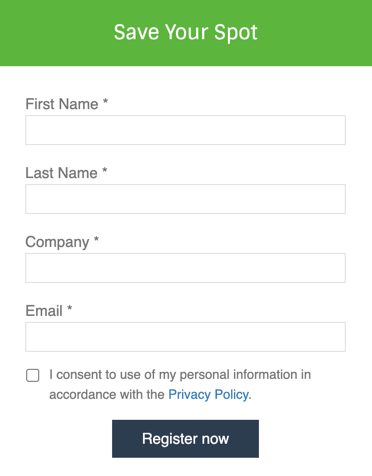
As a consent checkbox
You might require prospects to “check” a privacy consent checkbox in order to submit the form. This can be added the same way the opt-in checkbox was configured above.
Questions?
Send me a tweet @jennamolby, or contact the Sercante team for help.